
18 August 2014
My new 3D printer
After my last post, I visited the 3D printing shop, where they were putting on a demonstration for beginners. I showed them a photo of what I was intending to make, and it all looked very straight forward. I went ahead and ordered the FlashForge Creator Pro.
Once I got it home, I eagerly set it up (a couple of hours work, as there weren’t any detailed instructions), and went about making my first 3D print. The first few layers looked promising, as the base of a melodica key began forming as if by magic.
Trouble ahead
But this is where the magic stopped unfortunately. It quickly turned to a plastic mush, forcing me to abort. I wasn’t too concerned, as I had been told that not every print would work. But when I tried again, the machine began shuddering violently, and had to be returned to the shop.
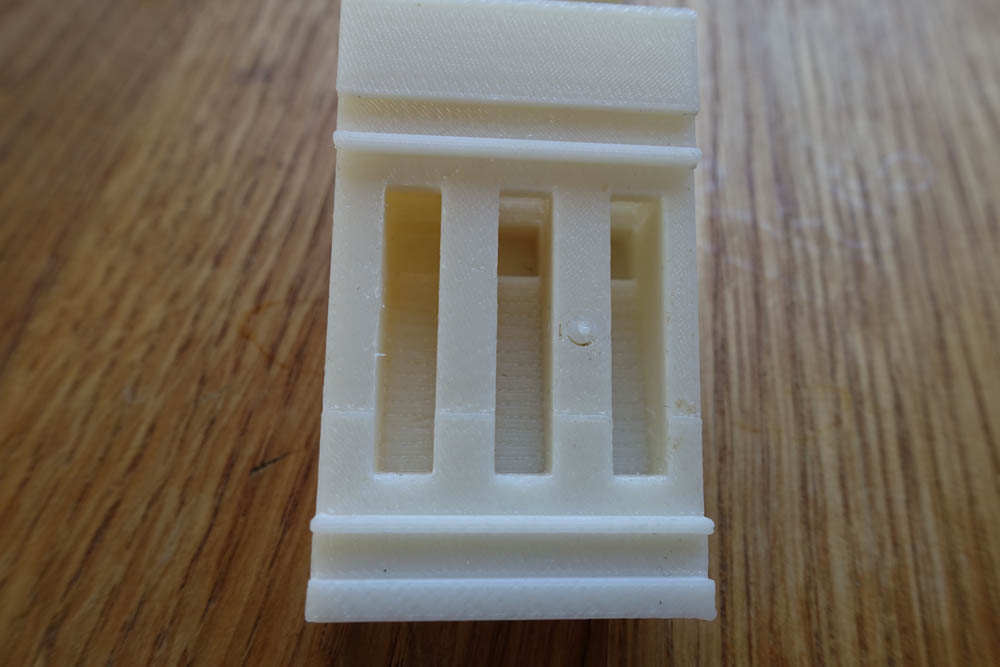
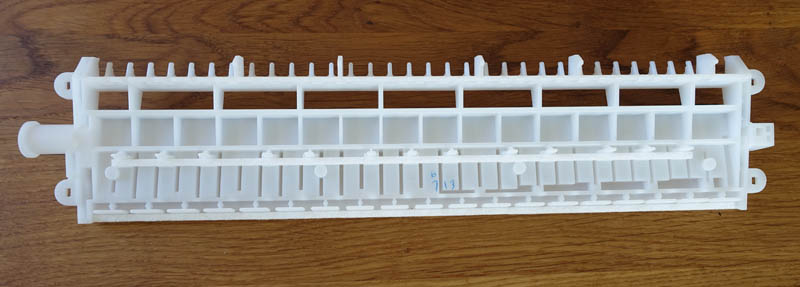
A week later I collected the printer again, having been assured that there was nothing wrong, and continued with my printing attempts. Well, the shuddering had stopped, but still no success with printing out the first melodica key. I tried everything the shop suggested – days of recalibrating the two nozzles, resetting switches, trying different software (I even bought extra software for $140) and endlessly levelling the base plate, to no avail. Here’s one of many failed attempts:
The reality of 3D printing
During the following week, I became intimately acquainted with the working of a consumer 3D printer, and became active on the printing forums, which really opened my eyes about the reality of consumer 3D printing. (FDM) Printers at this price point (under $5,000) are very basic machines, and require regular ‘fixing’. When they do work, they’re not capable of precision modelling at all. Machines that are able to print in 100 micron layers (one tenth of a millimetre), do not actually print to that level of accuracy. So, even if my machine was functioning properly, the quality and accuracy wouldn’t be up to the job.
My printer was returned once again to the shop, where this time, a fault was discovered, requiring new parts to be ordered in. I’ve asked for a refund, as I can see that this is a dead end as far as building melodicas go.
Going pro
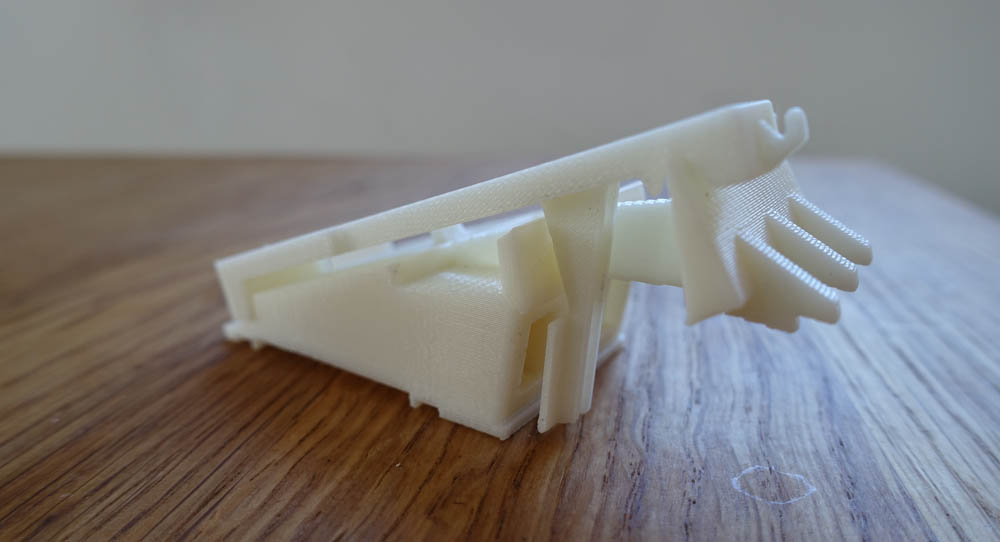
So what next? What about professional 3D printers? Would they be up to the job? I decided to look at two entry level pro models from Stratasys, the (ABS) plastic based Uprint SE, starting at around $16,000, and the resin based Objet 24 at around $20,000. I visited the SYS Systems showroom in Derbyshire, where they printed out some test parts for me to compare – a section of the skeleton, and a couple of keys.
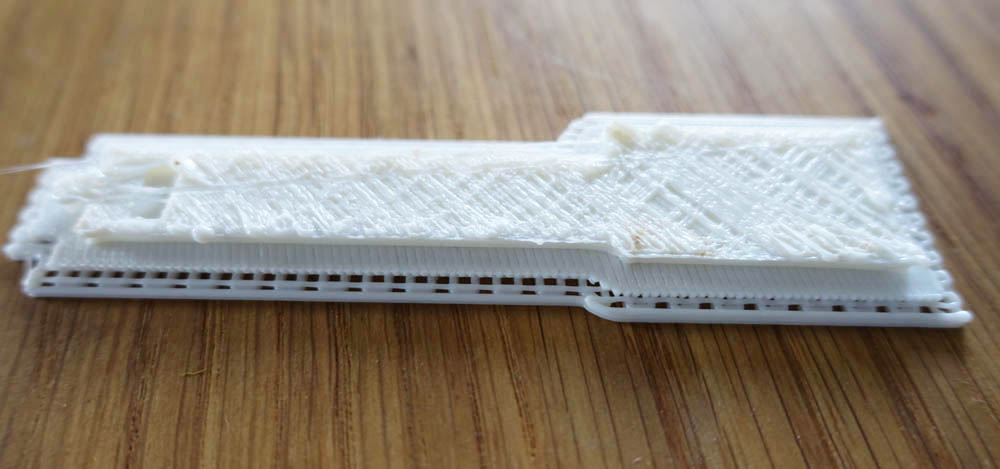
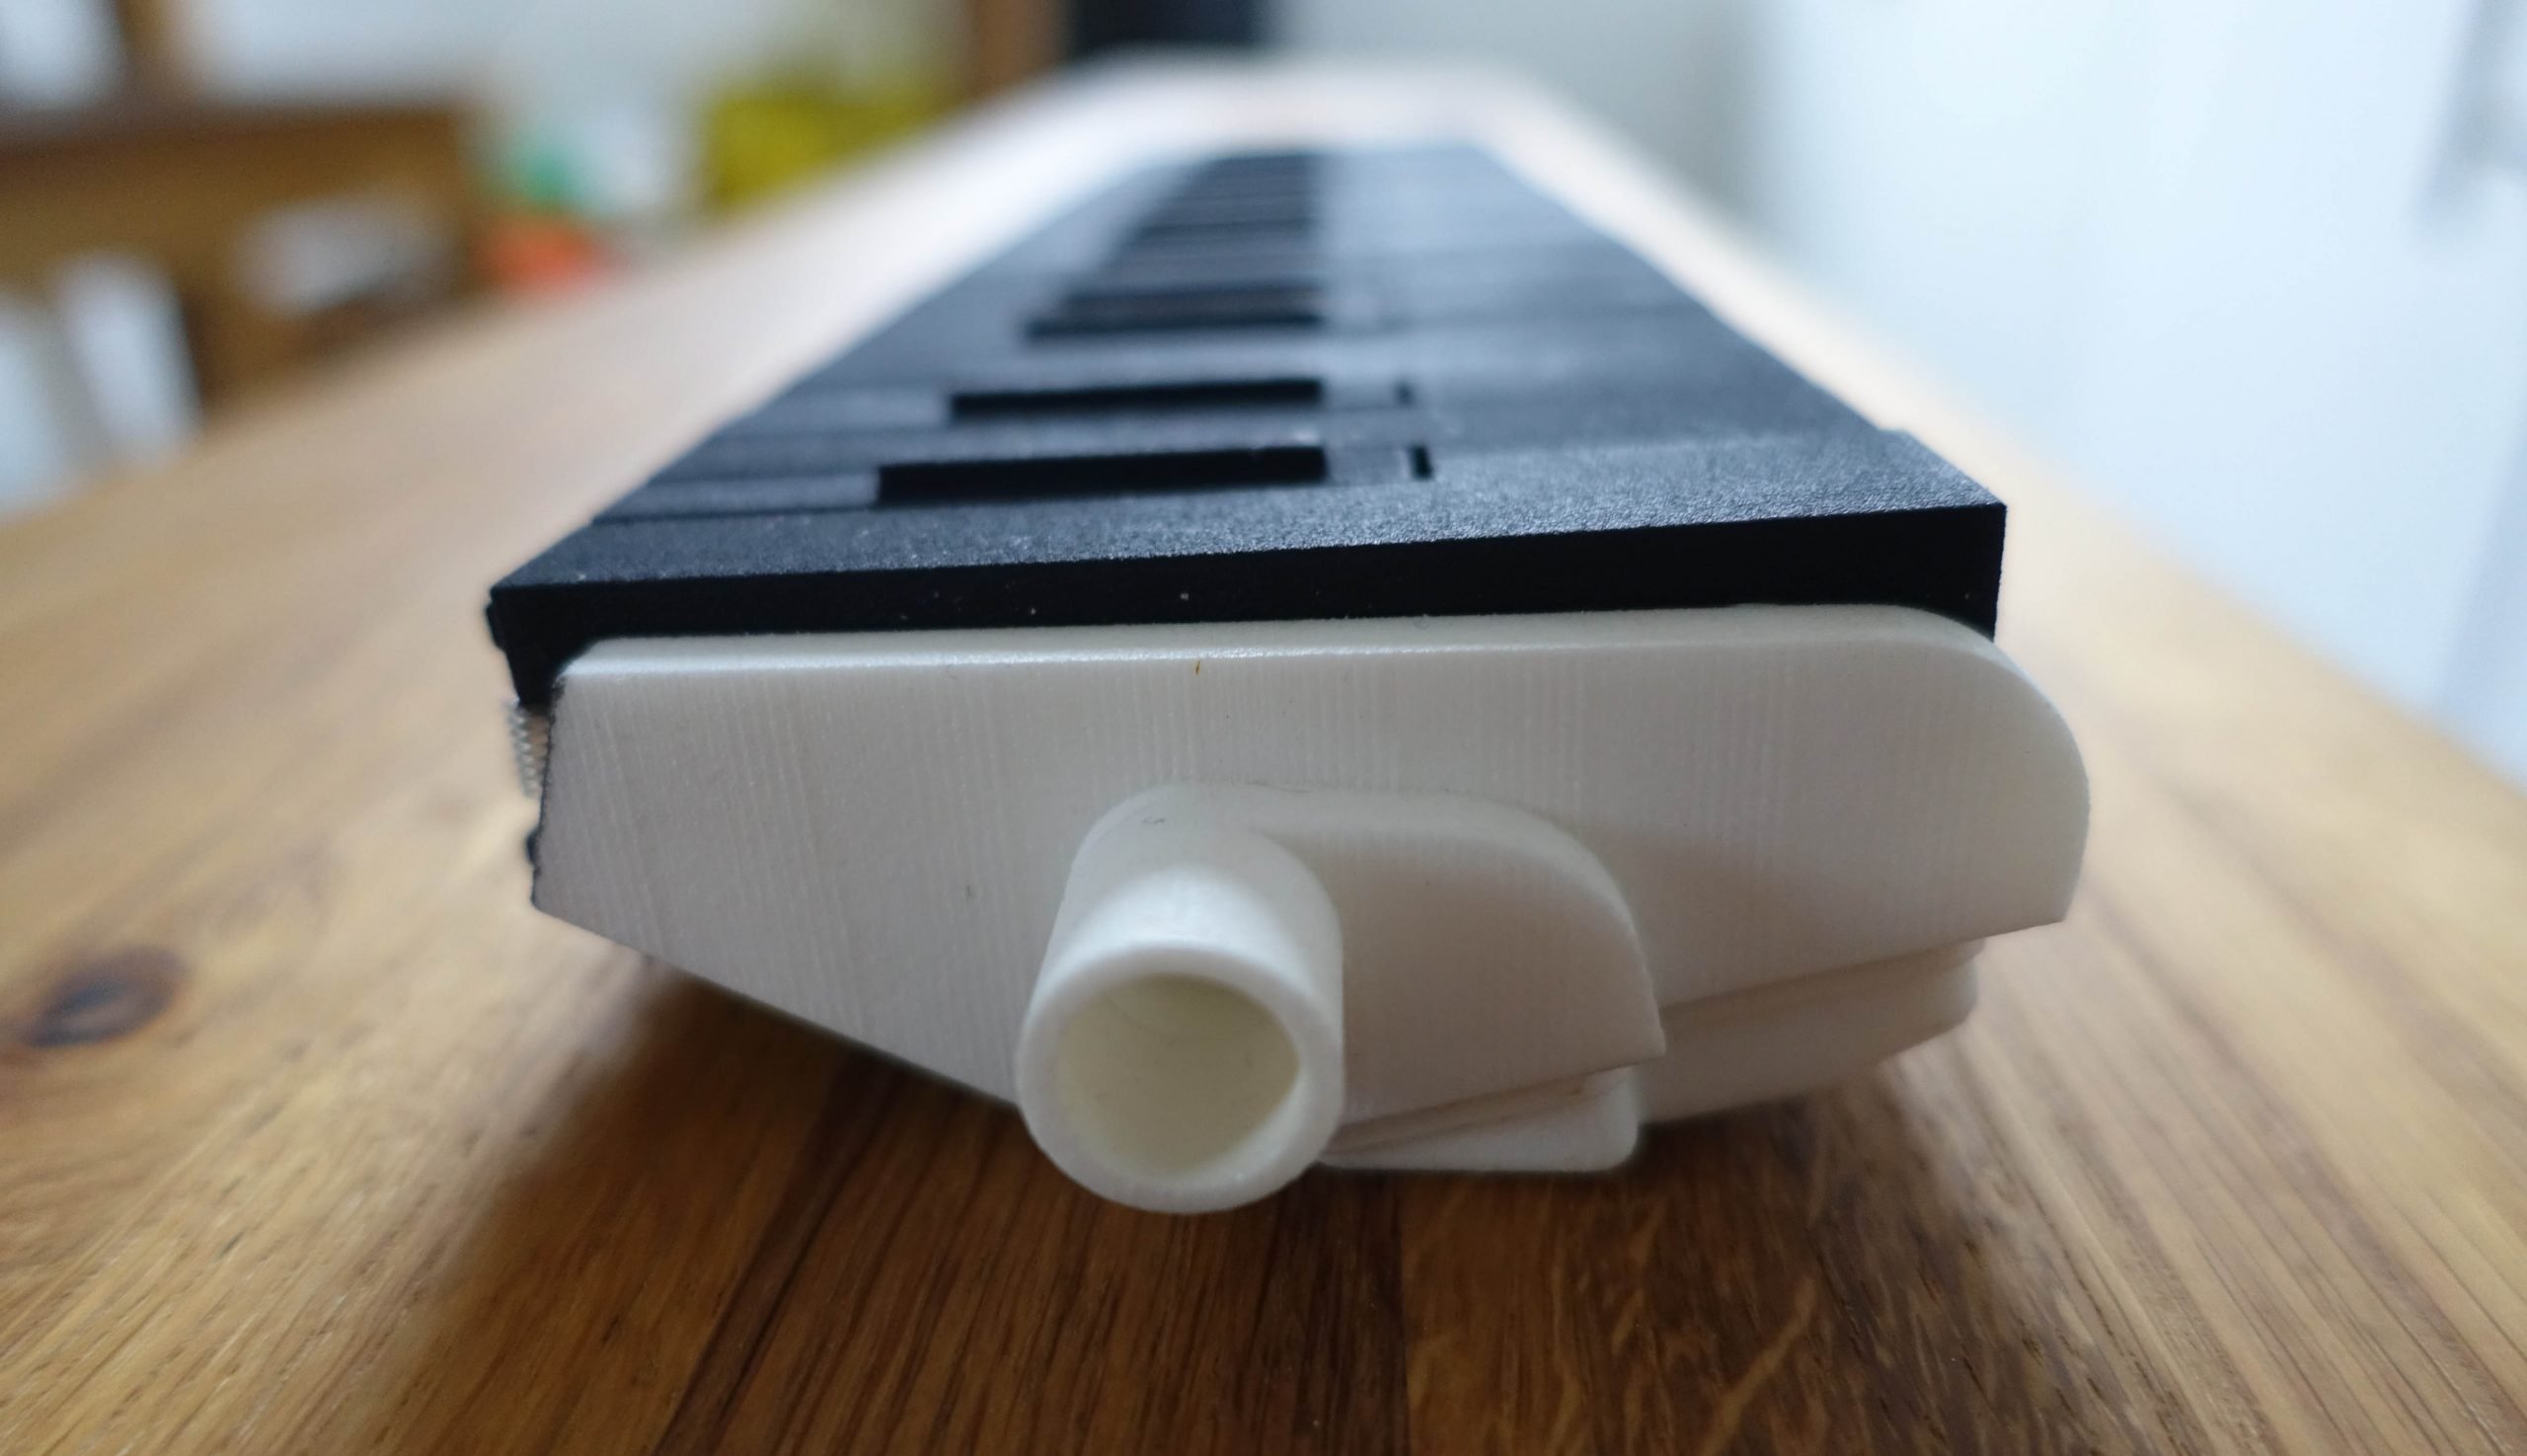
These printers are a world away from what I’d been using, big well built machines with low failure rates and minimum maintenance. The Uprint parts were strong, as they were made out of ABS plastic, but although the skeleton was tough, the keys were flimsy, and could easily be bent. The surface was very rough and small details were completely lost on the keys, meaning any airtight connections were impossible (see the top photo). This is a section of the reed chamber – as well as the grainy finish, there’s a random step:
The way forward
The Objet 24 parts were much more accurate, and the keys less flexible, with the necessary level of detail required for airtightness. But the material isn’t as strong as plastic, and it’s considerably more expensive. Having said that, I do believe the quality is sufficient for printing out a functioning melodica.
I’ve realised that although melodicas are very simple instruments, they need to be manufactured with a high degree of accuracy. They’re made up of multiple moving parts which interface with each other to make airtight connections. A tiny imperfection can have a large effect on many areas – the evenness of a key’s motion, the ability to securely attach the reed plates, or opening and closing the air channels without experiencing leaks.
But at $20,000 for the most basic professional 3D printer (not even big enough to print out the complete skeleton), I’ll be going back to plan A, and using the services of a professional 3D printing company. At least this time, I know which printer and material to specify!

Why plastic? Whay not light metal?
You can also use small CNC router. http://en.wikipedia.org/wiki/CNC_router
CNC is similar to the 3d printer. CNC routes out shapes form piece of wood, metal, plastic etc.
May get better sounding and function than 3d printed plastic.
CNC is an option for making a melodica, but not for this efficient ‘one-piece’ design, which has its roots in injection moulding. ABS plastic was a consideration, but I decided to go with resin, as I needed a higher degree of accuracy than I could achieve with plastic 3D printing.
Hi Troy,
Here is a new TED talk you may be interested in on the future of 3D printing.
http://www.ted.com/talks/avi_reichental_what_s_next_in_3d_printing
Regards,
Lowboy
Thanks for that Lowboy. A lovely little talk. Just a matter of time until we all have 3D printing machines in the home… 🙂
Troy, if at the end you need a true flat surface you can probably achive that with a small drill press and a milling table with a small sanding disc. I have used these for my model parts that needed to be machined. I did not have a large mill or even a small mill to work with so the next best thing was the drill press. Let me know if you need some pointers
Melodica-Me
This is very interesting MM. I need to look into this. If I can clamp the part to the table at a specific angle, it could potentially work very well. Both areas that need to be flat and smooth are on the skeleton (main body). The area is long and rectangular, but they are both recessed, bordered by an area a couple of millimetres higher. It might be difficult achieving square corners, but even still, I could get around this with some small design changes.
Troy,
What an effort and thanks for passing on the knowledge. You are taking on a momentous task. Having worked in product development and R&D groups for much of my career, I know how challenging the work can be to bring a product to a finished state. An entire team of experts can take years to develop even what appears to be a simple medical instrument. But the work can be exciting and rewarding as well.
Regards,
Lowboy
Thanks for the encouragement Lowboy. You’re right, I realise now how big a task this is now, and how long it will take to make something worthwhile. But it’s been invaluable. I’ve already learnt so much about the instrument, different types of construction materials, reeds, systems etc, and I’m always learning more. I’m loving it.
So, it was primarily the reeds themselves which required ultra-high precision?
I’m having trouble articulating this idea, but if you aren’t able to get your refund, it might still be cost effective to print *some* parts of your melodica at home, and source out only those components which don’t print reliably on the consumer level printer.
Hi Aaron
No, not the reeds – I won’t be able to 3D print them! It’s where the reeds sit – I need a completely flat surface. Same where the pads cover the air chambers, I need a level surface. And I need accuracy where the keys hinge on the main body, and for the guides which keep the keys in place when they move.
Also, a consumer 3D printer isn’t able to print overhangs accurately, as there isn’t a separate support material.
So, yes, as you say, some parts could be printed, but bear in mind, there’s only the keys and the main body. The keys could be broken down into simple components, which would make them more accurate. For instance, the key top and the key post could be made at home, and the key pad (which requires detail) could be sourced out. But they’d all have to then be assembled and glued. Probably easier to get them made in one piece, in one go…
Your aim, I guess, Troy, is to 3D print a working melodica, rather than just a model. But there’s something to be said for the latter, if that’s as far as it can go given the existing technology.
Alan, my aim is to make a functioning melodica, which looks and sounds good. There’s a few ways I could go about this, but 3D printing looks to be the most practical so far. It seems I will be able to use the existing technology to do this if I employ the services of a 3d printing company. The design is intricate, but with the right machine and material, I’m sure it can be achieved.