

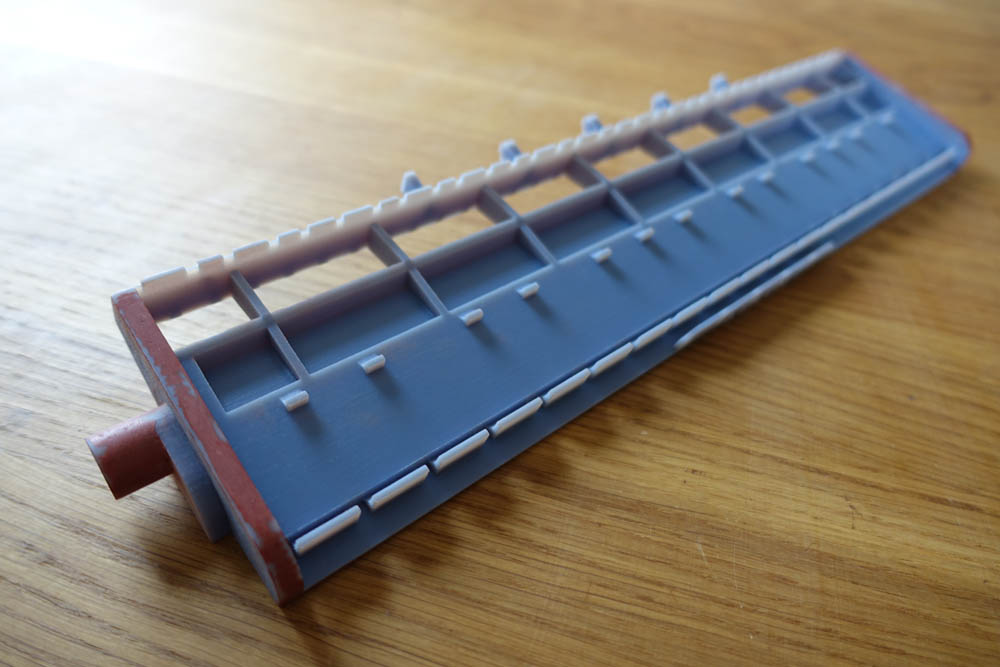
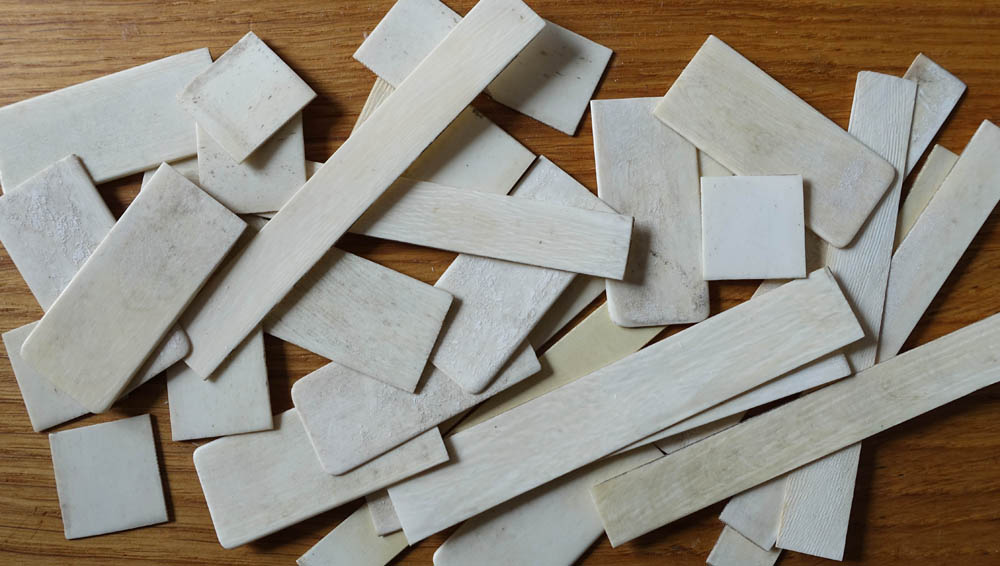
The new melodica keys have arrived, but before putting all the parts together, I decided to try painting the main body.
The main body (‘skeleton’) is made from Polyjet material which has had extra UV treatment to make it even harder. Although Stratasys, the company who make Polyjet machines, say that no ‘finishing’ or sanding is required before painting, my model had many rough edges that needed preparation with fine sand paper. I made a visit to the local car shop, and bought grey primer spray, metallic silver paint spray and clear lacquer spray, and also got hold of some Acryl red glazing putty, for any filling.
Sanding and filling
I began by sanding the rough edges. There were many parts of the model I couldn’t reach properly, which I just left with a sort of rough layered texture. I wanted certain parts of the model to be very smooth, so I applied some of the filler and let it dry, before sanding it.
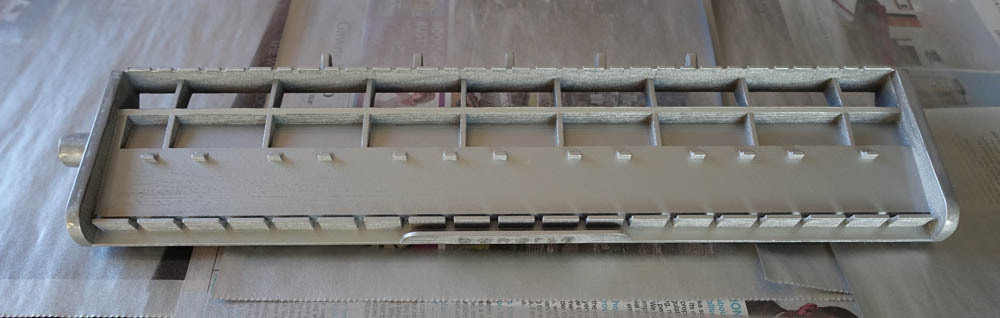
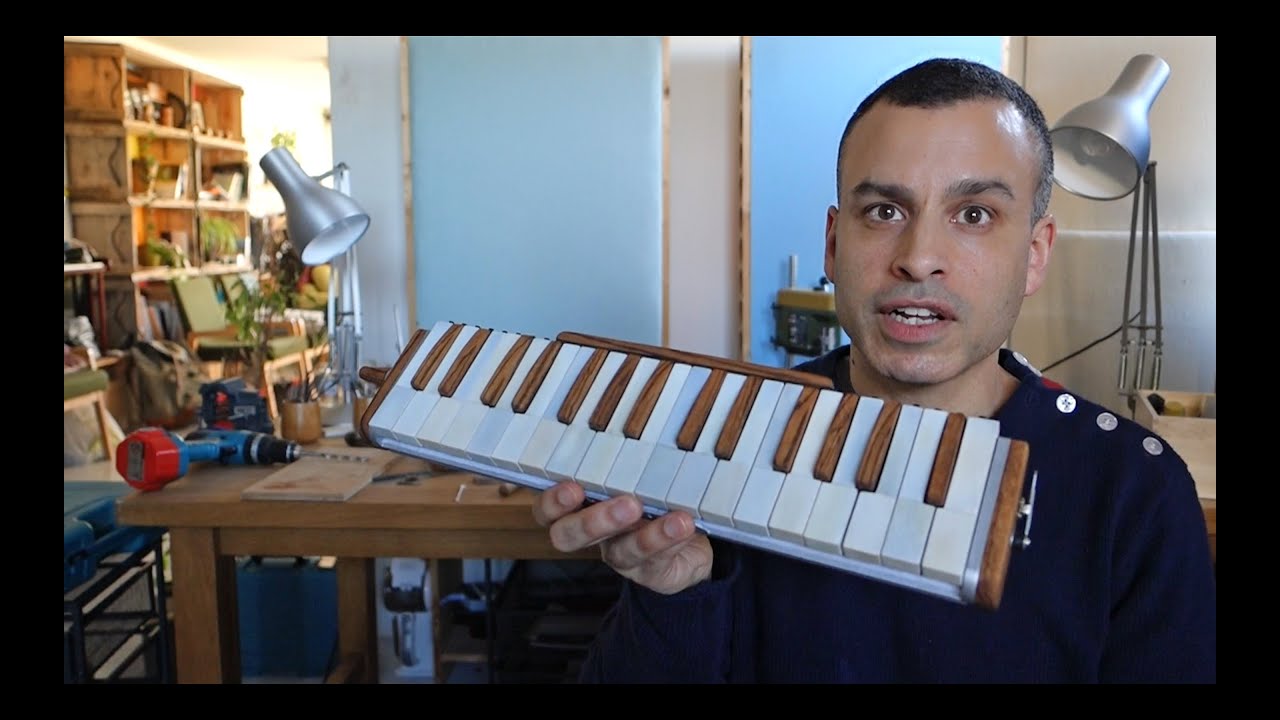
I followed this with two layers of the primer, three layers of the silver paint, and then a couple of layers of the lacquer. It came out looking very good – the rough edges actually look a bit like wood grain.
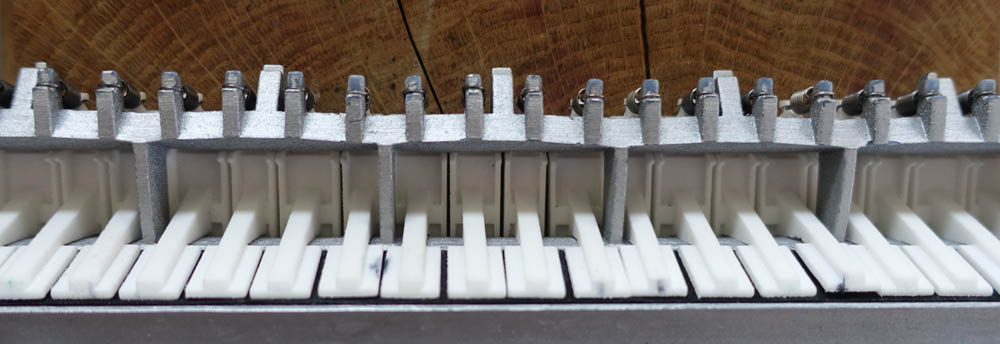
Once painted, I glued on the rubber gasket (salvaged from a Pianica) with superglue. The gasket is there to ensure an airtight seal between the main body and the key pads. It was now time to attach all the keys, add the springs that hold them in place, and see whether I had a basic working melodica!
So does it work?
Well, the good news is that yes, it worked, and had a lovely tone. The bad news was that it wasn’t very airtight. I could press a key to get a sound, but it wasn’t very powerful. Air was escaping from all sorts of unknown places.
Looking for air leaks
After much experimenting, including attaching a tube and dunking the whole instrument into a bowl of water, I discovered the main reasons for air escaping.
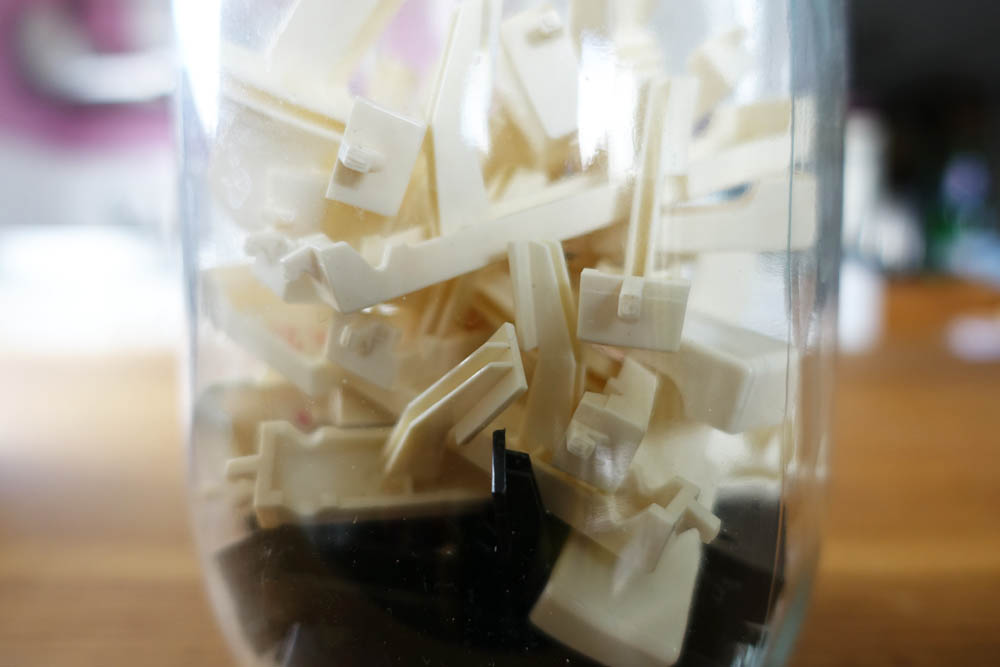
I had designed the key pads with a fine lip around the edges for extra grip when closed. It turned out on closer inspection that most of these lips hadn’t been printed properly – there were parts missing. So I took all the keys off, and sanded the pads flat, which did make a big difference.
The other area was the air chamber cover. It’s attached to the main body with four screws, and the area between the screws was actually bending under the pressure of the airflow, allowing air to escape. It needed more screws to hold it in place. I sealed it with plastic tape as a temporary solution. This made a vast difference.
Further experimentation
I also tried re-attaching the keys with stronger springs, as this would hopefully hold the pads tighter, and keep more air from escaping. It didn’t actually make much difference to the air tightness, but did have another unexpected effect, which I discovered a few days later.
The pressure of the springs began warping the main body, pulling it out of shape! Once this had happened, everything went downhill. The keys lost their places, becoming uneven and stuck, the pads misaligned with the body, leaving my dream of airtightness in tatters.
The next step
So, It’s back to the drawing board, to make a few changes. Key pads with flat surfaces. An air chamber cover with more screws, and a new skeleton in a different material, and extra reinforcements. That should do the trick!

Troy, I would think you can have the skeleton CNC’d out of aluminum that you be very rigid. I can’t find the information I sent you a few months back of a place that did one offs pretty cheap. As long as you provided the design. May not hurt inquiring.
Melodica-Me
Hi MM, yes I like your idea of CNC. Even CNC’d timber would probably be strong enough. I still want to see if I can finish this with 3D printing now I’ve started, but if it fails, I will look at CNC. It would entail quite a substantial re-design…