Many of you know that I’ve been obsessed with the melodica for many years now.
As a pianist, my dream was to have something small and portable I could take anywhere and play in any style I wanted.
So I took some time to learn how to play the melodica well.
But there were two big problems.
The instrument looked look a toy, and although there’s a place for that dirty melodica sound, there’s times when I longed for a pure, beautiful tone, which would be as at home with a classical orchestra as it was in dub reggae.
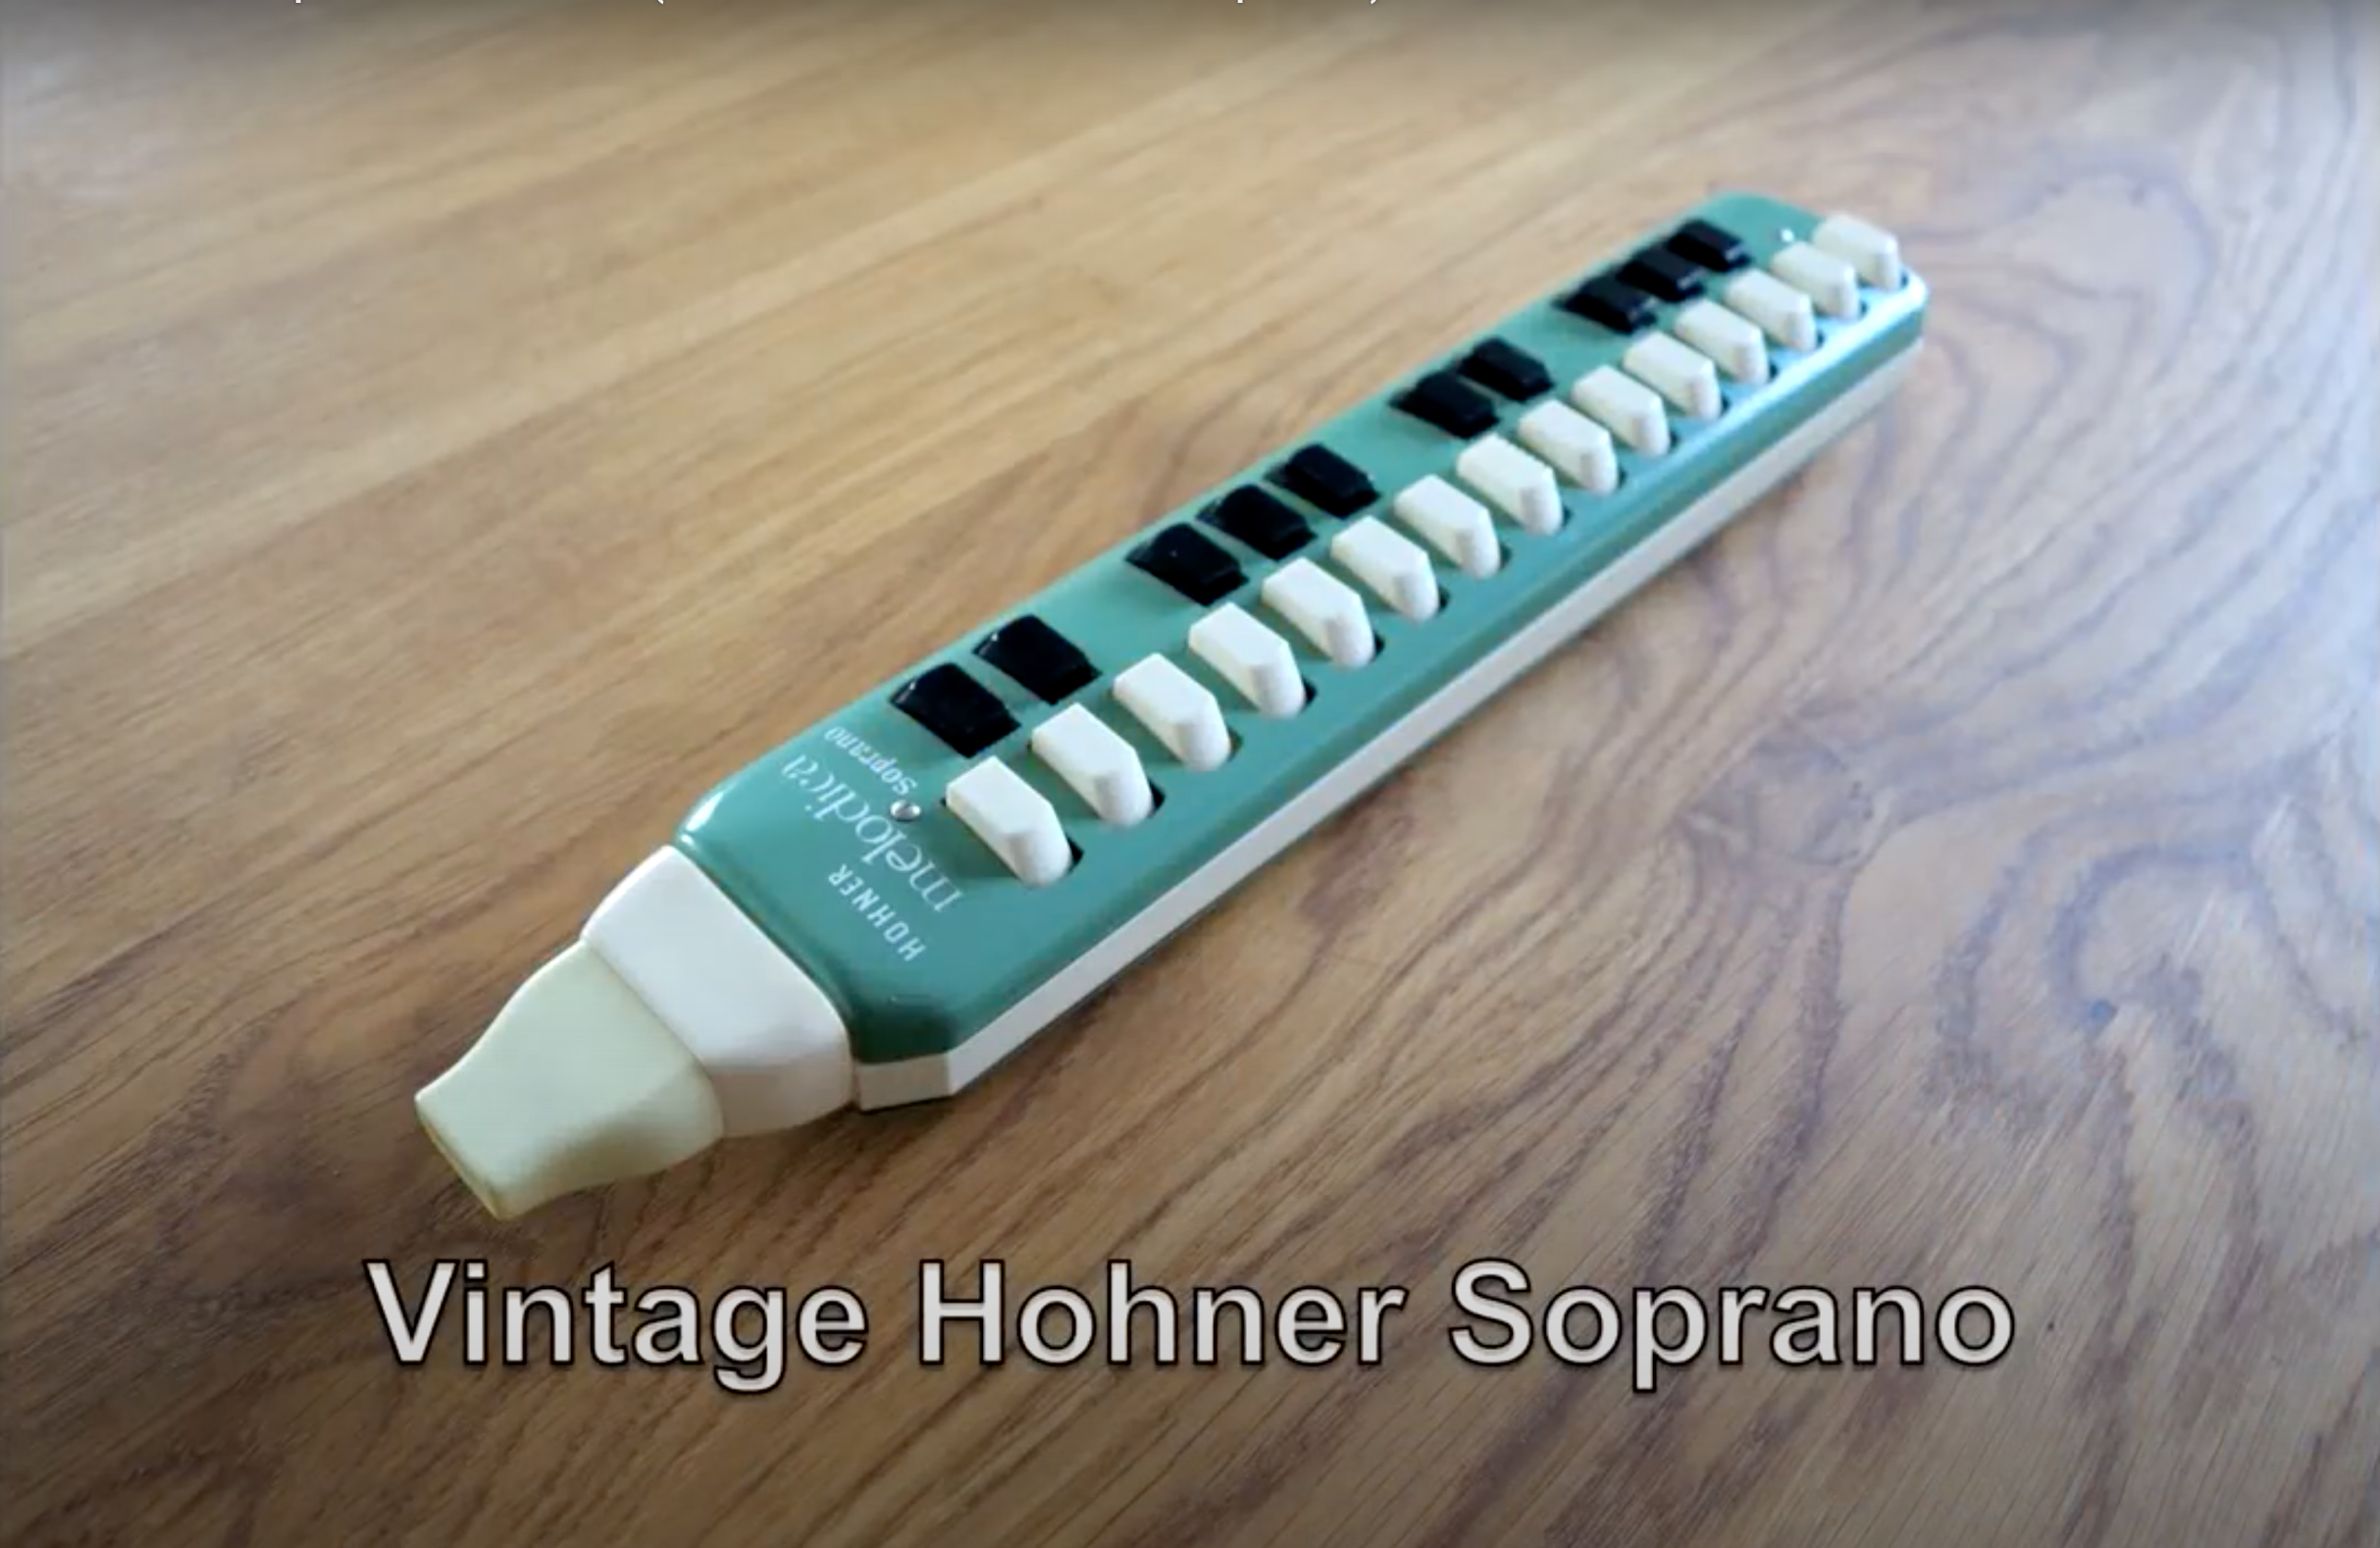
These mega melodicas have been attempted before.
Notably the, now discontinued Vibrandoneon which I made a video about. But these accordion style instruments just didn’t do it for me. I find them too bulky and cumbersome, with heavy keys, and requiring so much breath. They’re just not fun and expressive like the cheap ones.
So I knew what I wanted. It needed to be small and light, it needed to sound warm and smooth, to look good, like a serious instrument, but above it all, it needed to be easy and fun to play. For me that’s what a melodica is all about.
But where do you start when you know nothing?
I’d done a basic evening woodworking course at my local college a few years back. This took away some of the initial fear of making something. But apart from that I didn’t have a clue.
I knew this wasn’t gonna be a short term project.
My first thought was to learn how to do do 3D design.
So I went onto upwork.com, looking for a teacher who could show me the way. I found a great local guy, who came round for a few afternoons. He introduced me to the idea of reverse engineering. That’s where you take something apart to see how it works.
So we took a Yamaha melodica apart, and sawed right through the middle of it.
In my lessons, I learnt how to recreate the melodica as a digital construction, so I could look at it from all angles, and make changes as I went along.
I took away the bits I didn’t like, and just tried to make it look a bit better.
Once I had completed a virtual model on the computer, my teacher suggested I try 3D printing it, which was a great idea.
I didn’t have my own printer, but I was able to email the files to another company, who sent me all the parts in the post. I also acquired some tiny machines, which I set up on the kitchen table to cut miniature pieces of wood. I was so excited when I put that first instrument together.
But my excitement soon turned to disappointment and frustration, when it didn’t work the first time.
This was a feeling I had to make friends with, because I soon realised that it’s all about the laborious process of trial and error.
The 3D printed material was too soft, there were air leaks, the leather was too stiff. It’s an endless list! But I ploughed on, and eventually the day came when I had something I was really proud of.
But it didn’t end there.
I still didn’t have that instrument of my dreams, which could rival the instruments of the orchestra, and really take the melodica to its full potential.
My quest continued through some very rocky times.
It’s not been easy at all.
I’ve given up many times, only to find myself not being able to let it go.
At one point, I enrolled in a postgraduate research degree, at the London Metropolitan University, who were well known for their instrument making history. But I dropped out quick quickly, and decided in the end to hire a desk at a shared makers’ space in East London.
That was a great move, and it gave me the space and community to continue in my own time.
That was a few years ago. And I’ve been slowly acquiring a set of tools, mainly in miniature, normally used for model making, while also gaining experience. I’m getting it wrong over and over, and then I try again.
One thing I’ve learnt from all this is patience.
A made a few complete instruments at the workshop.
That was a really good exercise in getting experience in all the aspects of instrument making, especially the woodwork.
Typically, after each failed prototype, I’d announce to everyone that I’d given it my best shot, and it was time to throw the towel in. And I would give up, but after a while, I couldn’t help trying again with different techniques.
This is my original 3D printed melodica.
I still think it looks great, but its a bit rickety, and doesn’t have an outer case for resonance. I documented the whole process here
After that, I made several attempts at using parts from existing melodicas.
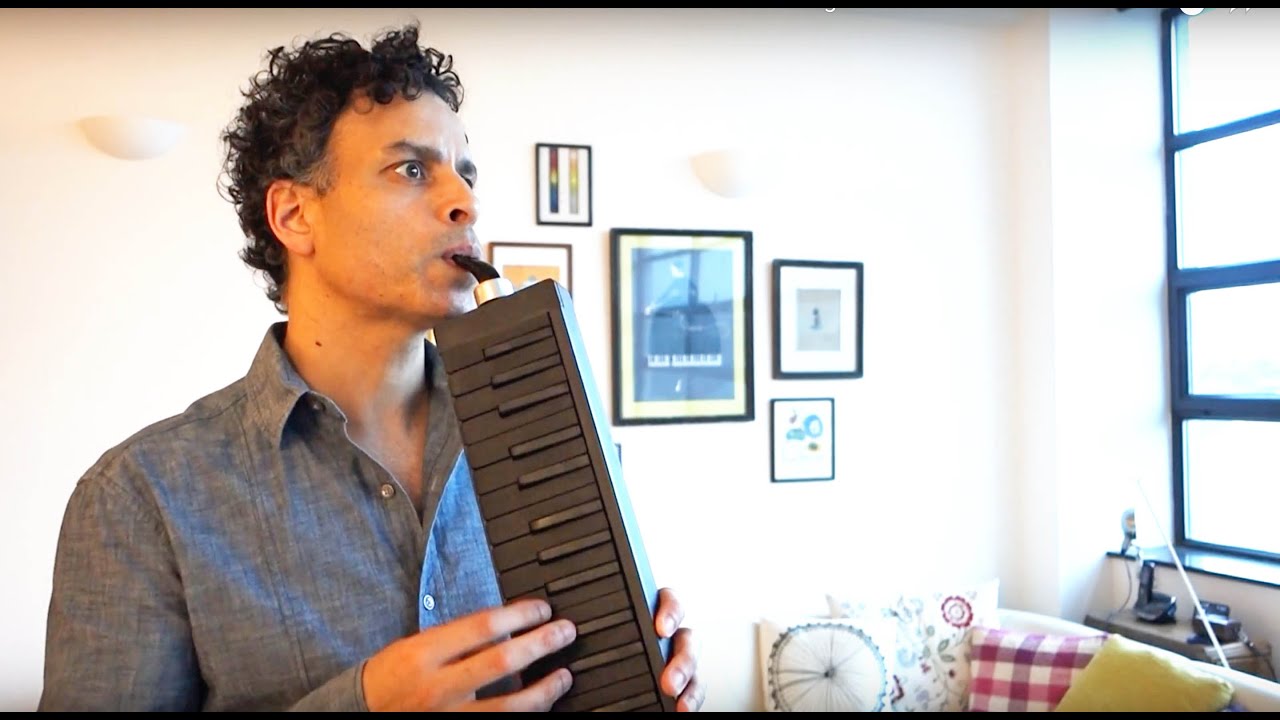
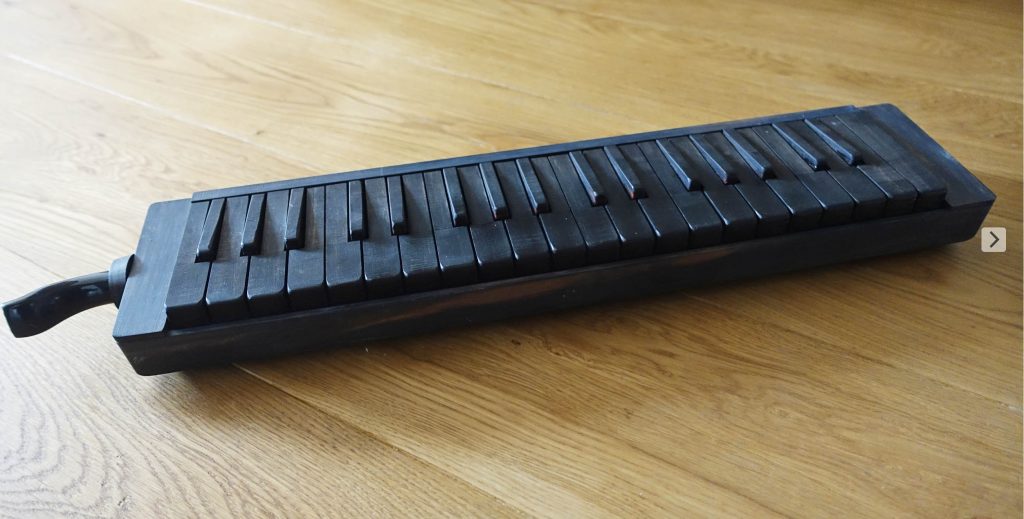
I experimented with upgrading various elements, sometimes the reeds, or changing the plastic case to a wooden one. My favourite from that period was this ebony model, which uses the reeds from a Yamaha melodica.
From my research, it seemed that ebony, as a tonewood, would produce a bright sound. But this was actually the warmest sounding wooden melodica I’d made so far.
The sound has mellowed over the years. I still use this one a lot because it has a combination of great sound, and its easy to maintain – I know the reeds are relatively cheap and easy to swap over when they are old.
For my latest melodica, I wanted to have a waterproof inner chamber, so it could cope with the moisture from the breath, and not suffer from the mould issues of the Vibrandoneon.
I also wanted top quality accordion style reeds, and have it encased in timber, for a warm expressive sound.
I decided to go back to 3D printing for most of the internal mechanics, and made another prototype with a wooden case and keys.
In this one the tone was great, but it was a bit too quiet, and just too bulky. A big heavy melodica is just not fun to play!
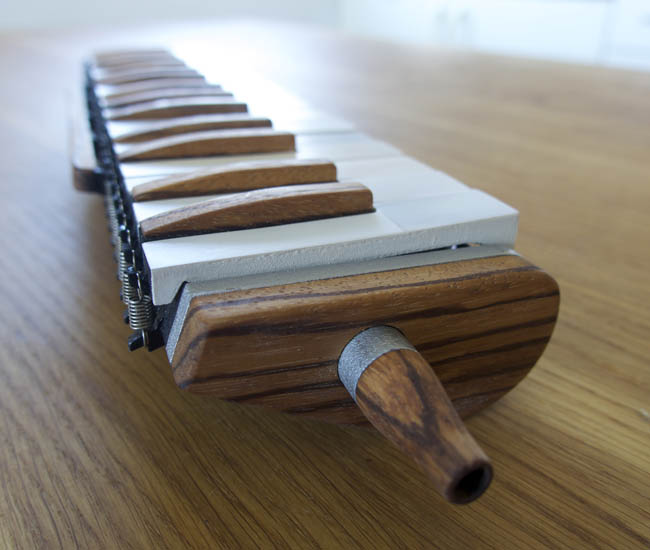
So I worked on reducing the size, and maximising the volume, while retaining the warm tone. I made this one from zebra wood, with metal key tops.
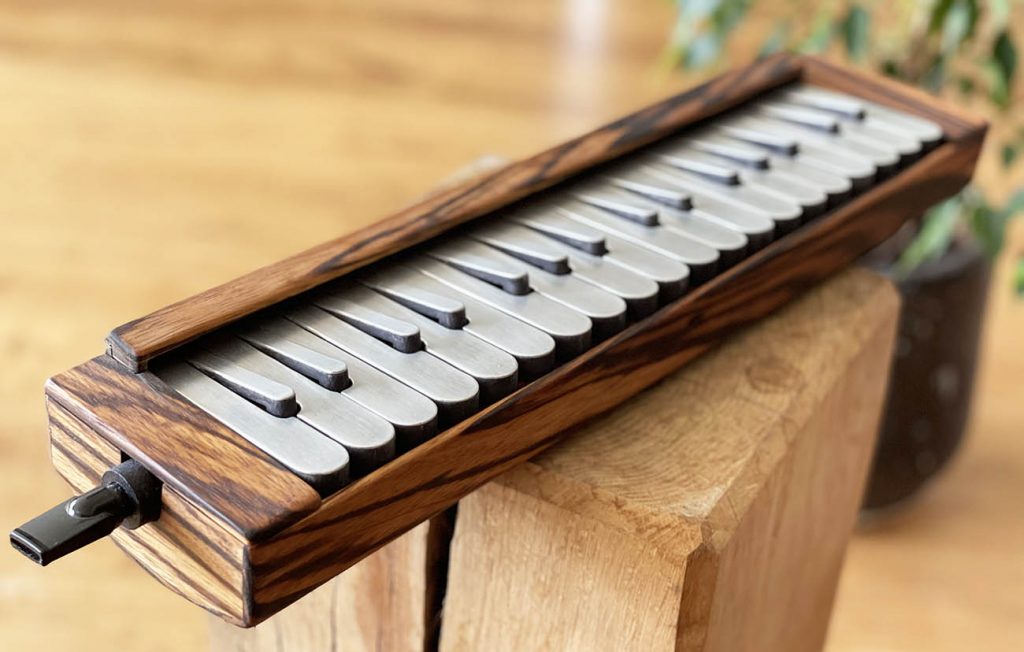
I was so happy with this initially, and thought I’d cracked it. But there were problems. There was something about its expressive feel, and a variation in tone between some of the notes.
I was disappointed and worn down. This was my biggest giving up point. I’d given it my best shot and decided to stop working on melodicas. But a year later, I was back, and decided to give it one last try.
And I’m so pleased I did.
This time, I’ve got something that I am really happy with.
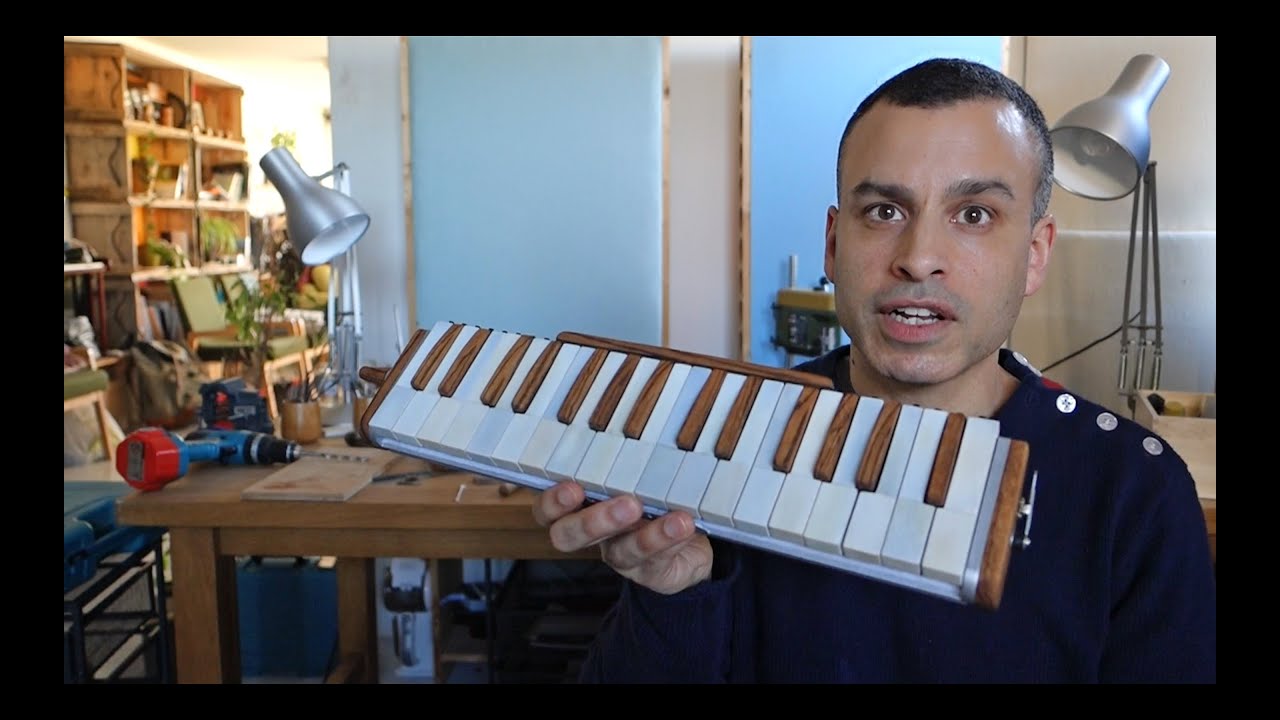
At its core, it uses a mix of materials – 3D printed resin, leather, rubber, metal, bees wax and accordion-style reeds, and it’s enclosed in a lightweight wooden case.
The timber I used is spalted maple, which is a tonewood, often used in instruments for a clear transparent tone.

I decided to keep the metal keys with rounded ends, from the last model, because I liked the look and feel.
Each key is made of 4 sections, and takes ages to make! I have to cut pieces from a 3D printed strip and file them down to size. I also cut some lengths of aluminium tube to size.
The main mechanism is 3D printed – I got them printed in one section which I separated later.
I got the key tops laser cut – that’s where a machine cuts them from your computer file, and I glued them in place.
The edges needed filing down to make them smooth. Then I add the metal posts. I didn’t add the last bit of the key until all keys were in place on the instrument, so I could fix them at just the right angle.
I used beeswax to keep them in place, so I could make adjustments later if need be.
When I first put it all together, it didn’t work properly straight away, but I knew from experience not to panic this time.
There were bits and pieces to adjust. Stiff keys, some leaking air, some mechanical noise. But after the adjustments, I was delighted.
This was the melodica I’d been dreaming of!
It took me 7 years to make in total, because I wasn’t doing it full time, and because there was so much trial and error involved.
But it’s taught me that when you really want something, or you have that strong creative impulse to bring something new into the world, it is actually possible.
I think you have to begin with your imagination, really allowing yourself to imagine anything you want.
And then you need to get practical.
Seeing where it is you have to get to, and breaking the journey down into manageable stages, creating a methodical plan of action.
Of course the plan changes as you go along, because who knows what you’ll encounter along the way.
But having a plan in place can get you started on the journey, taking those first steps.
I’m so glad I stuck with it – I have a great sense of accomplishment now, and I’m ready to make something else!
So tell me, what are you inspired to make? Let me know!