
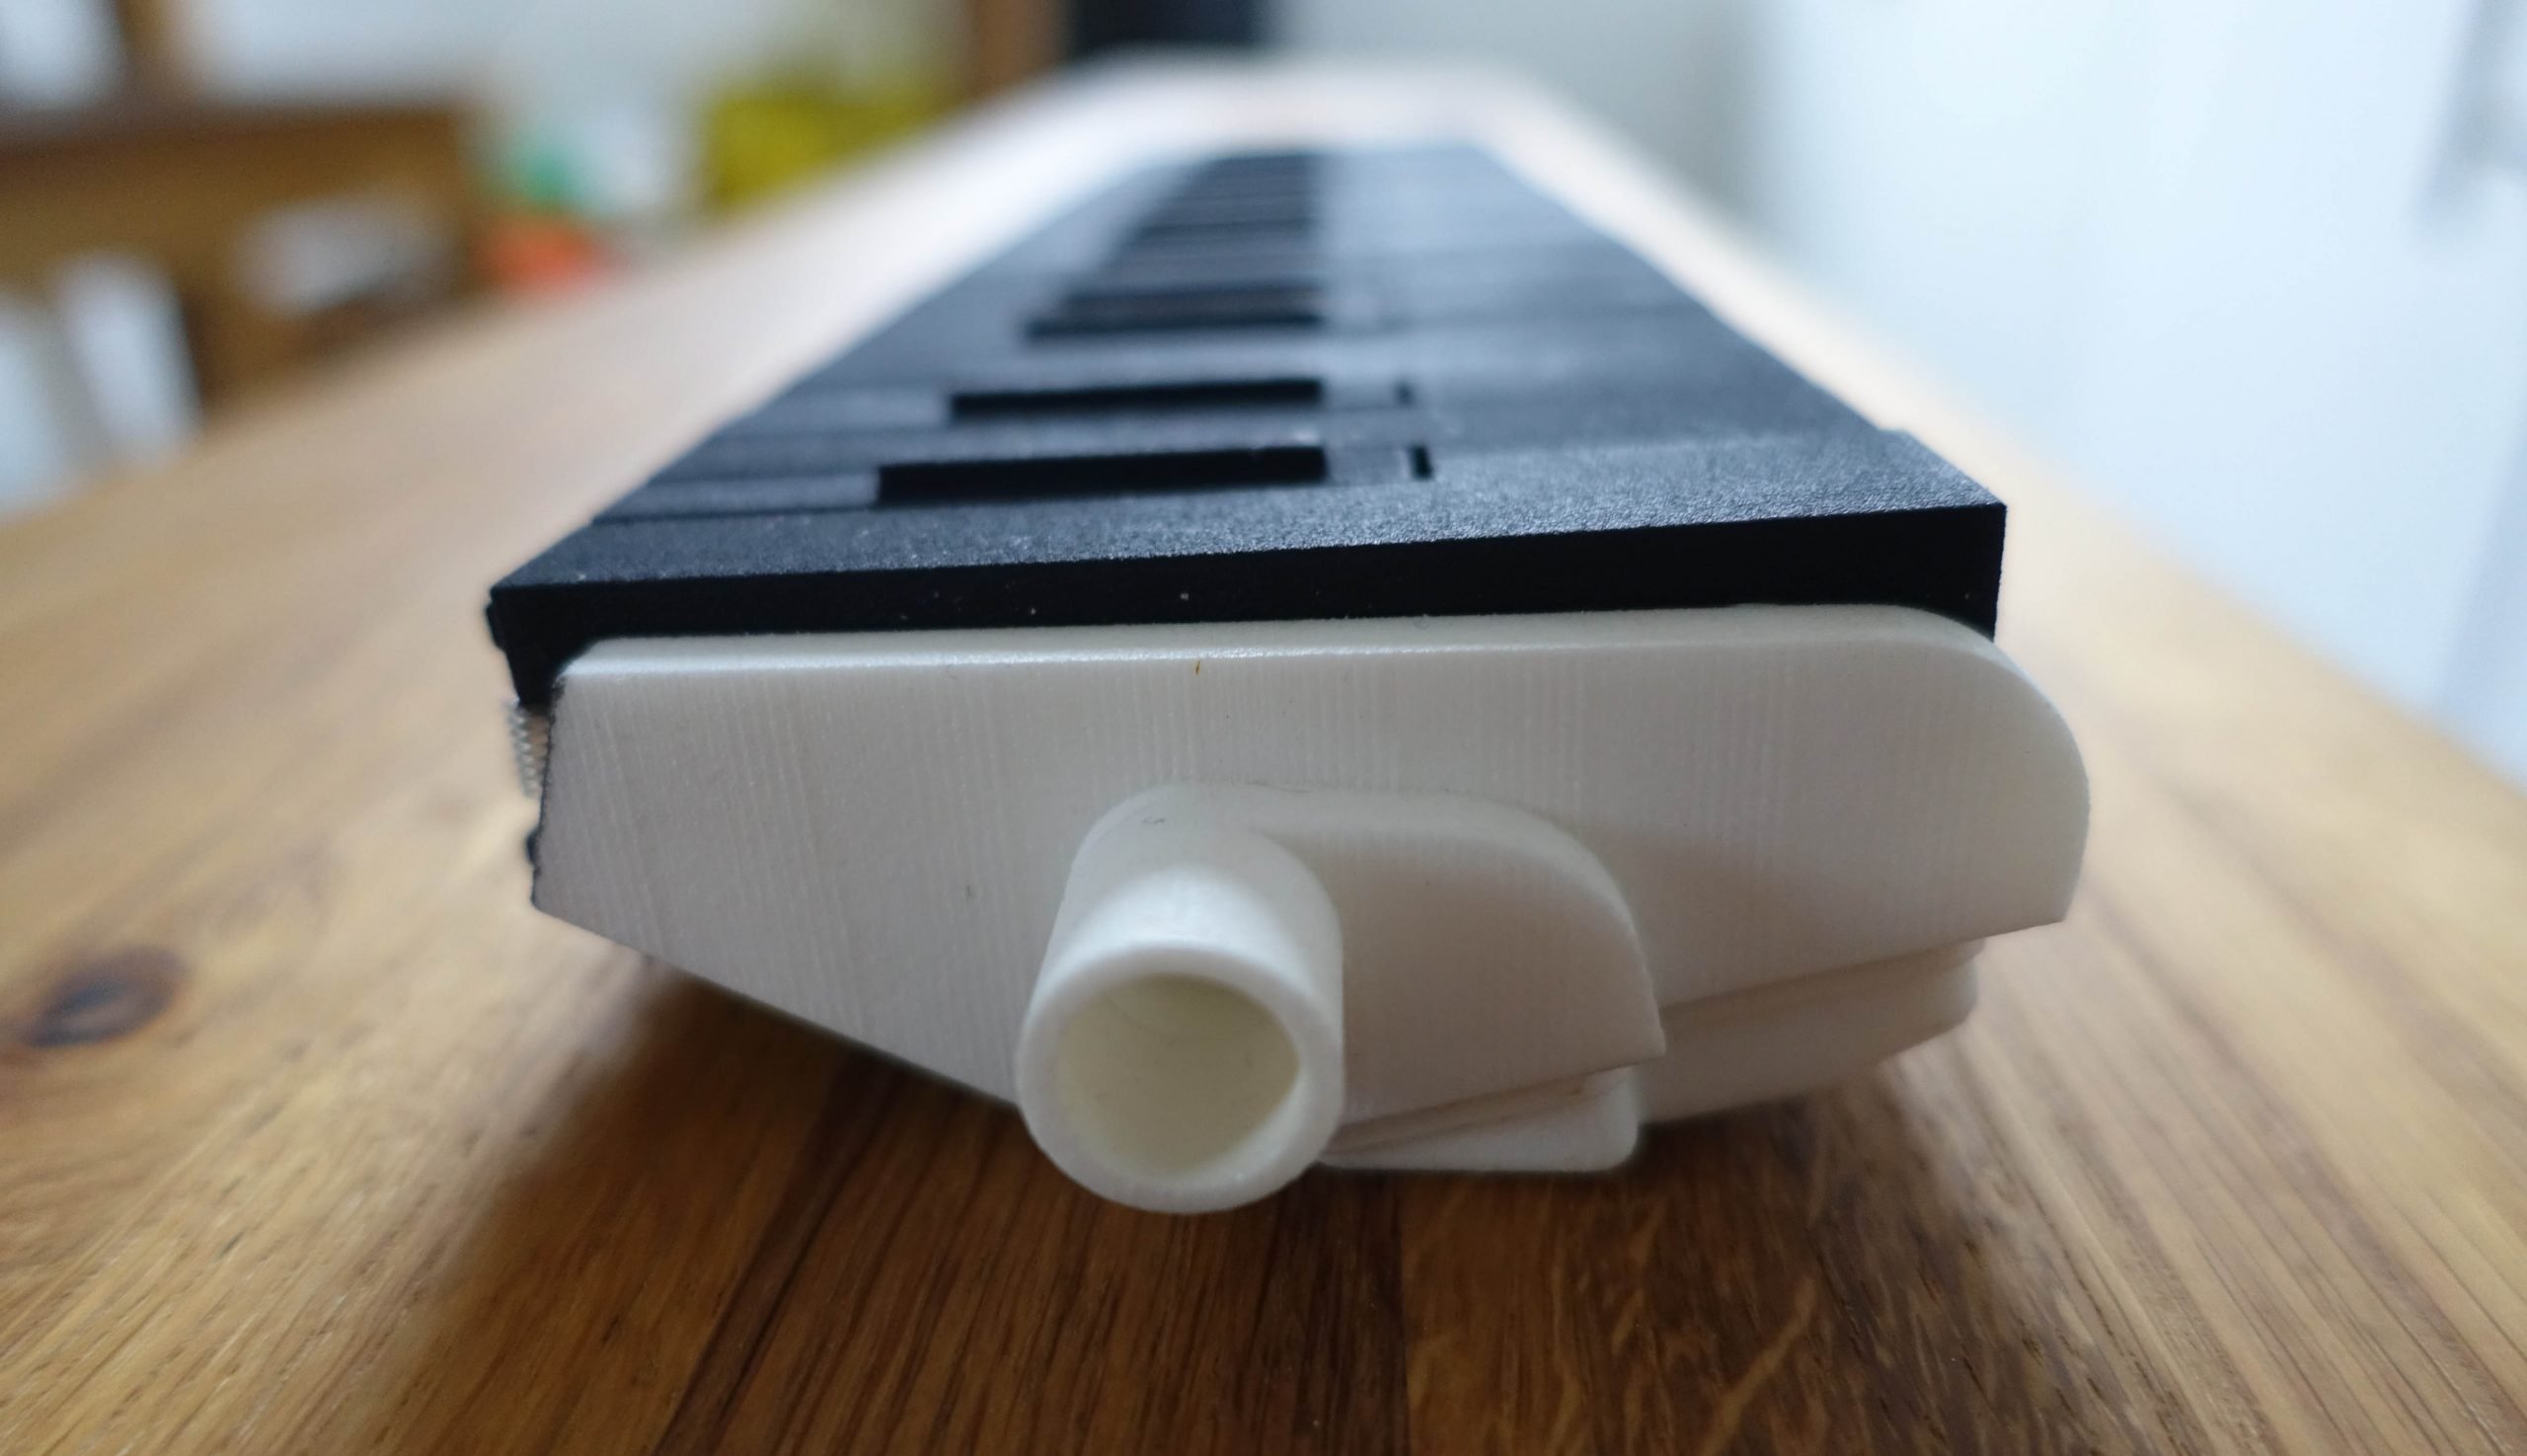
Once I knew that this melodica was airtight, and working well, I can finally get to my favourite bit – making it look nice!
Ivory ‘white’ keys
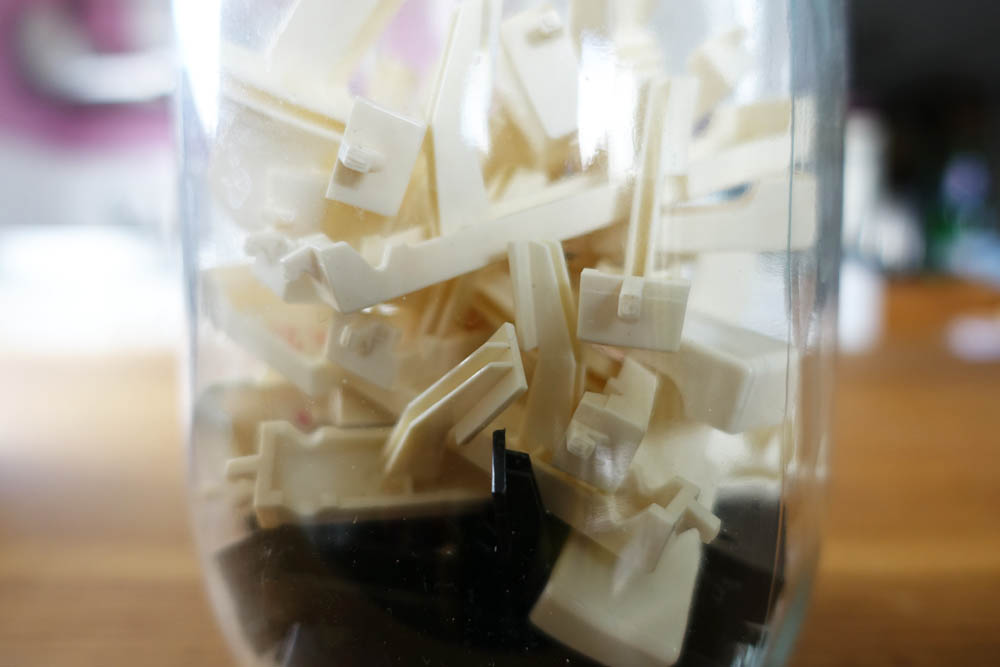
I started with building the little piano style keys. I already had some ivory pieces salvaged from an old piano.
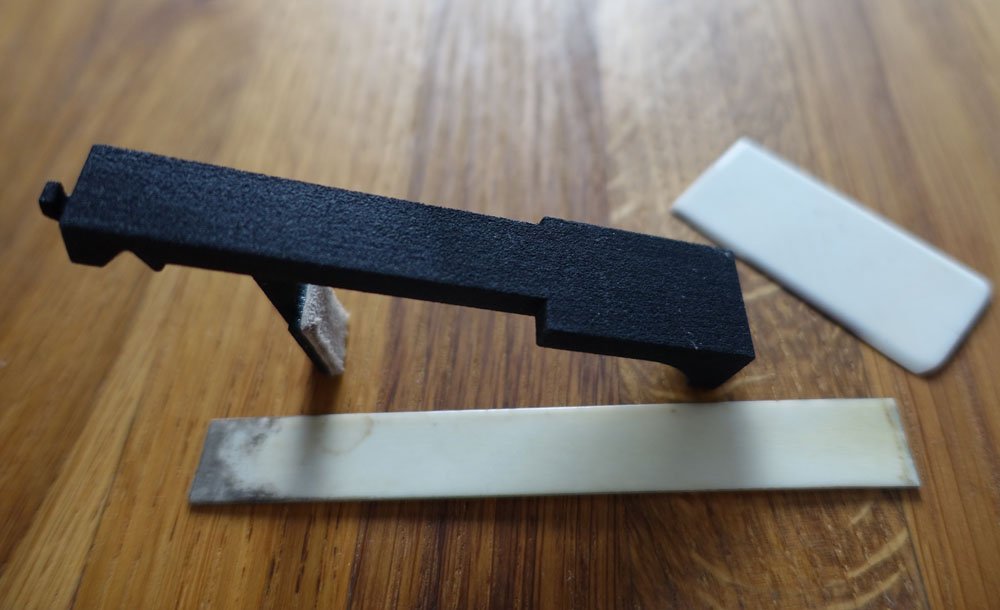
It was time to cut them to size. Of course, I needed a new machine just for this purpose, and found a lovely miniature table saw (Proxxon KS 115). Once trimmed to size, I used PVA glue
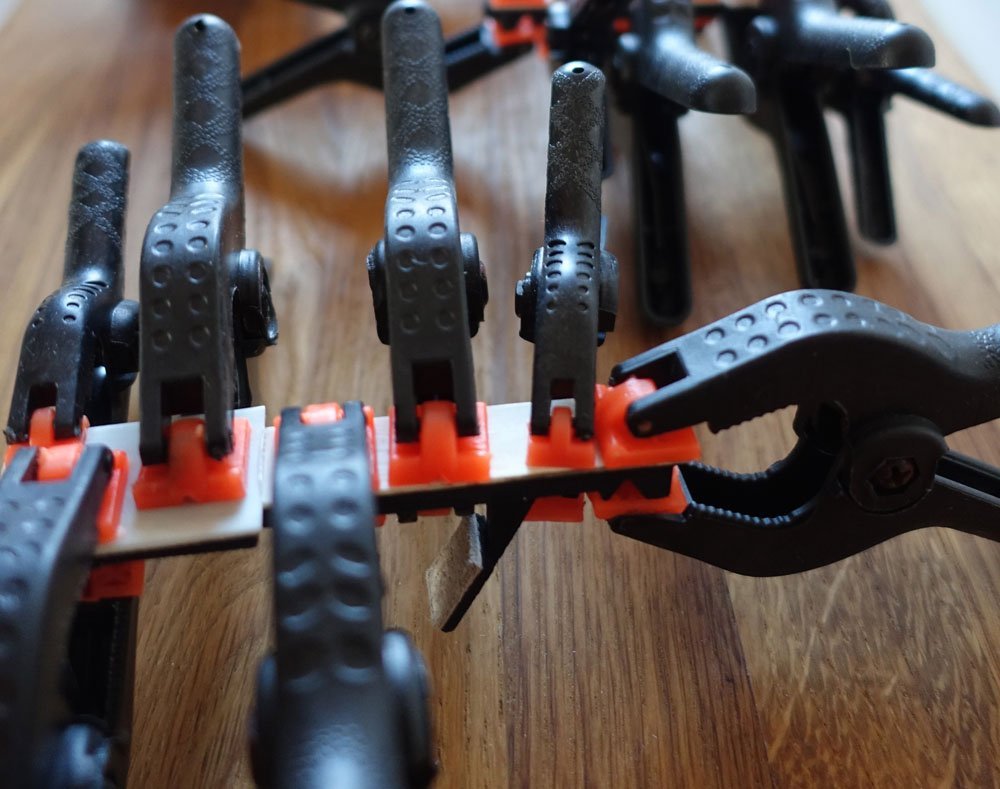
to attach them to the surface of the 3D printed key bases. I left them overnight with some strong mini clamps
.
Once the glue had dried, I trimmed off any excess material with sandpaper, and also sanded the surface of the keys to make sure that they were all level.
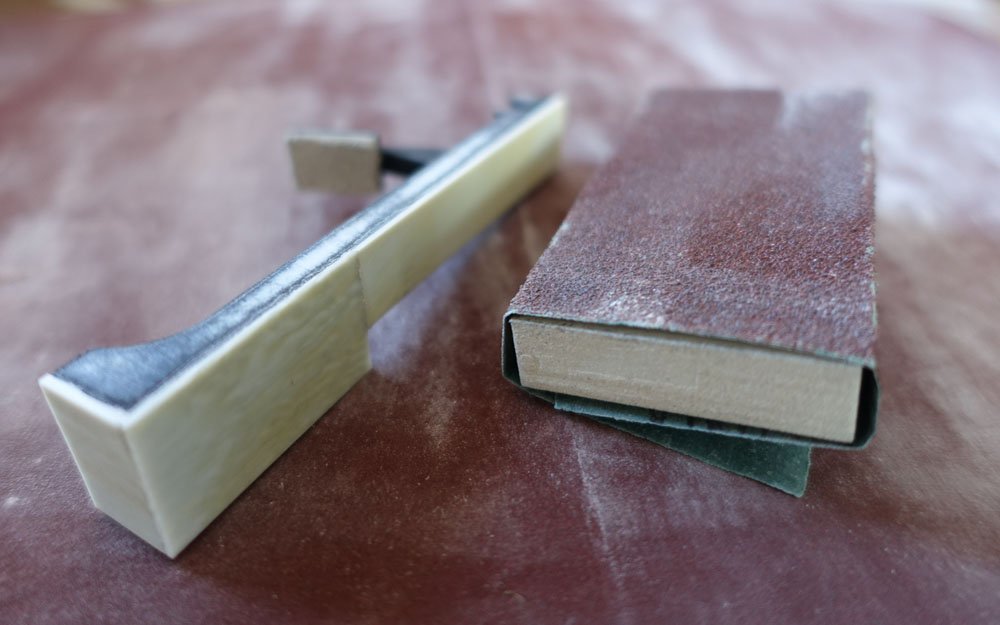
Finally, I painted the sides white, with Revell acrylic paint, and waxed the ivory with Renaissance Wax.
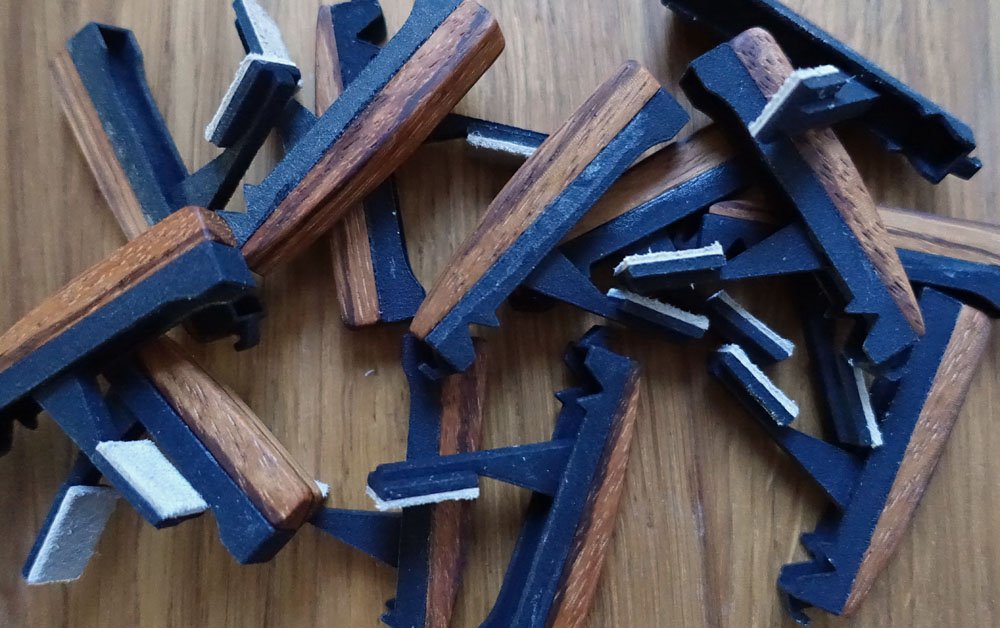
Wooden ‘black’ keys
Next it was time to make the ‘black keys’. I acquired some new little machines for this, all of them mini modelmakers tools. For each key top, I started by cutting off a small piece of Zebra wood, with my new mini scroll saw (Proxxon Scroll Saw DS 115/E).
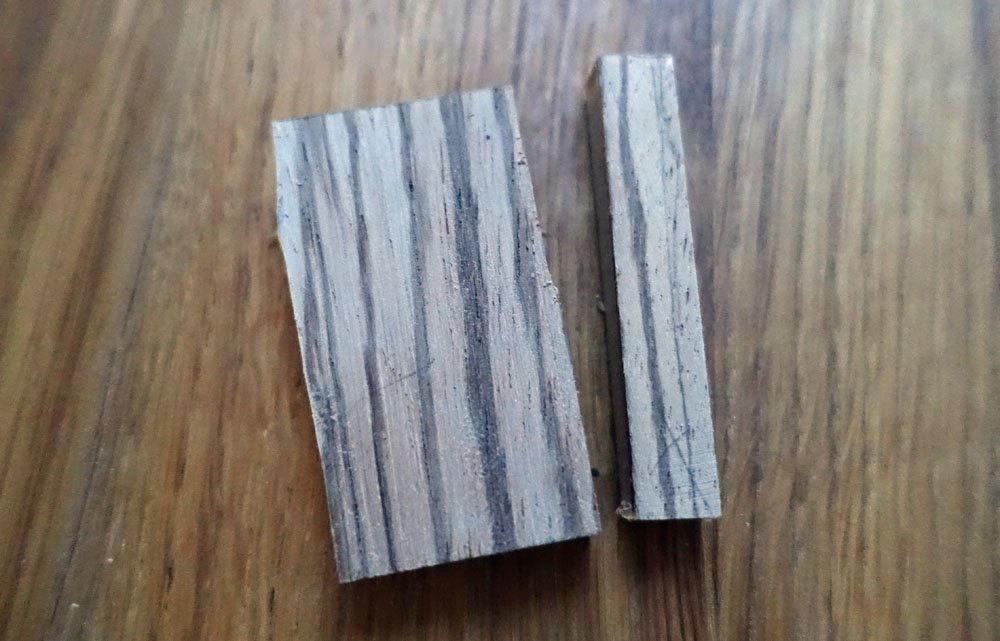
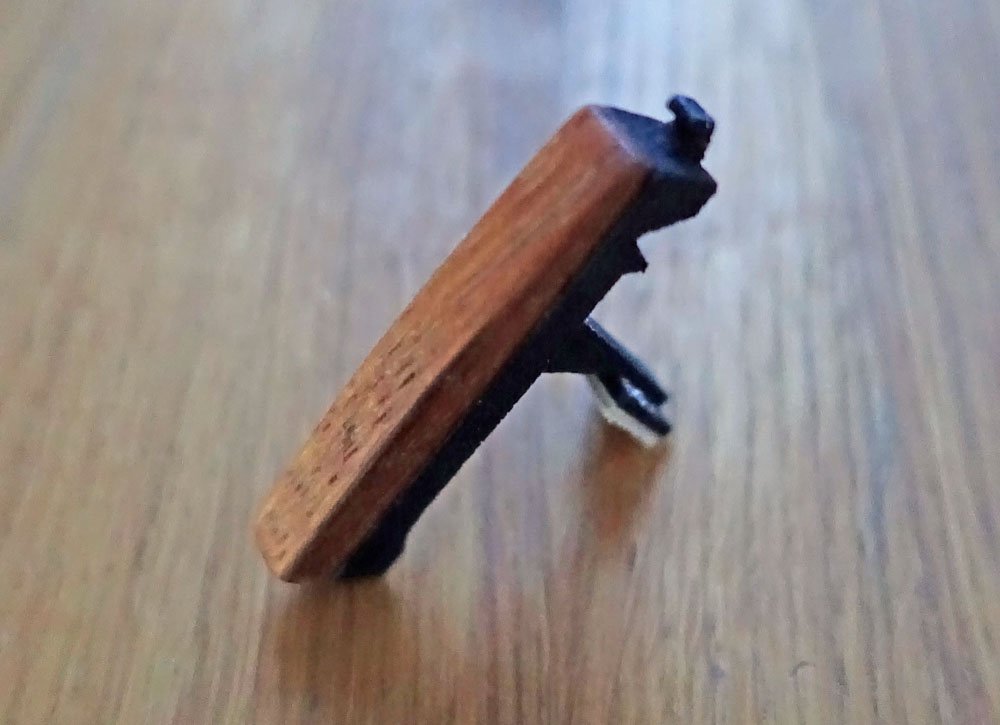
I sanded each block into a basic rectangular shape with a mini orbital sander (Proxxon Disc Sander TG 125/E). As well as using glue, I thought they would be more secure with a simple tongue and groove mechanism. As I had already built a tongue (raised section) into the design of the base, I just had to make a groove in the wood for it to click into. So I put it in a vice, and used a Proxxon micro router to create a slot.
Now that I could fit the two parts together, it was easy to see where I had to remove material from the key top. I used the sander again, to create the final shape, constantly checking it with the 3D base, to make sure it was a good fit. When satisfied with the shape, I used super glue to join them together, and then oiled the wood with pure tung oil
.


Daren, I am absolutely in aw of your melodica making skills. Did you resolve your tuning issues with a custom made reed plate? or did I miss that chapter. Buy the way if your tung oil finish tends to fade a little after playing it, try a boiled linseed and bees wax mix, hand rubbed is a beautiful finish with a great feel to the touch. Also when will the order forms be up on the site 🙂
Melodica-Me
Nice tip, thanks MM! I like the idea of bees wax and natural oils. Yes, it does look like I’ll be trying out some new reeds in this melodica, really looking forward to seeing what they sound like