
7 July 2014
Measuring up
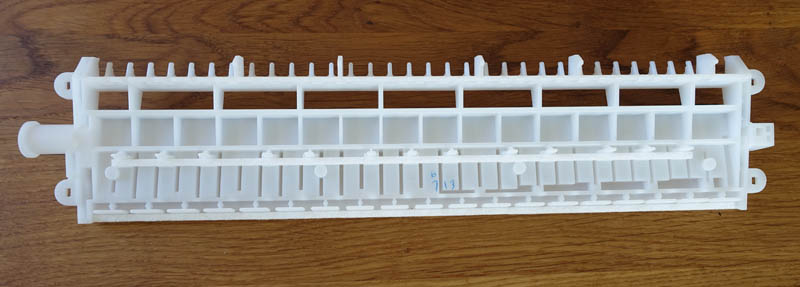
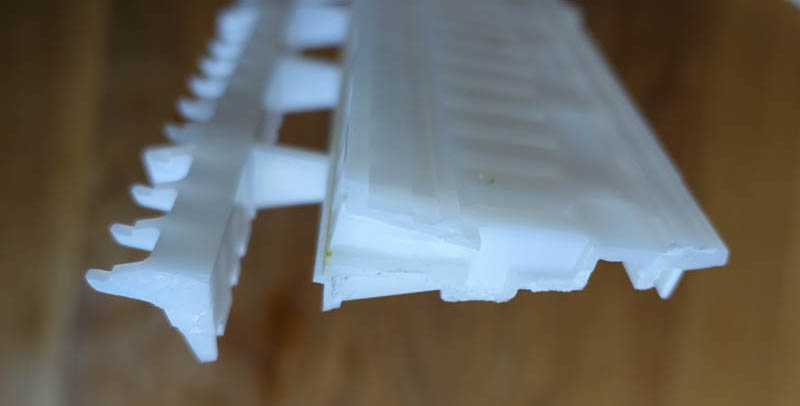
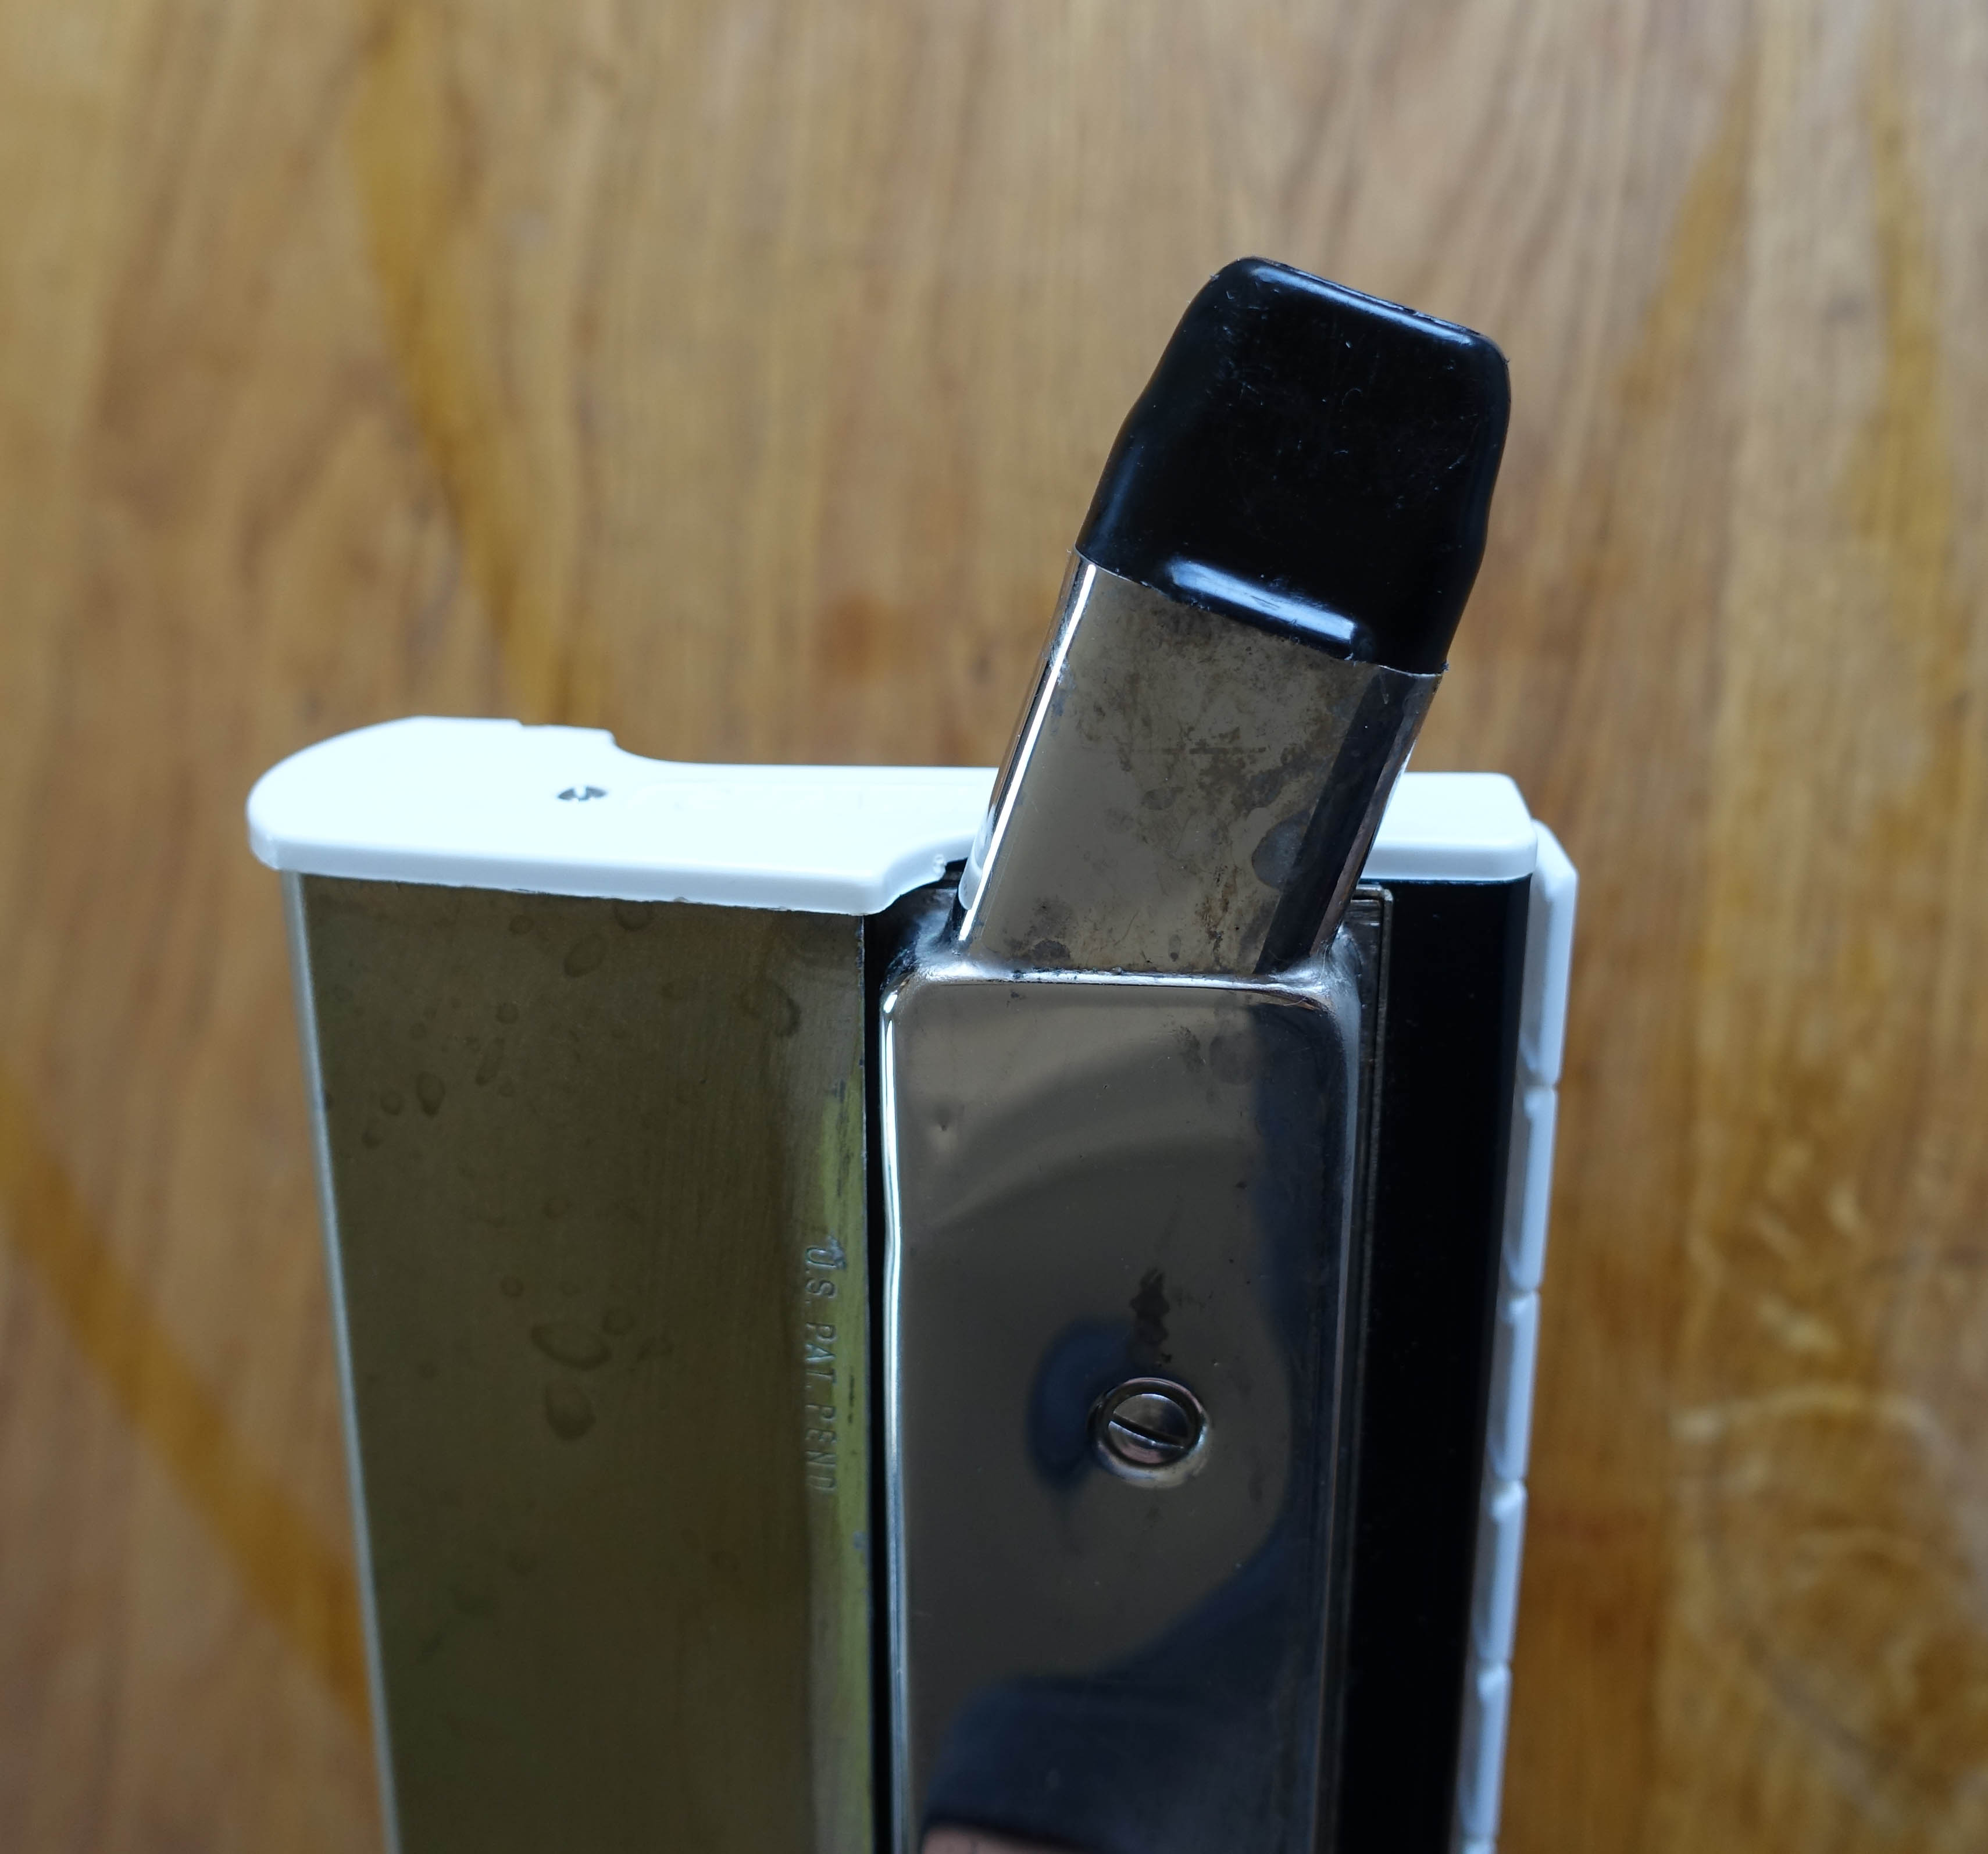
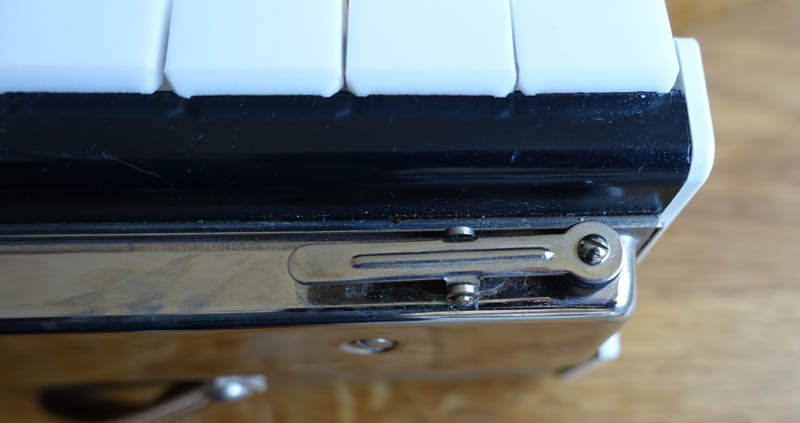
While the melodica keys have been quite simple to measure up, it hasn’t been so easy trying to measure the chambers within the ‘skeleton’ section. This piece has been injection moulded with 32 air passages in place, and the only way to get into the space was by sawing it in half to reveal the cross section:
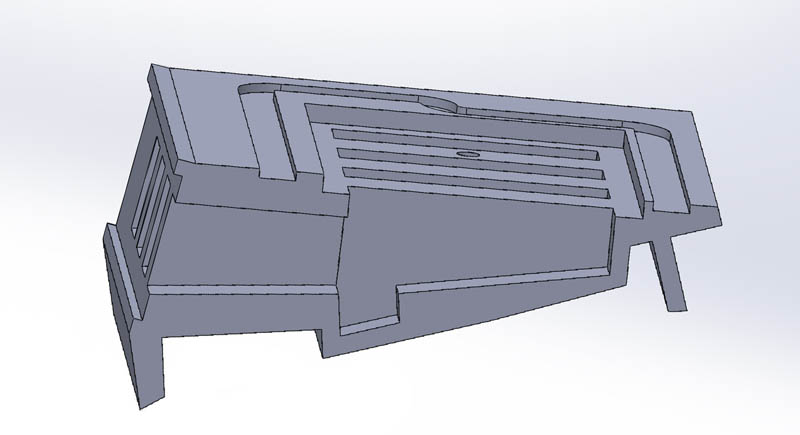
From this new viewpoint we were able to recreate the air chamber in the 3D model:
The basic design
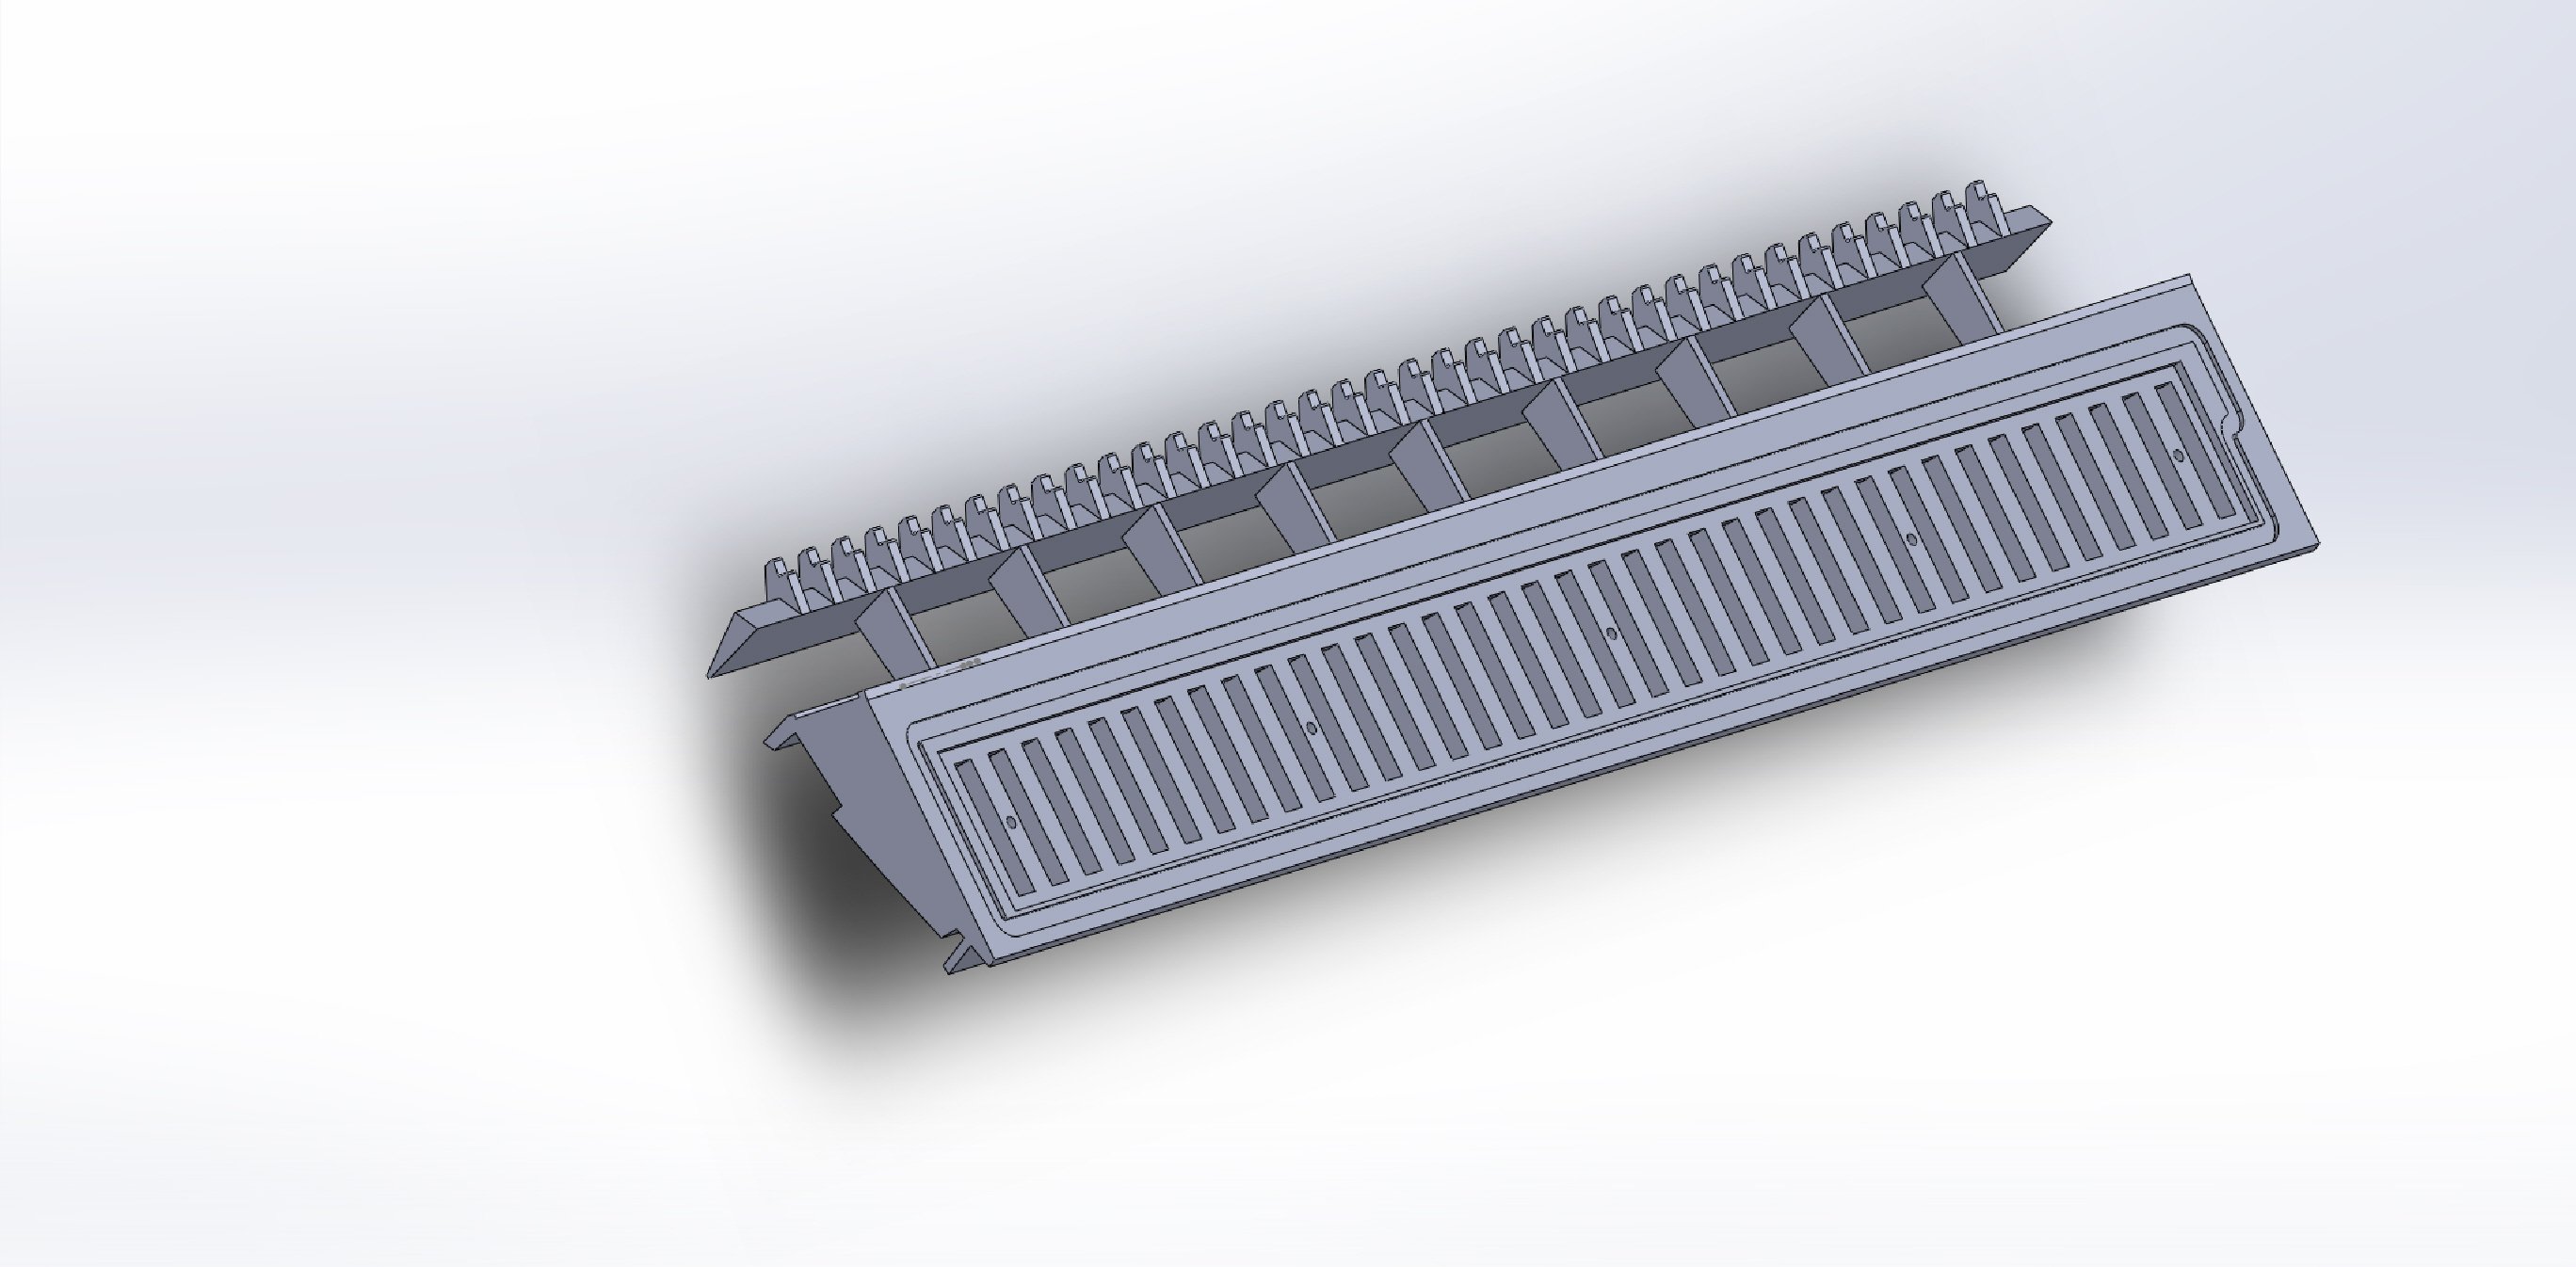
Simon’s been patiently teaching me how to use the software, and I’m surprised how easy it’s been to pick up. After a lot of measuring and drawing, we finally have the basic skeleton finished, minus the air pipe at one end, and the condensation release valve at the other end. While the air chamber side is finished, there’s still more to do on the other side, where the keys will be fitted:
Making changes
I see an opportunity to make some small modifications here. I really like the look of the Clavietta, with its neat ends on both sides of the keyboard. It achieves this by connecting the air pipe directly to the reed chamber lid, rather than to the main body of the melodica.
Maybe I could incorporate this design?
Also, at the other end of the melodica, I love the design of the Clavietta’s condensation release valve. It’s much classier than the Yamaha’s plastic button. Maybe I could even take one from an old Clavietta?


I’m so impressed, and hope this works out.
Will you be posting your files online when you have a decent prototype? (thingiverse is sorely lacking in the Melodica department!)
Thanks Aaron. Haven’t even thought about that yet! Still wondering if this thing is actually going to work 🙂