
4 July 2014
Reverse engineering
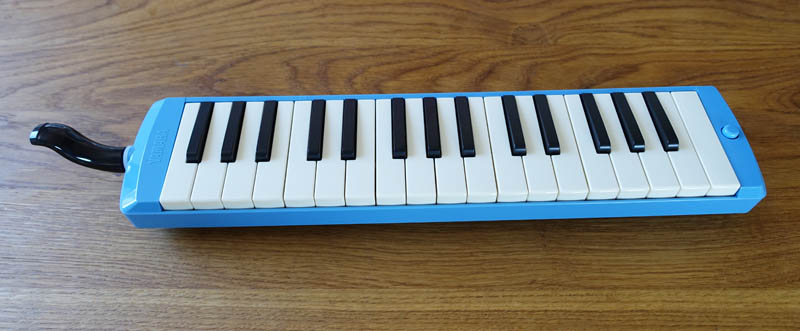
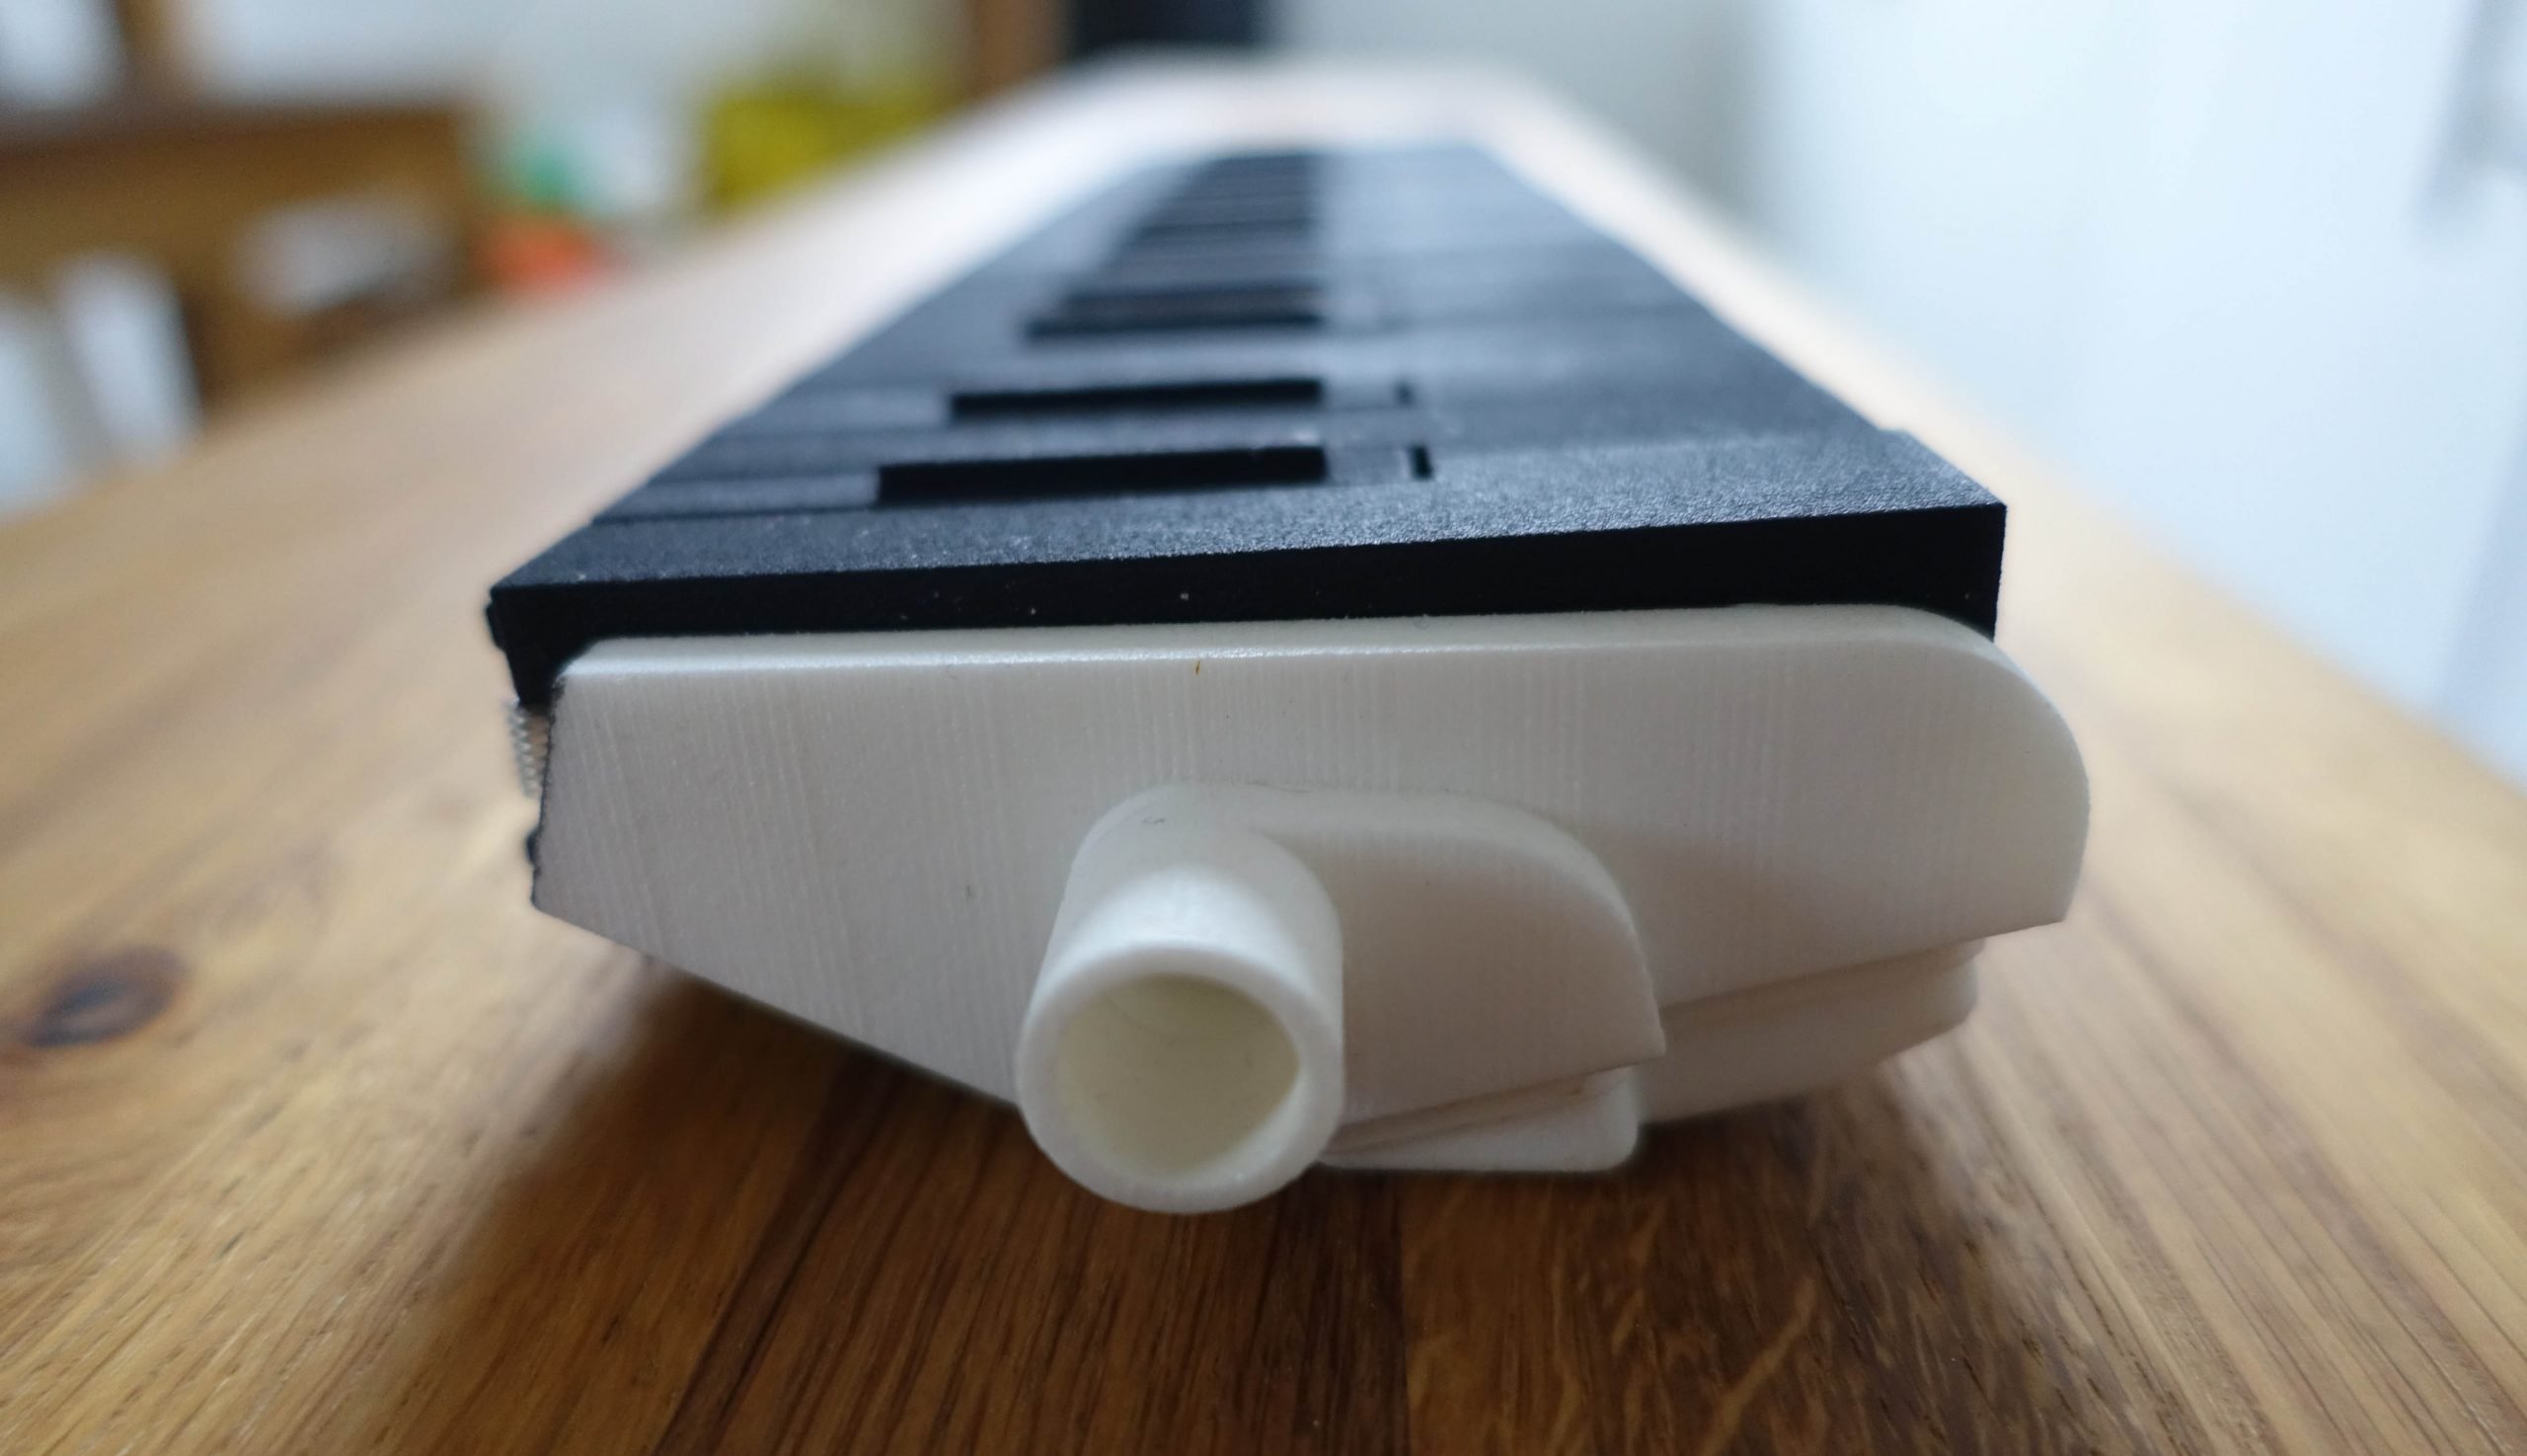
When it comes to computer assisted 3D design, I have a lot to learn, so I invited 3D design whizz, Simon Evans to the studio for the day, to show me how it all works. The idea is to study the instrument closely, measuring every last detail, with a view to recreating it digitally – a process called reverse engineering. We started by completely dismantling the Yamaha P32D melodica. This is what it looked like before:
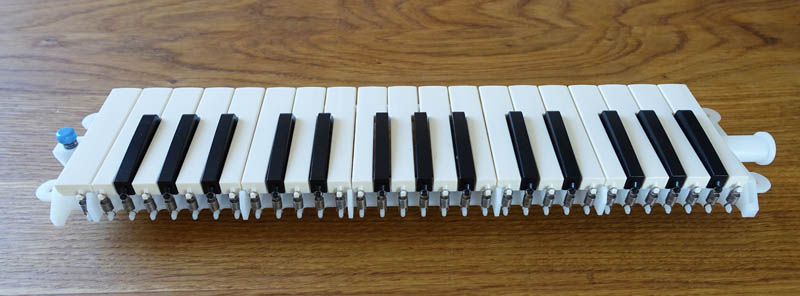
Taking the melodica apart
Once we removed the cover, which has minimal effect on the sound, we were left with the main body. The keys are all individual pieces, which act as little levers. Every time you press one of the levers, an air hole is exposed, allowing the air from the player to flow through a particular channel. In each channel is a reed – a small piece of metal, shaped to vibrate at a particular frequency (note). When the air flows past this reed, the melodica makes its distinctive sound.
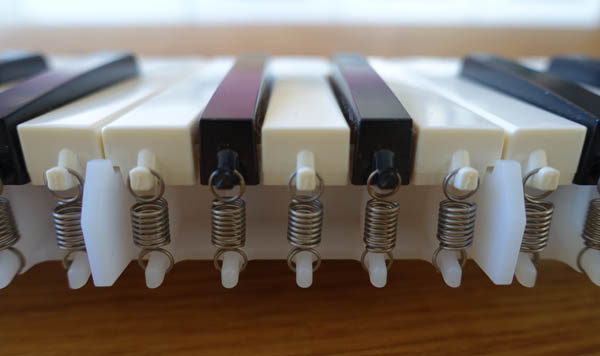
The keys
Each key is attached with a little spring. This makes the key pop back up to its original position every time it’s let go. It also serves to hold the key in place when it’s not being used.
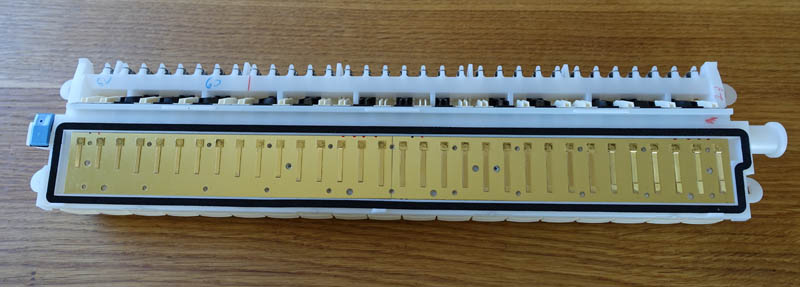
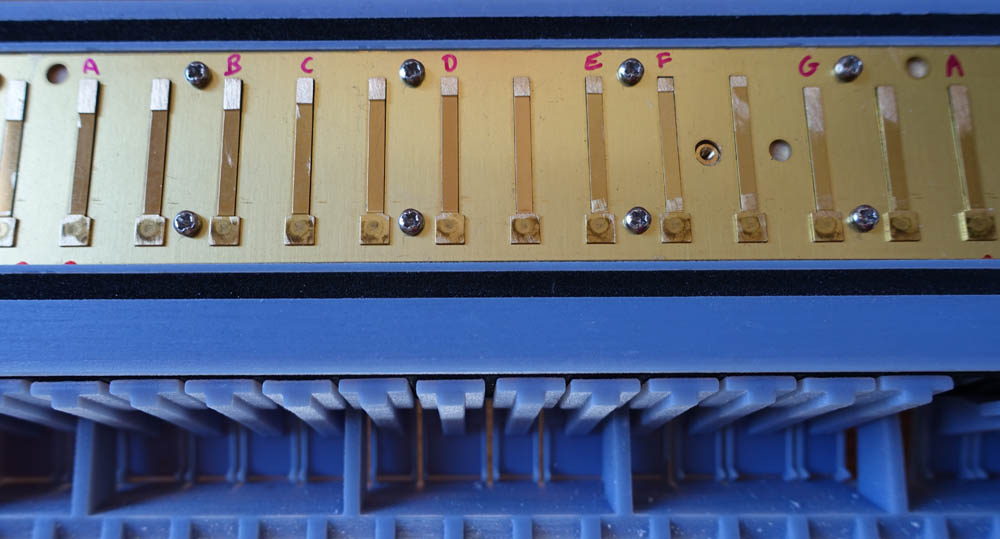
The reed chamber
On the other side of the main body is the reed chamber. This is where you tune the melodica, or remove the reed plates when a reed has failed. It’s normally covered with a lid, to form an airtight chamber, to ensure a continuos flow from the player, through the reed, and out of the instrument.
Removing the reed plates
Next we removed each spring, so the keys could easily be taken off. And then unscrewed, and carefully prized up the reed plates. They were very lightly glued to a layer of plastic paper, labelled ‘three bond’, which was also removed. This left just the skeleton of the melodica, a marvel of concise and efficient design.
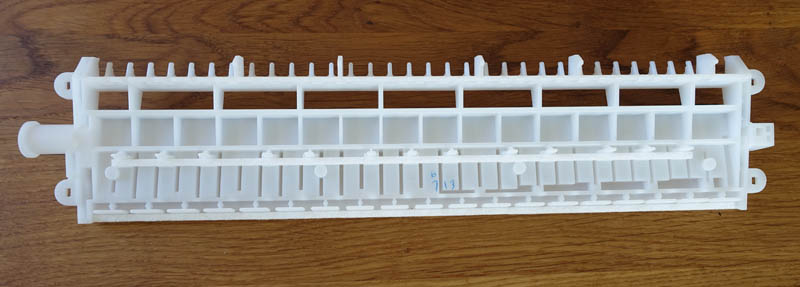
The bare skeleton
This is the key side:
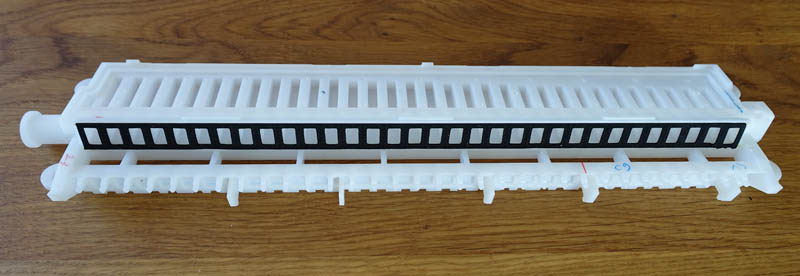
And this is the reed side. There’s a soft rubber gasket where the key pads make contact with the skeleton to ensure airtightness. This was glued on, and couldn’t be removed without damaging it.
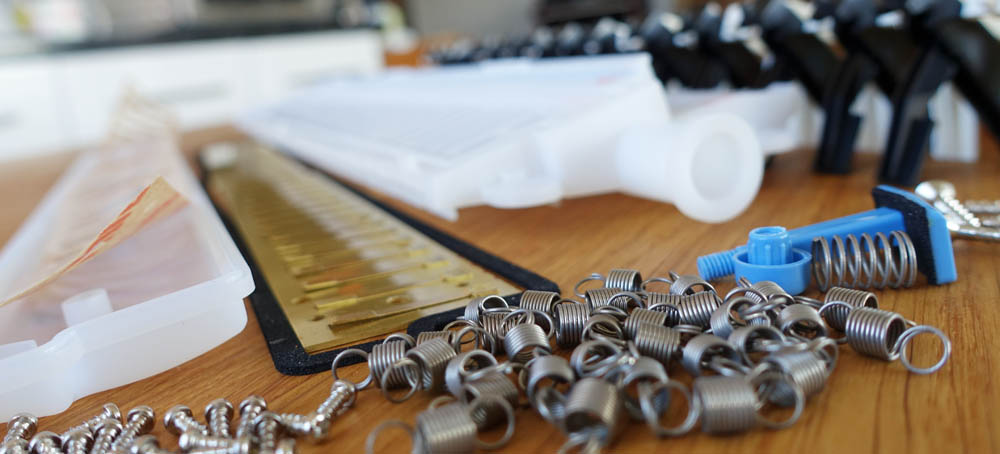
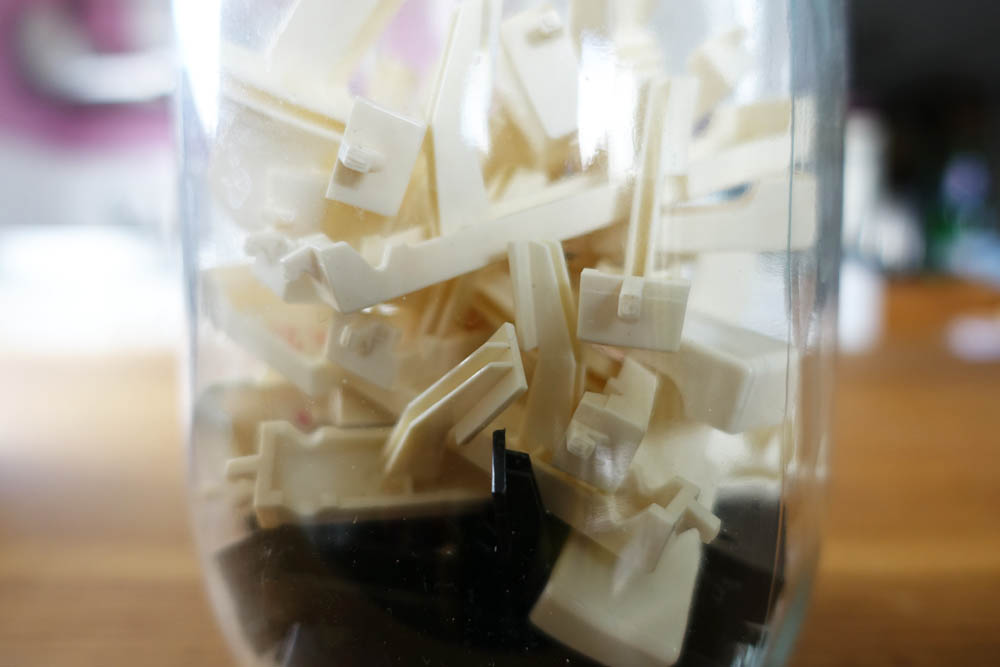
Measuring each component
Here’s all the pieces that make up the melodica (apart from the case):
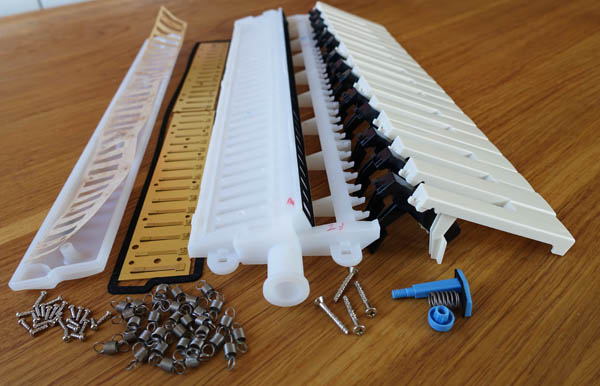
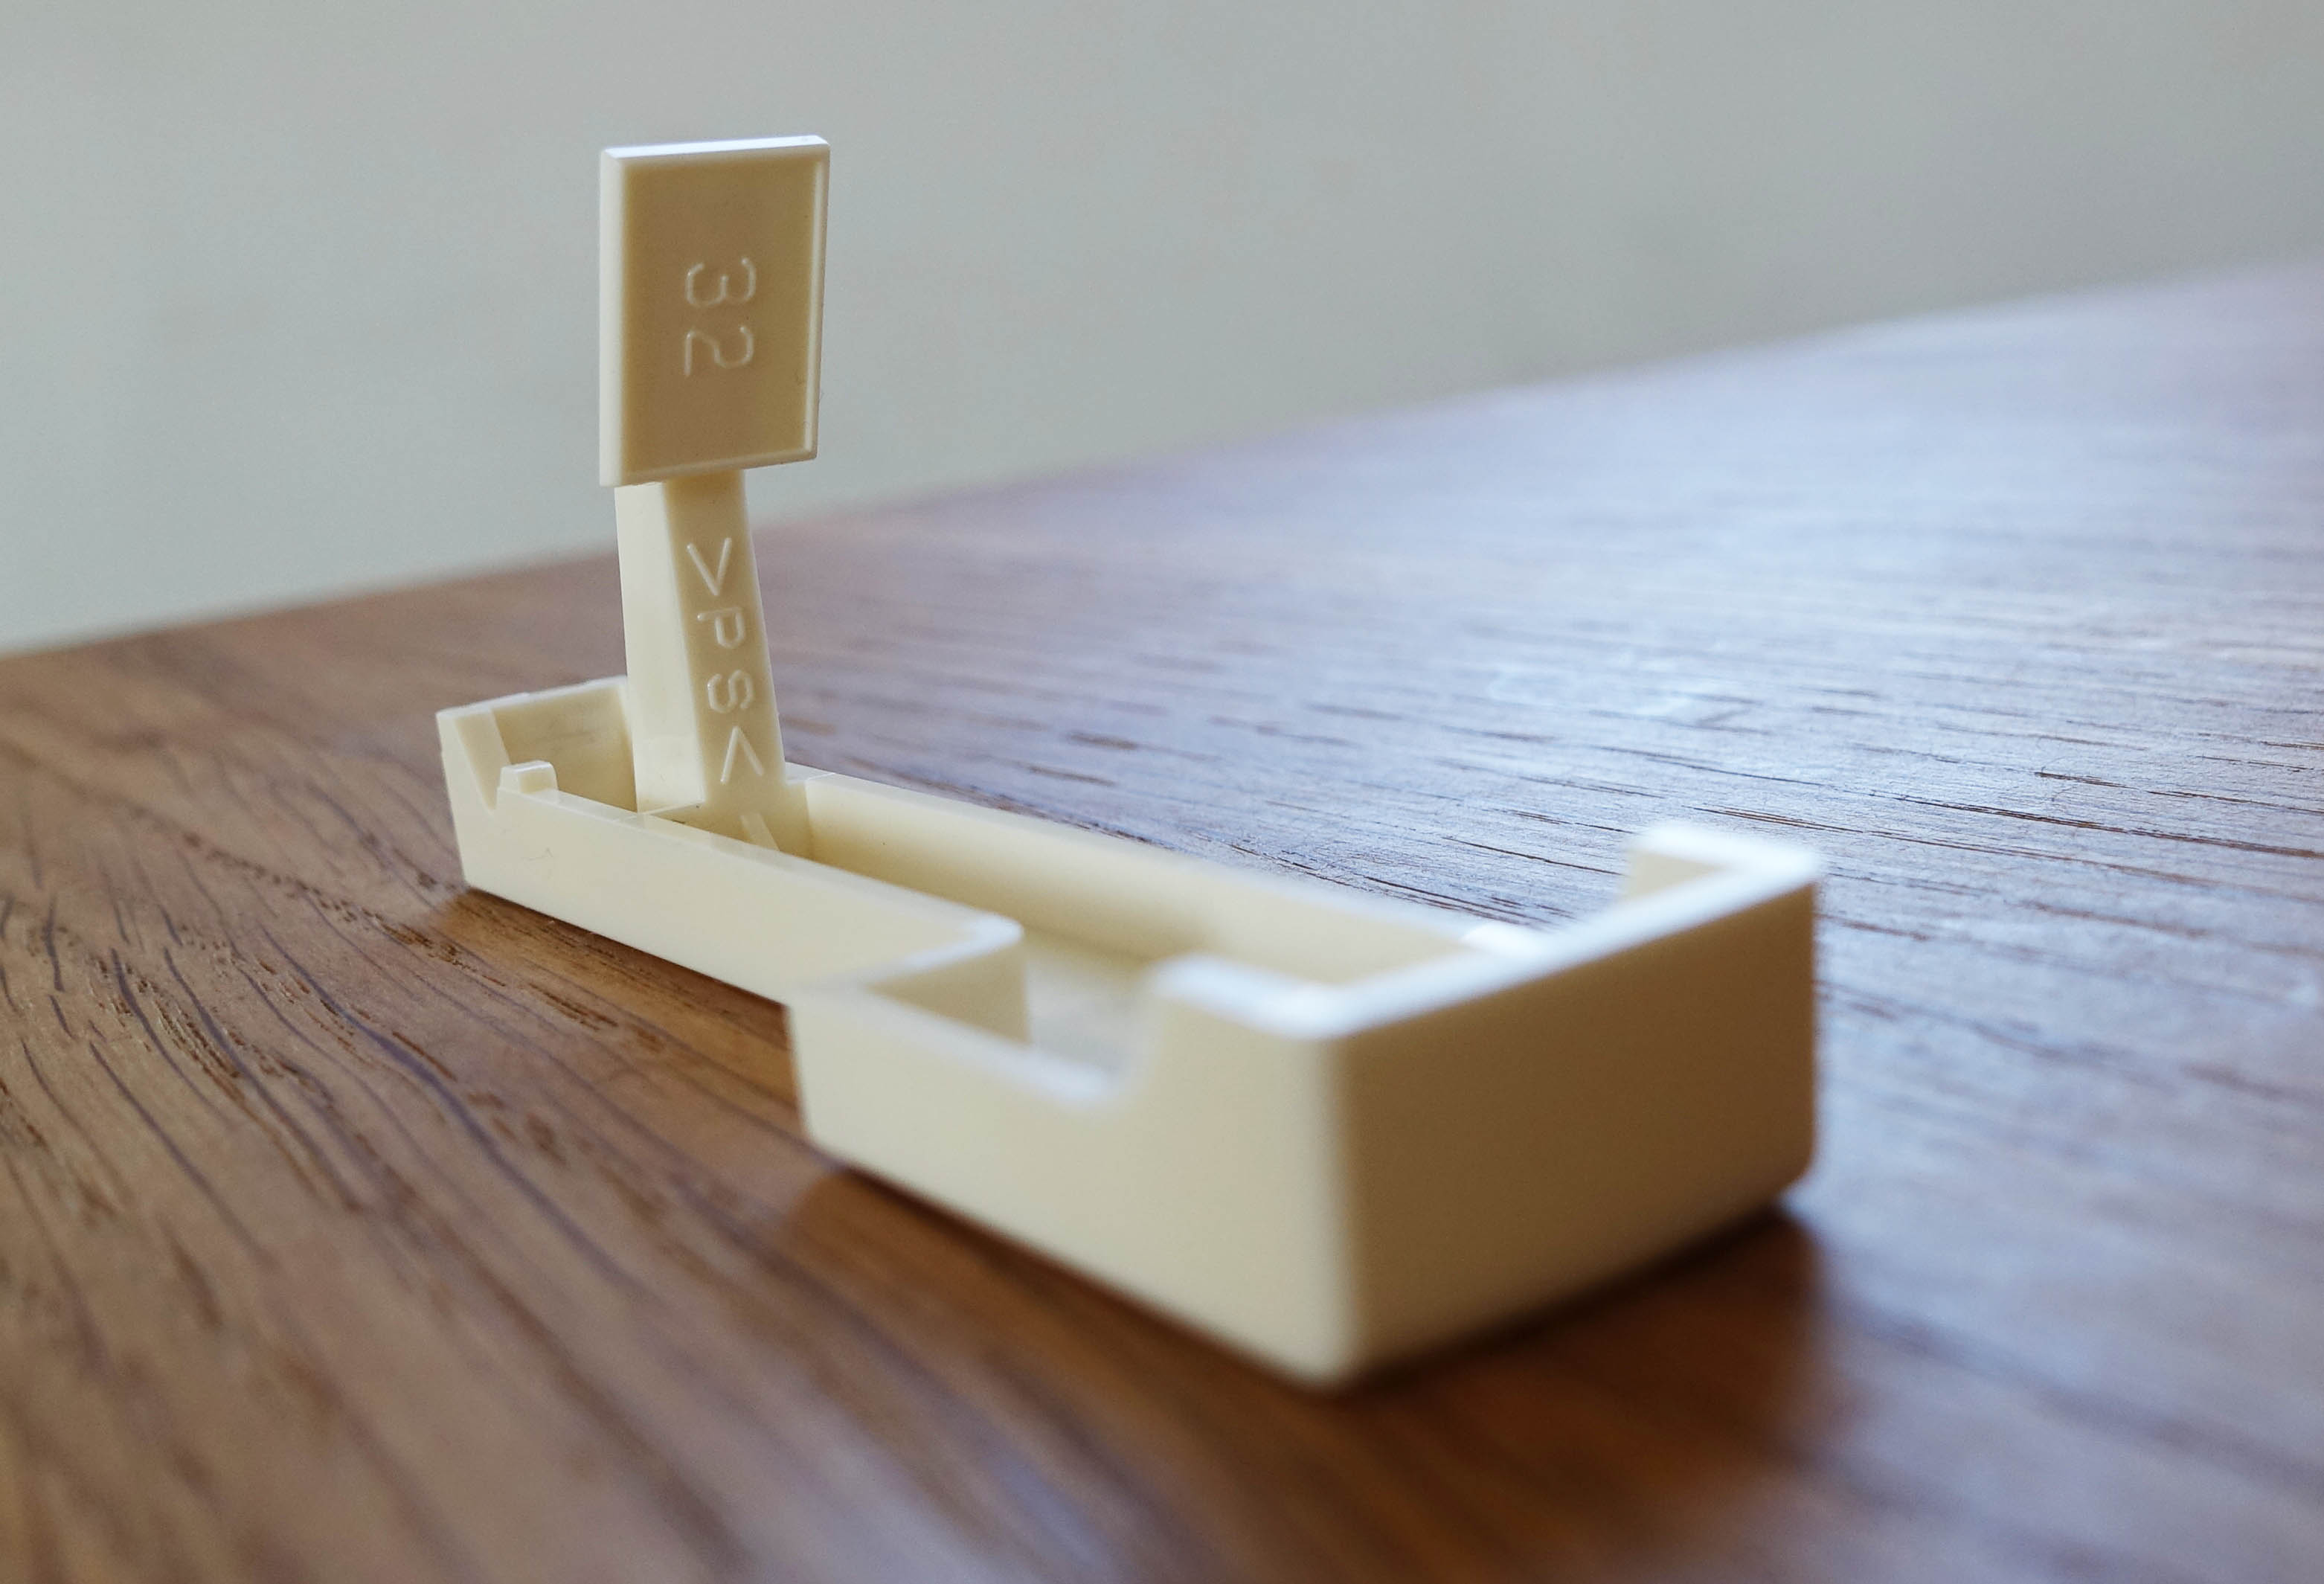
Now that the melodicas was broken down into all of its components, it was time to start measuring up, and inputting the data into the computer. We started with the first key – the low F. Every aspect was measured, including the curves, wall thickness, and all dimensions, as we slowly built up a virtual representation.
Digitising the first key
Here’s the real key:
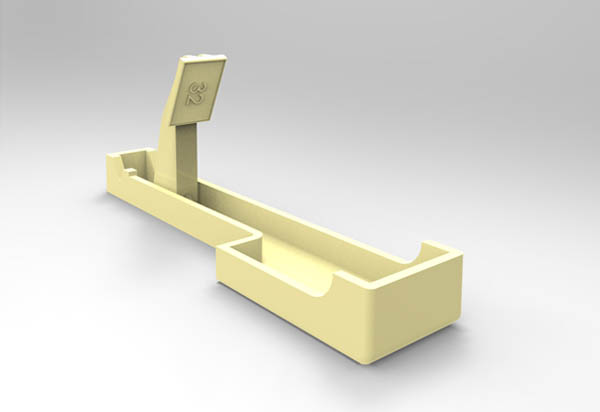
And here’s the virtual key, ready for 3D printing. Not too bad I’d say!
Hi Daren,
Would there be any chance you could throw the 3d files of your melodica project onto Thingieverse.com? I could really use them for my own 3d build.
Thanks!
Hi Daren!
I love this project. I’m looking to design and build a set of retrofit Janko keys for my melodica and was wondering if the files for the keys you used would be available and if so how much? This would save me a lot of work as I would use the base of the key as is and redesign the top.
Thanks!
This is great Troy. I have not had time yet, but I do expect to dig in to some of my melodicas and begin to repair, tune, and customize them. No doubt that if we all share our knowledge and photos, this website will become THE resource for melodica players.
Regards,
Lowboy
Hey Lowboy, I hope we can all learn from this experiment!
Glad you’re finding this of interest Alan. Hopefully we can all learn something!
This is marvelous, Troy. The photos provide an excellent view of the anatomy of the melodica. I have a P-32D that is almost completely disassembled, which makes it easier for me to follow what you’re doing, which I will do with a high level of interest. I’m curious about what kinds of questions you will be raising and trying to address as you go through this process. I’ll wait and see. (I’m wondering about the springs.)
I think what you’re doing here is in a way analogous to the development of open source software and operating systems, which promotes a generous culture of inquiry and collaboration and which has produced such phenomenal results.