Just two things to complete on the melodica before I can say it’s finished. There’s the mouthpiece, and at the other end of the instrument, the moisture-release valve.
What mouthpiece?
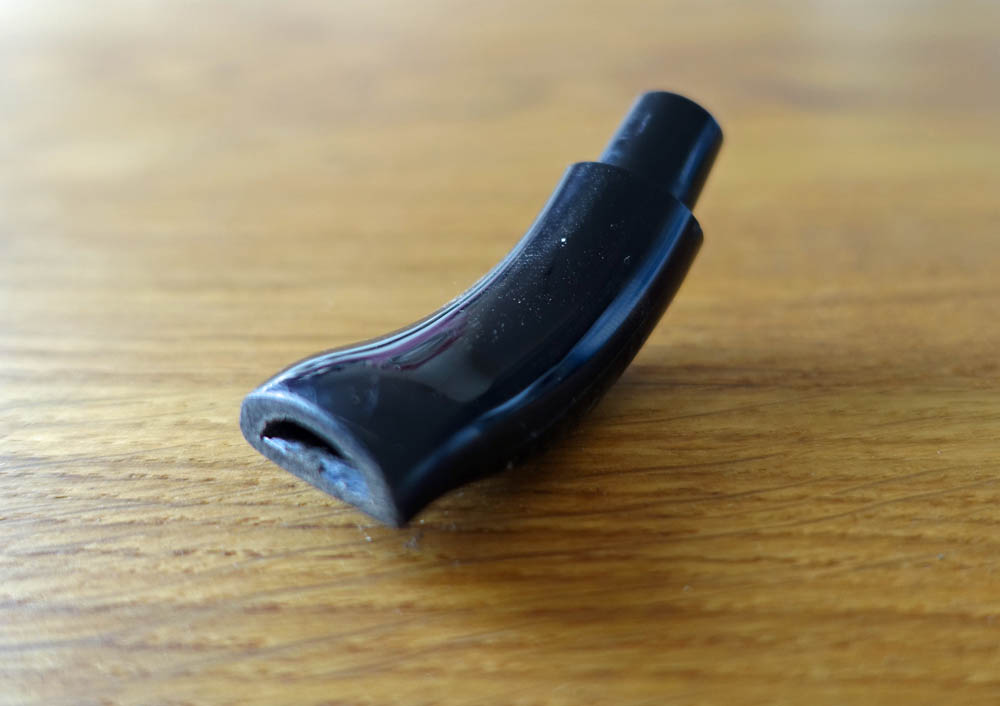
There’s many styles of mouthpieces for the melodica, so what shape did I choose? I’ve never been a fan of long mouthpieces, as I like to be as close to the reeds as I can. I decided to go for something short simple and symmetrical, made out of the same zebra wood that I used for other parts of the melodica. Here’s the mouthpiece that I use on my Yamaha. I’ve sawn off the excessive curve on the lip to enable a more direct airflow:
Attaching the mouthpiece
I had four options for attaching the mouthpiece. One was using a cork seal, which would have to be maintained with wax, and replaced every number of years. Another was to use a cork substitute, made of rubber. This would last a lot longer, and is a method used occasionally by melodica manufacturers. The third method was to wind thread around the mouthpiece, as a wooden flautist does to connect the different sections of the flute together.
I chose an even simpler option, employed by the vast majority of melodica manufacturers. I tapered the mouthpiece slightly, so it gently wedges into place. This is working fine for now, but I wonder if it might get stuck if the wood swells? If there are any problems, I can convert it to one of the above solutions.
But how to make it?
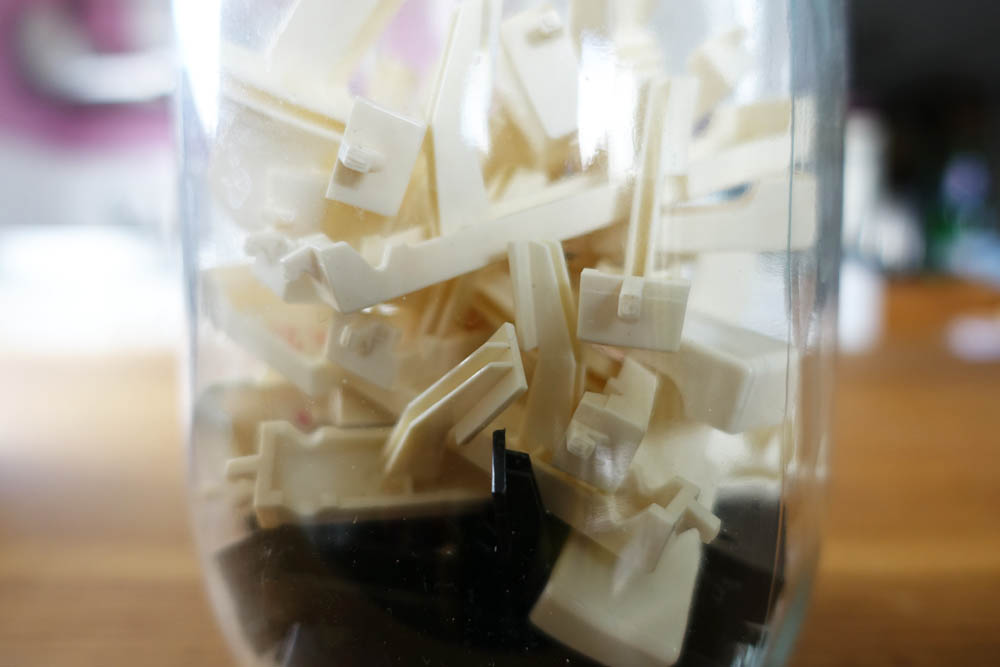
To make the mouthpiece out of wood, I followed instructions on making wooden pens, as a pen has a similar structure to a mouthpiece. This meant that I had to acquire yet another piece of equipment, this time a mini lathe from Proxxon (see it here). I also had to get some extra bits and pieces for making pens, and a nice little set of turning chisels
.
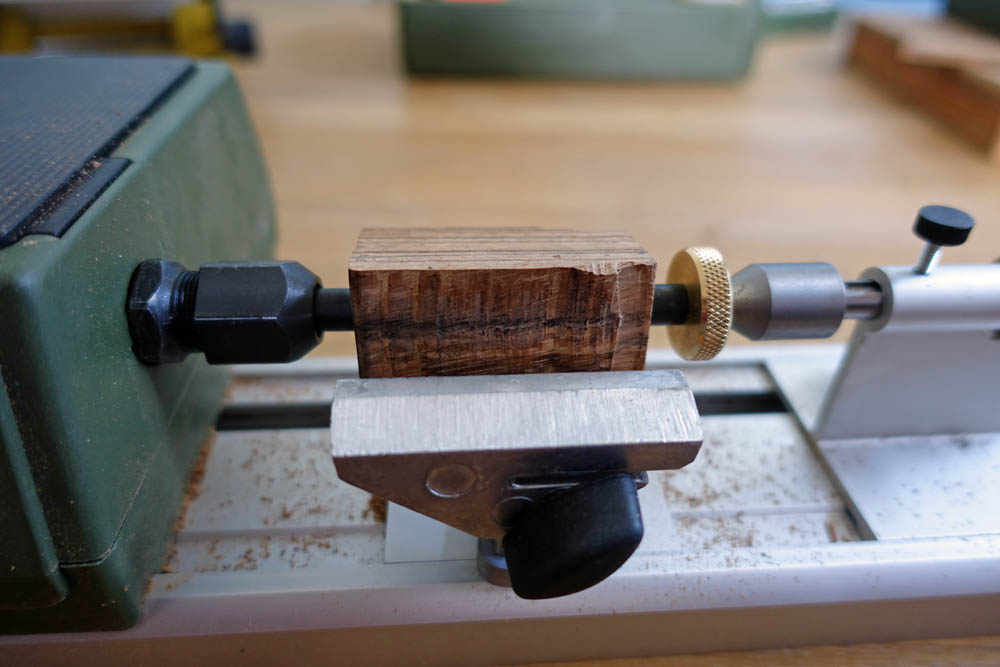
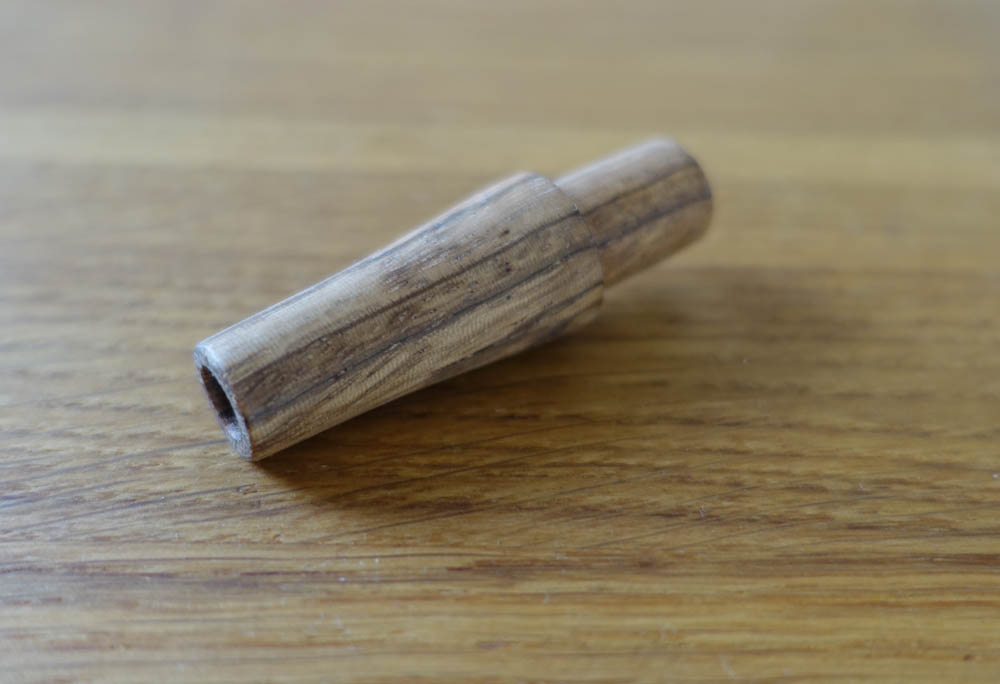
Once everything was set up, I drilled a hole into the centre of the block of wood. I put the wood on a steel rod (called a mandrel), and set it spinning. It was surprisingly easy to shape the wood from a rectangle to a cylinder, and then into the shape I was after. After some sanding, and a drop of oil, I had a nice new wooden mouthpiece
To the other end
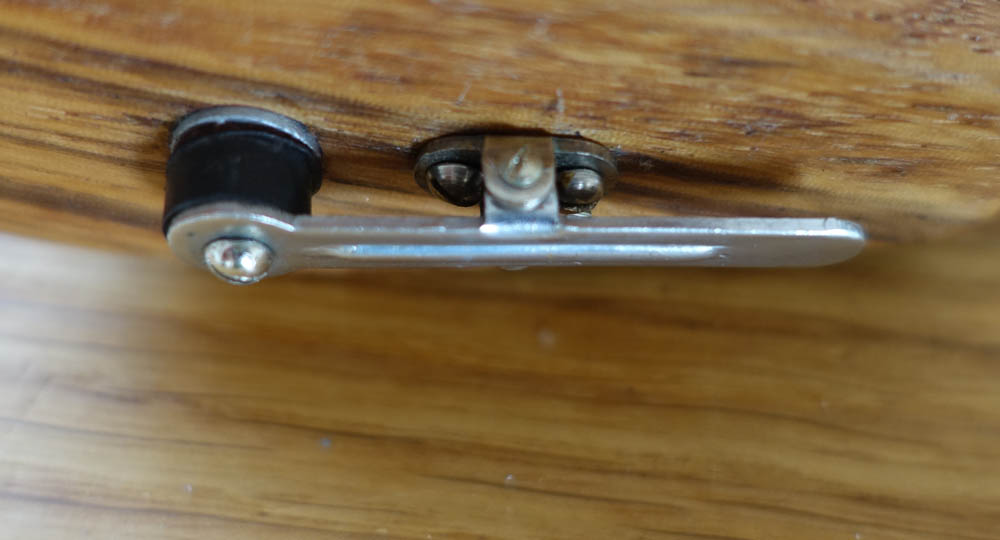
In my melodica designs, I planned to raid an old Clavietta for it’s mositure-release valve, and had just left a hole where it was to go. I found it easy to remove, unscrewing the lever and then punching out the rivets which attached it the instrument:
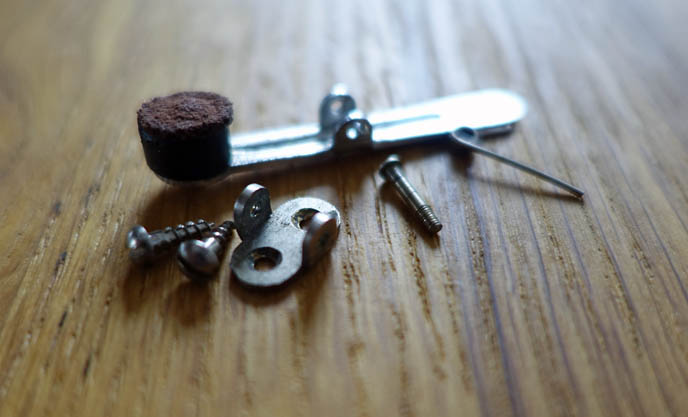
I added some wood panels to the ends of the melodica, which enabled me to screw the moisture-release valve securely on: