
28 October 2014
Attaching two 3D printed parts
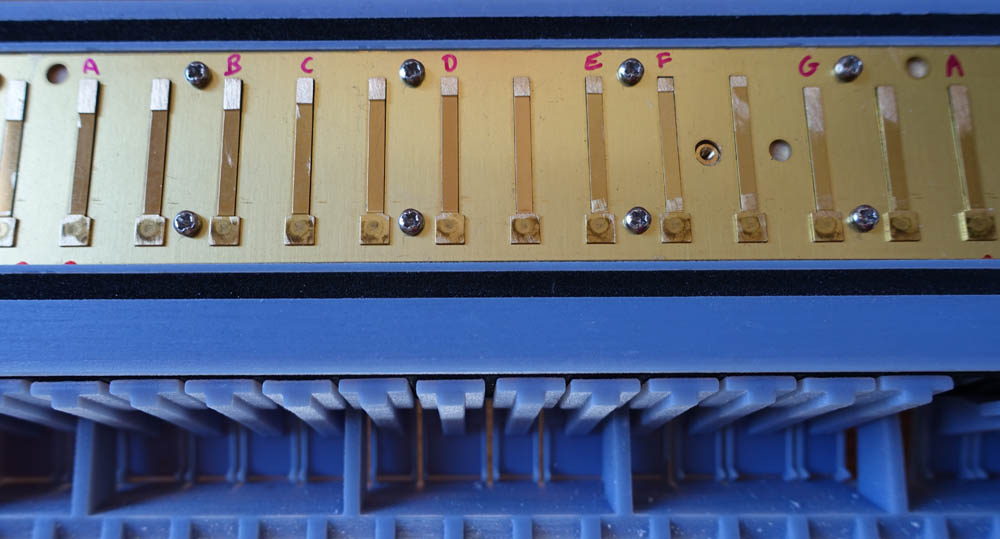
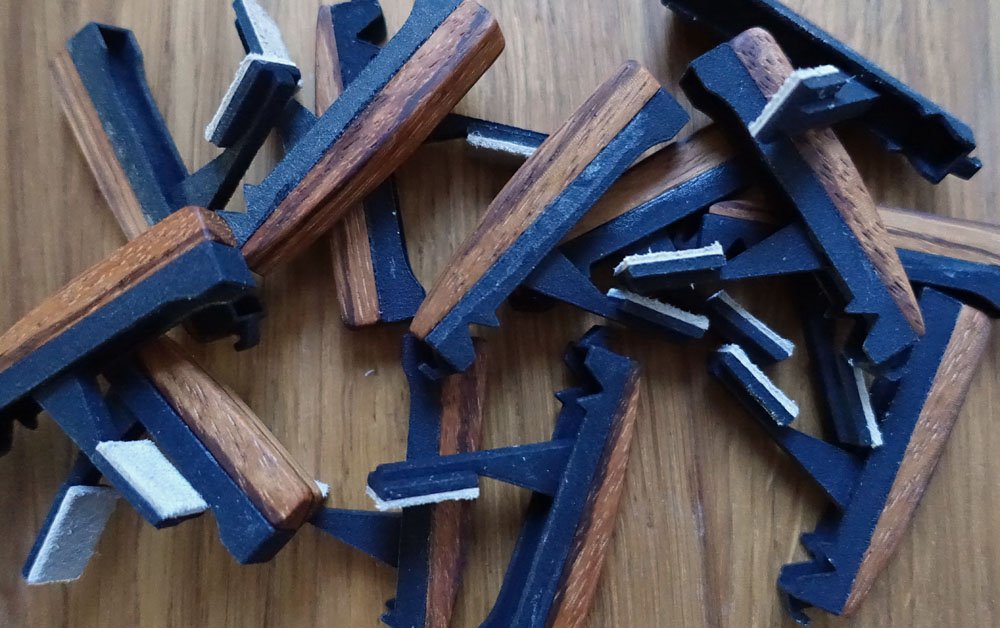
I decided to try attaching the chamber cover to the main melodica body. I had already ordered some small brass inserts to fit into the holes on the main body. These were to provide something for the screws to screw into – like an anchored nut. I couldn’t quite get them in all the way, but this shouldn’t be a problem, as they’ll protrude into pre-existing holes in the reed plates. With the seal in place, I screwed the air chamber cover to the body, and was relieved to find that everything lined up well. It seems airtight, but there’s no way of testing yet.
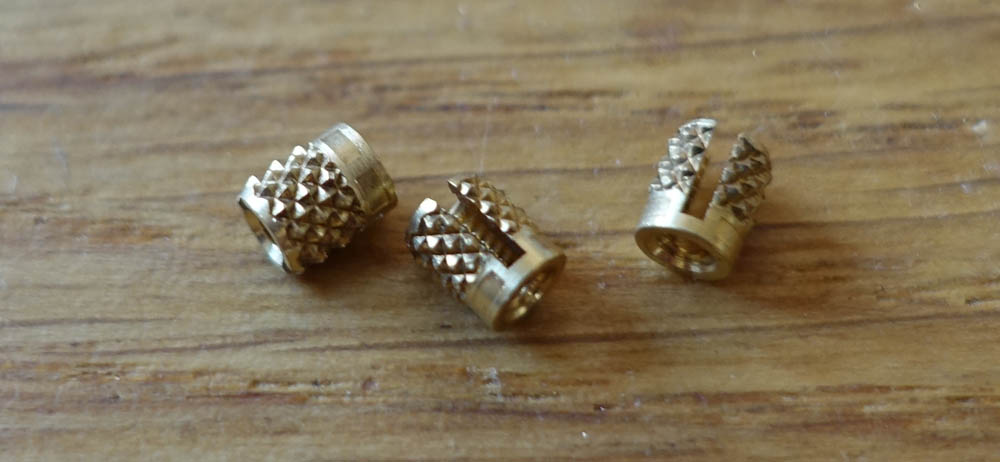
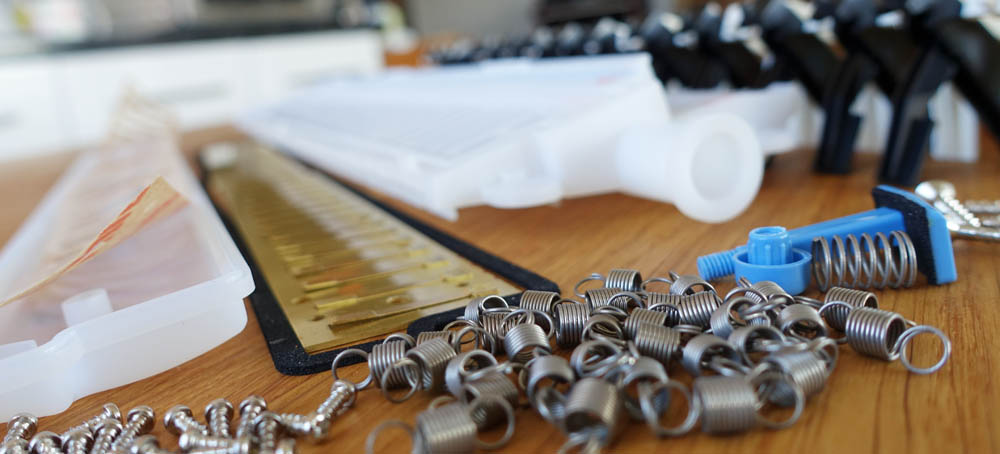
Time to try fixing the reed plates in place. My plan was to screw them directly into the body, but I could see now that the resin material was too soft for that. I ordered some more brass inserts, but went for a slightly different design to make sure they would go all the way in:
More equipment
I though about using a hand drill to make some holes for the inserts, but I now had a sense of how delicate and intricate everything was, how accurate I needed to be, with no room for mistakes. So I bought a beautiful little mini drill press (see it here) to make sure I got it right.
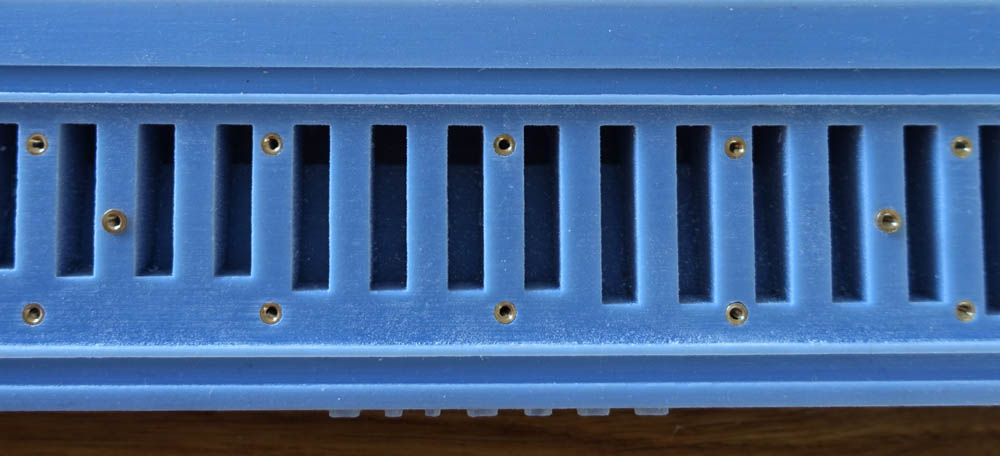
But the drill press only drills at a 90 degree angle. To complete the setup, I needed something that would enable me to tilt the melodica body at a specific angle. After much research, (and failed attempts with scraps of wood and rulers!) I found that what I needed was called an ‘adjustable angle plate’ (see it here), which I promptly ordered. With the correct tools, I was able to make accurately placed holes, in which the brass inserts slotted into nicely:
Tuning the reeds
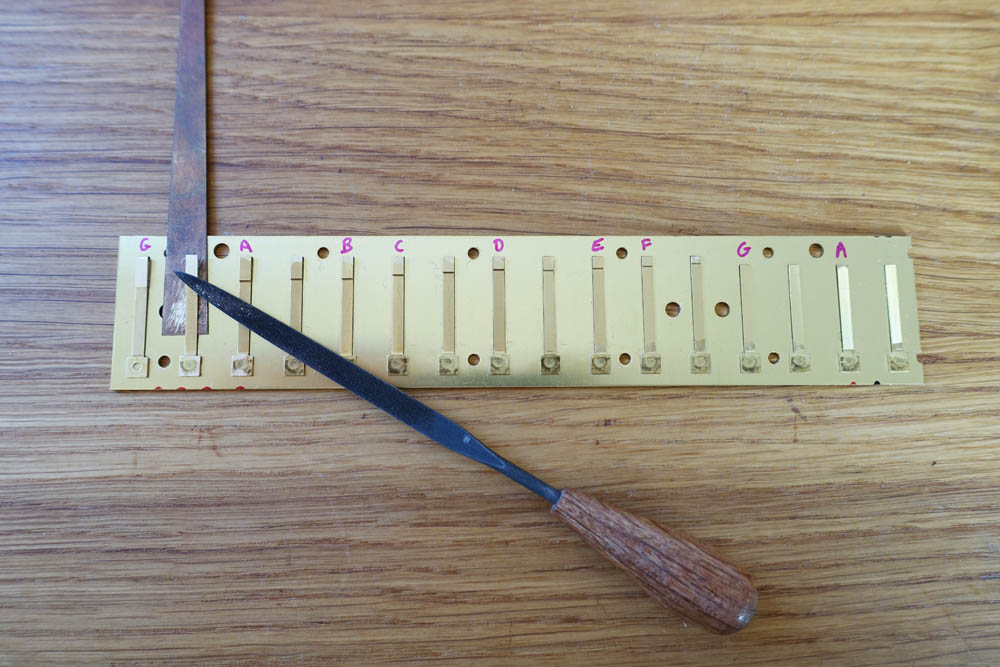
Before I screwed the reed plates in, I had some tuning to do. I designed this melodica to use the two reed plates that come with the Yamaha Pianica P32. But whereas the P32 goes from notes F to C, mine is one tone higher, ranging from G to D. I therefore had to remove metal from the tops of the reeds, until they were sounding approximately one tone higher. See the article ‘How to Tune a Melodica’ for more info on tuning.
Because there was so much material to remove, I decided to use a small flat file to make it as even as possible. This could only be done before the reed plate was attached. I just made a rough tuning for now, with the final tuning to take place once the whole melodica was assembled.

Great find Lowboy, thanks 🙂
Video of 3D printed saxophone in action:
https://www.youtube.com/watch?v=6qNQ5NobrAY
Keep going Troy. Nuff said.
Regards,
Lowboy