
Hohner Melodica Professional restoration
Tagged: 36, hohner, professional, repair, restoration
- This topic has 26 replies, 4 voices, and was last updated 5 years, 4 months ago by
Clep.
-
AuthorPosts
-
November 9, 2018 at 12:58 am #10445
Clep
ParticipantHah, thanks, I’ll need them. 🙂
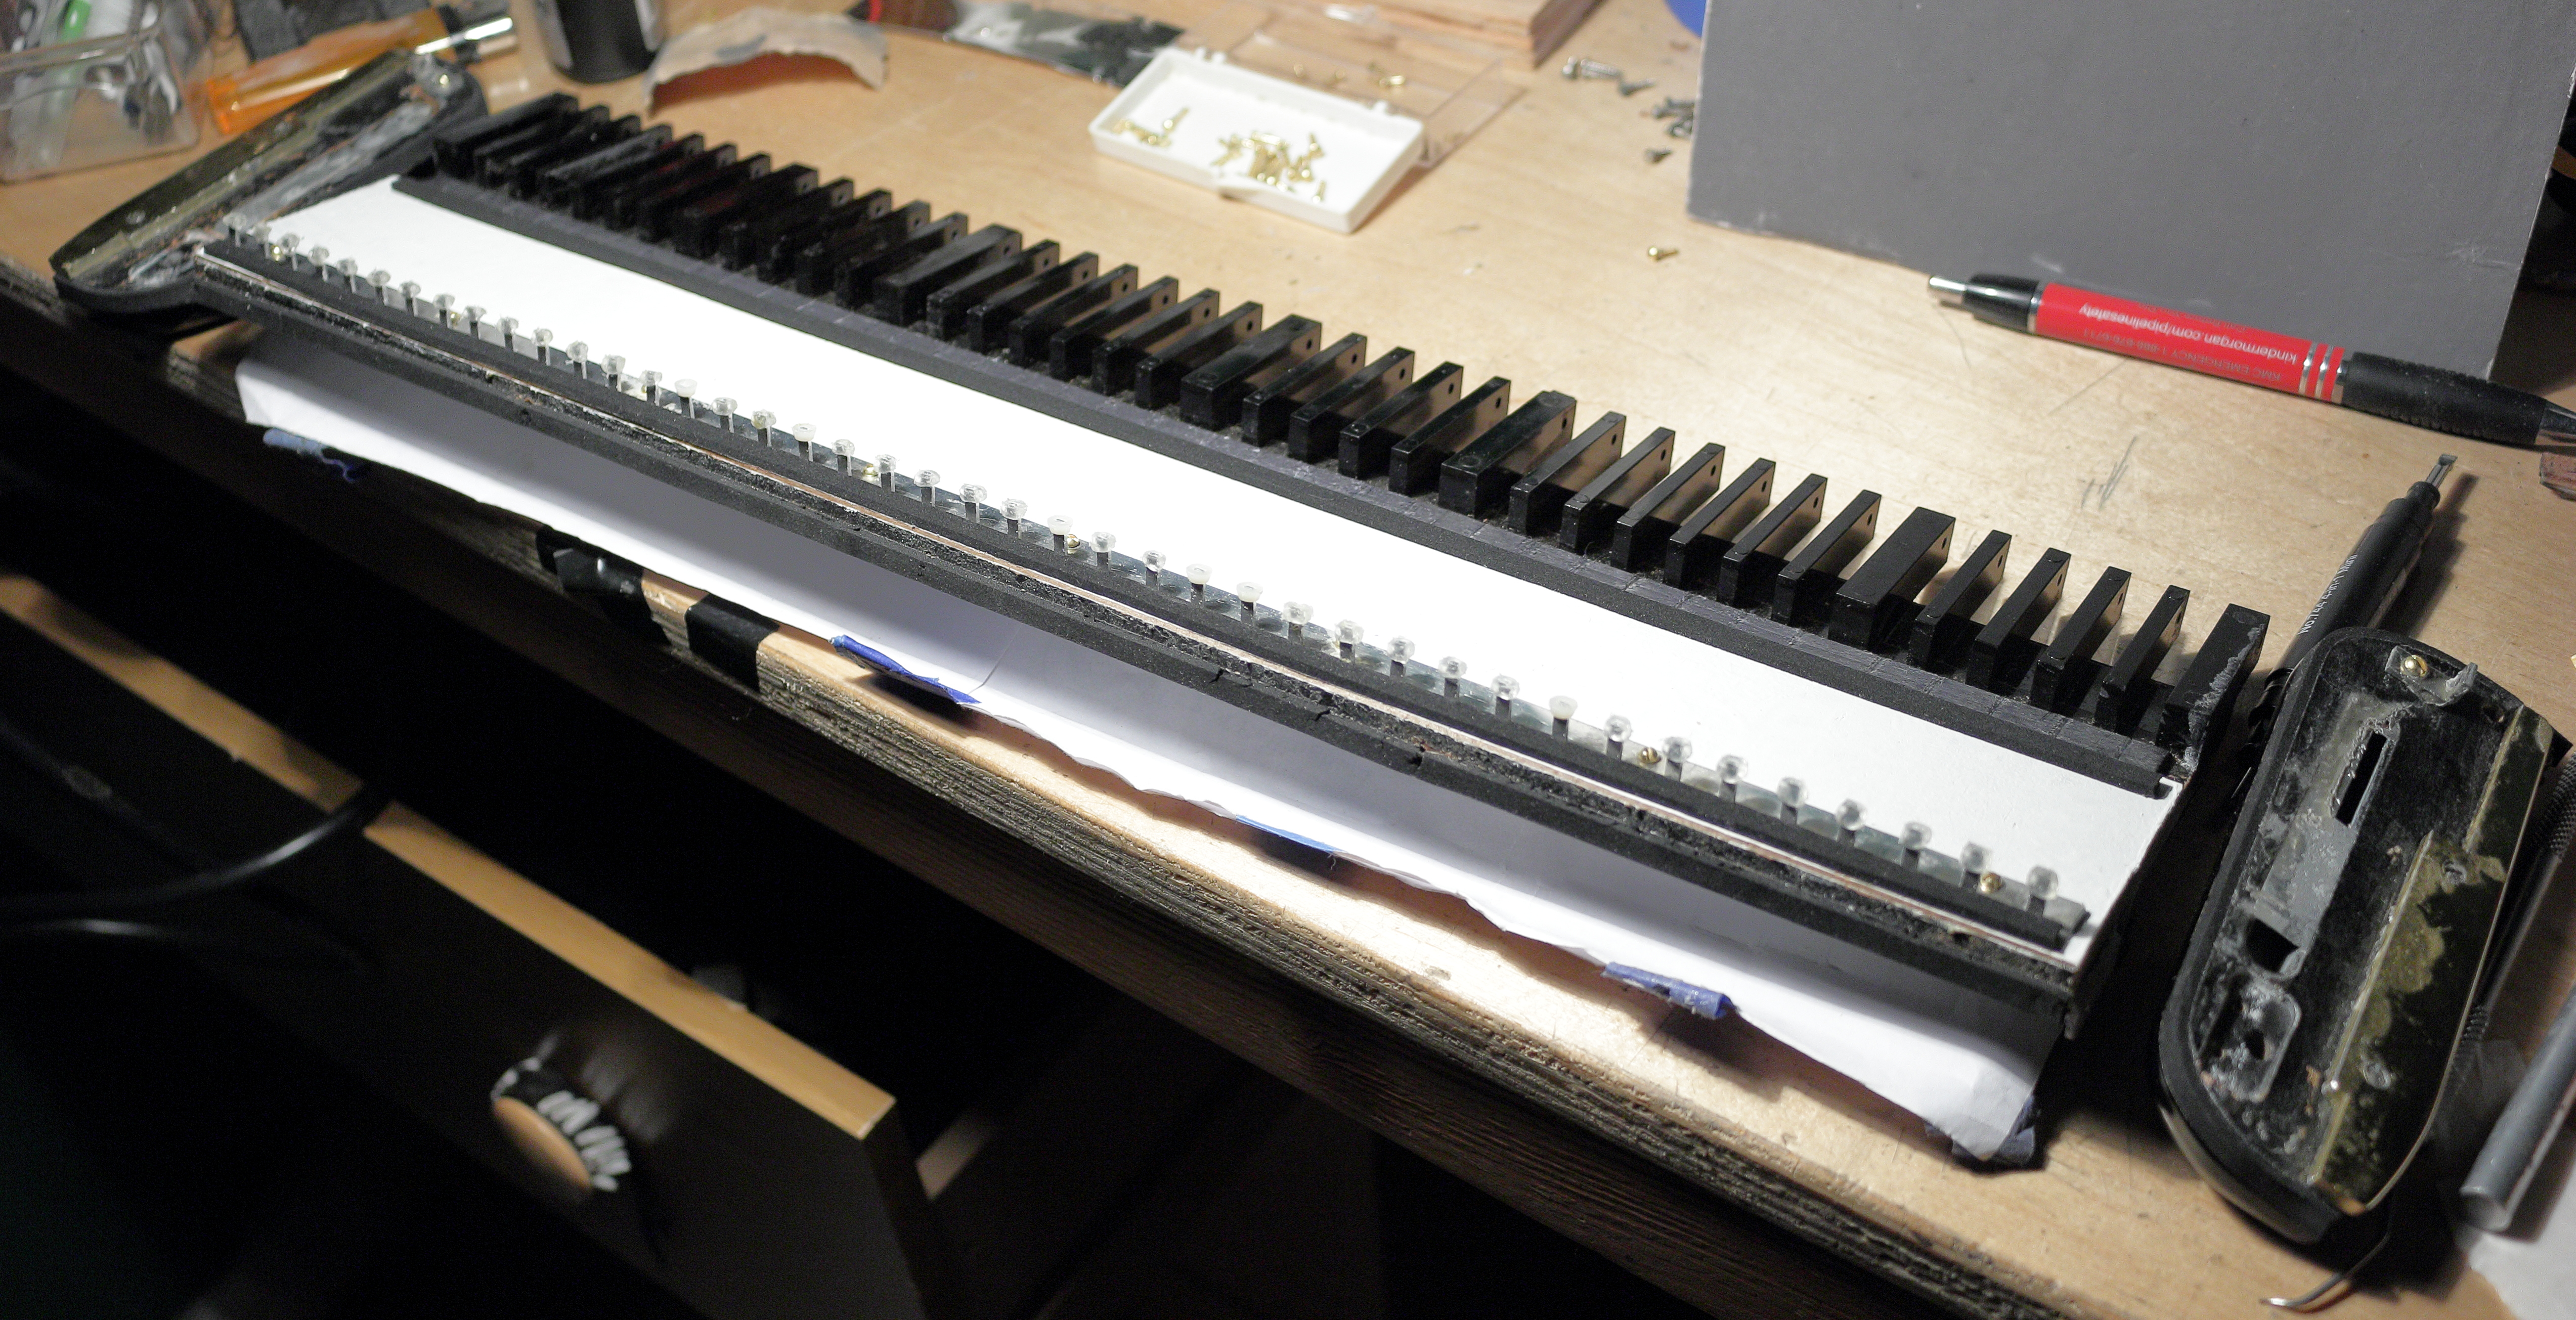
November 13, 2018 at 12:54 am #10450ParticipantNew key cushions on, all the key guides in place:
Ended up just using hot glue again; all but 3 or 4 of the originals had broken:
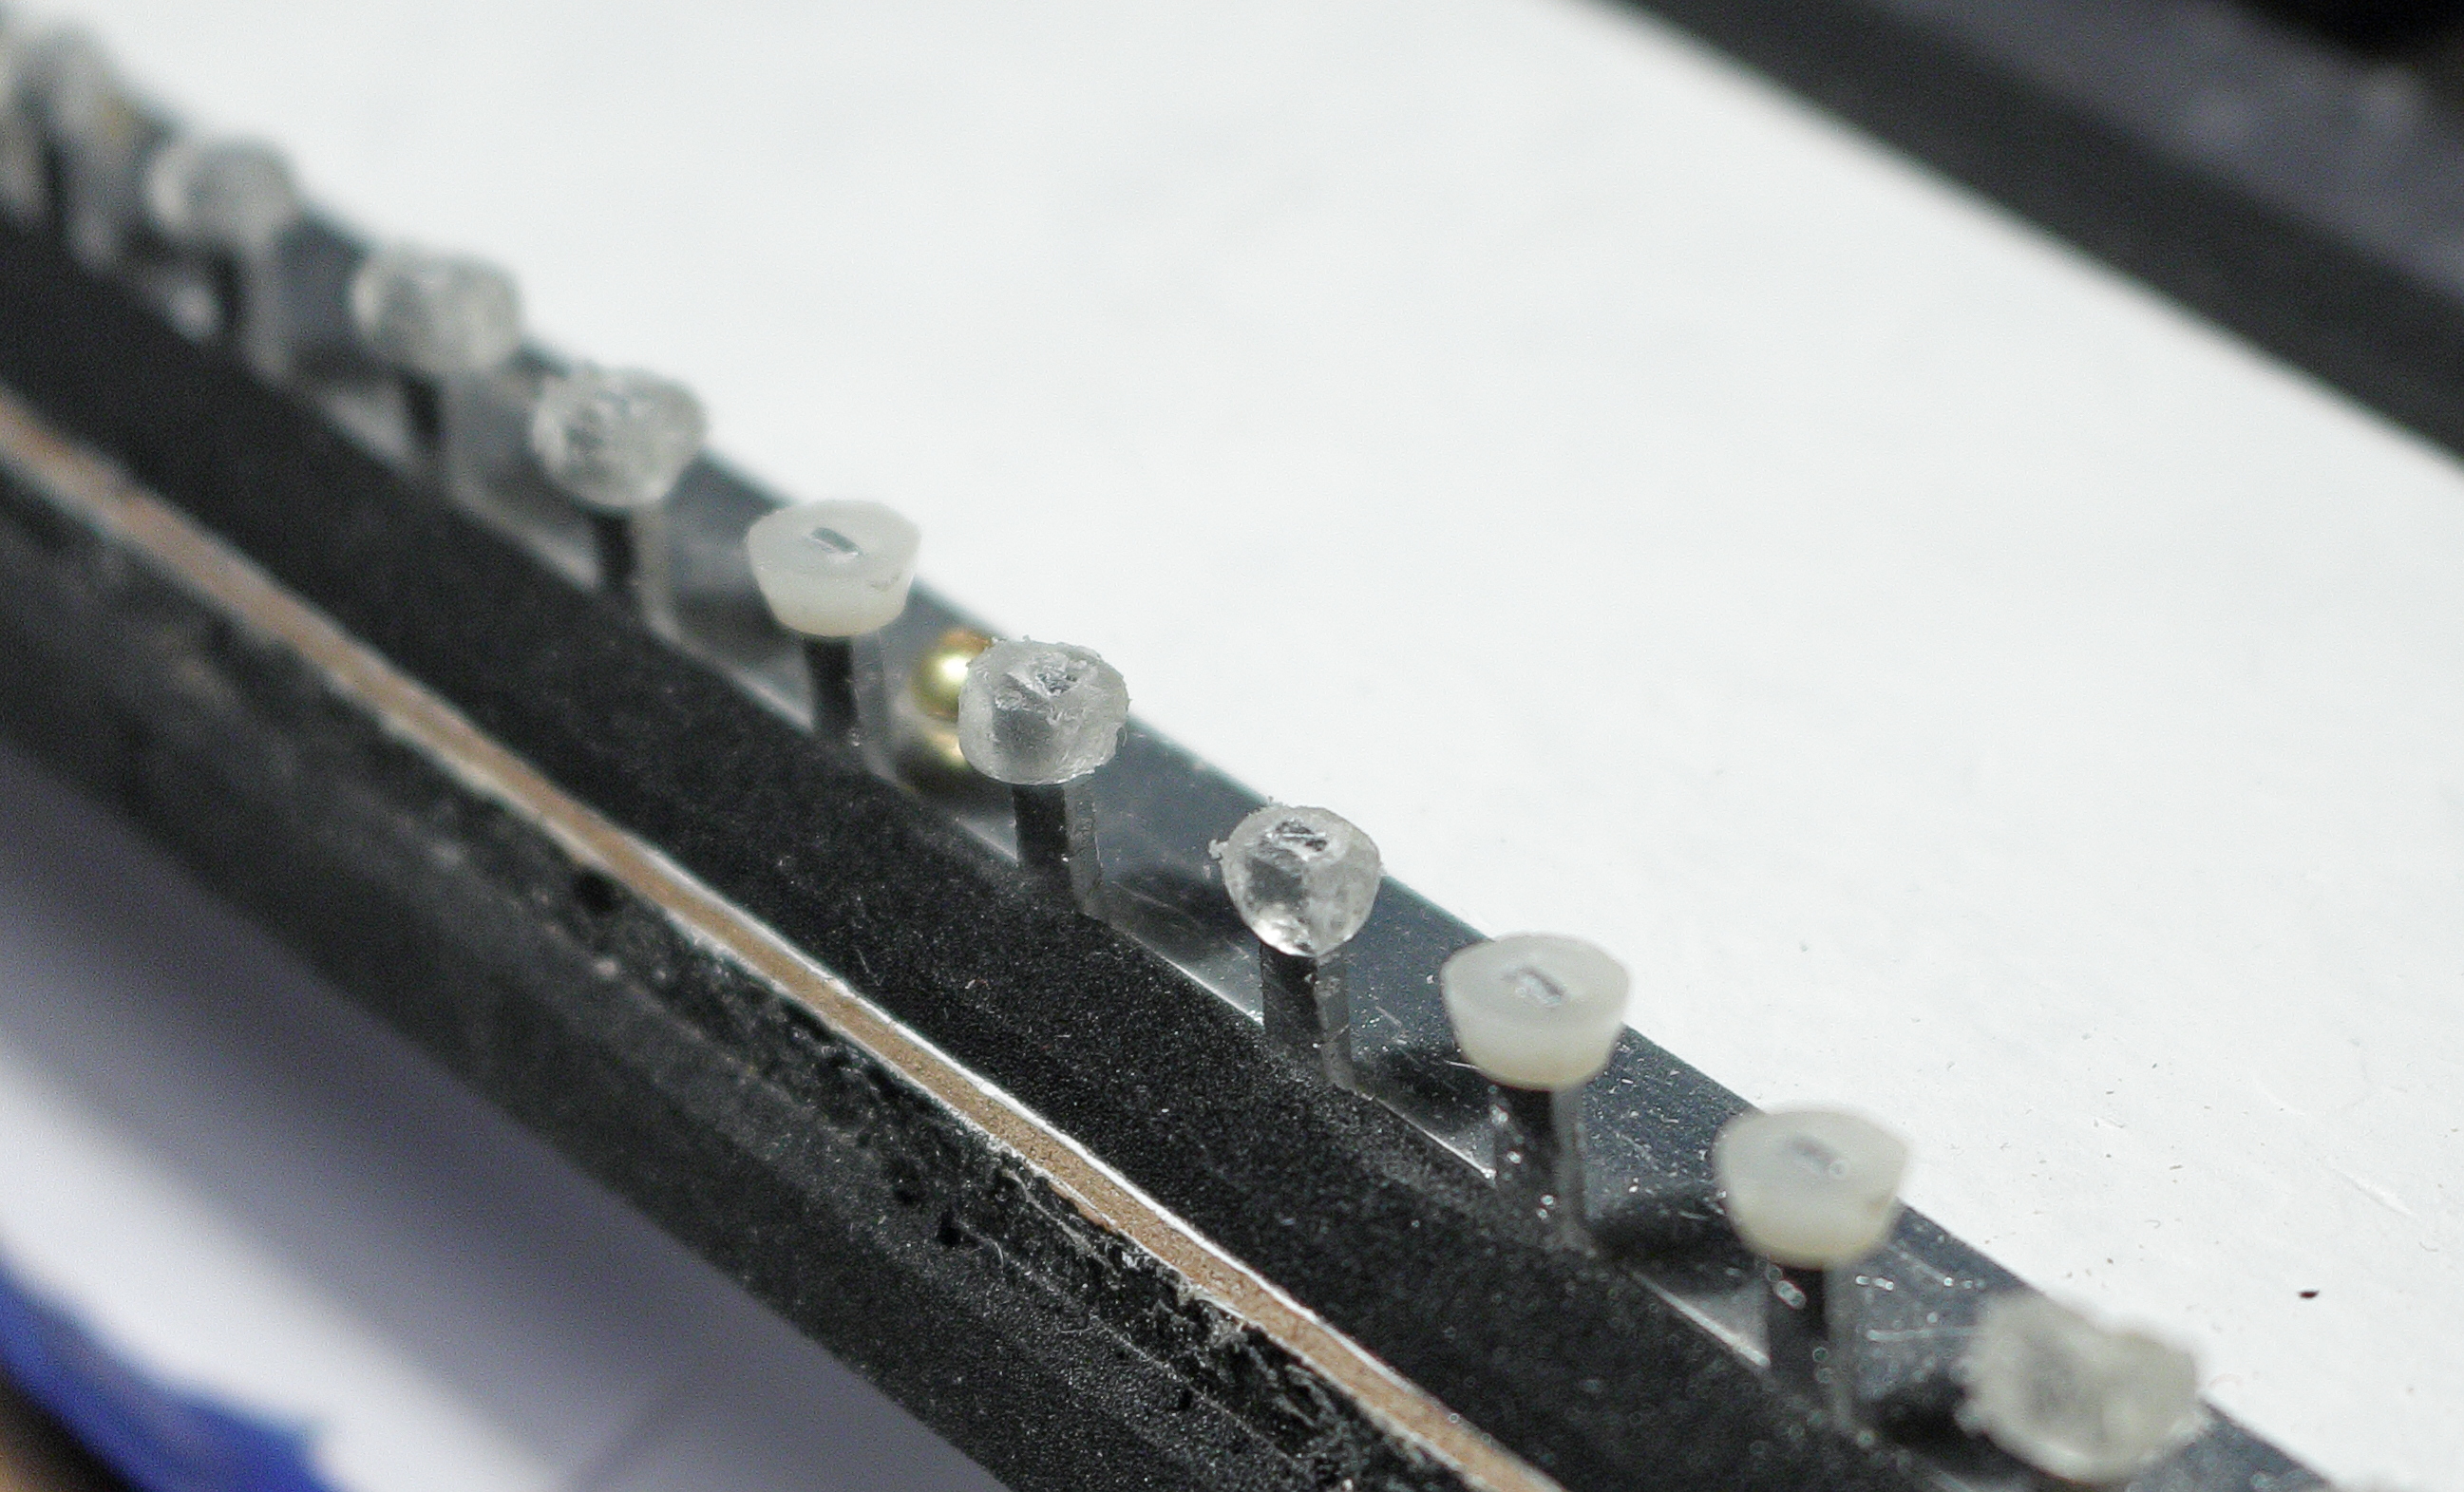
Detail of the airway; really wish I hadn’t removed it; had to seal it really well, including every screw; I couldn’t get the screws on the outside edge to hold properly, despite drilling/filling; not sure what is going on inside there (rotted wood? voids in the wood?). So they are sort of half holding and are surrounded with wax. The seal is tight and I’m not worried about it, but it was fine before so there was no need to mess with it:
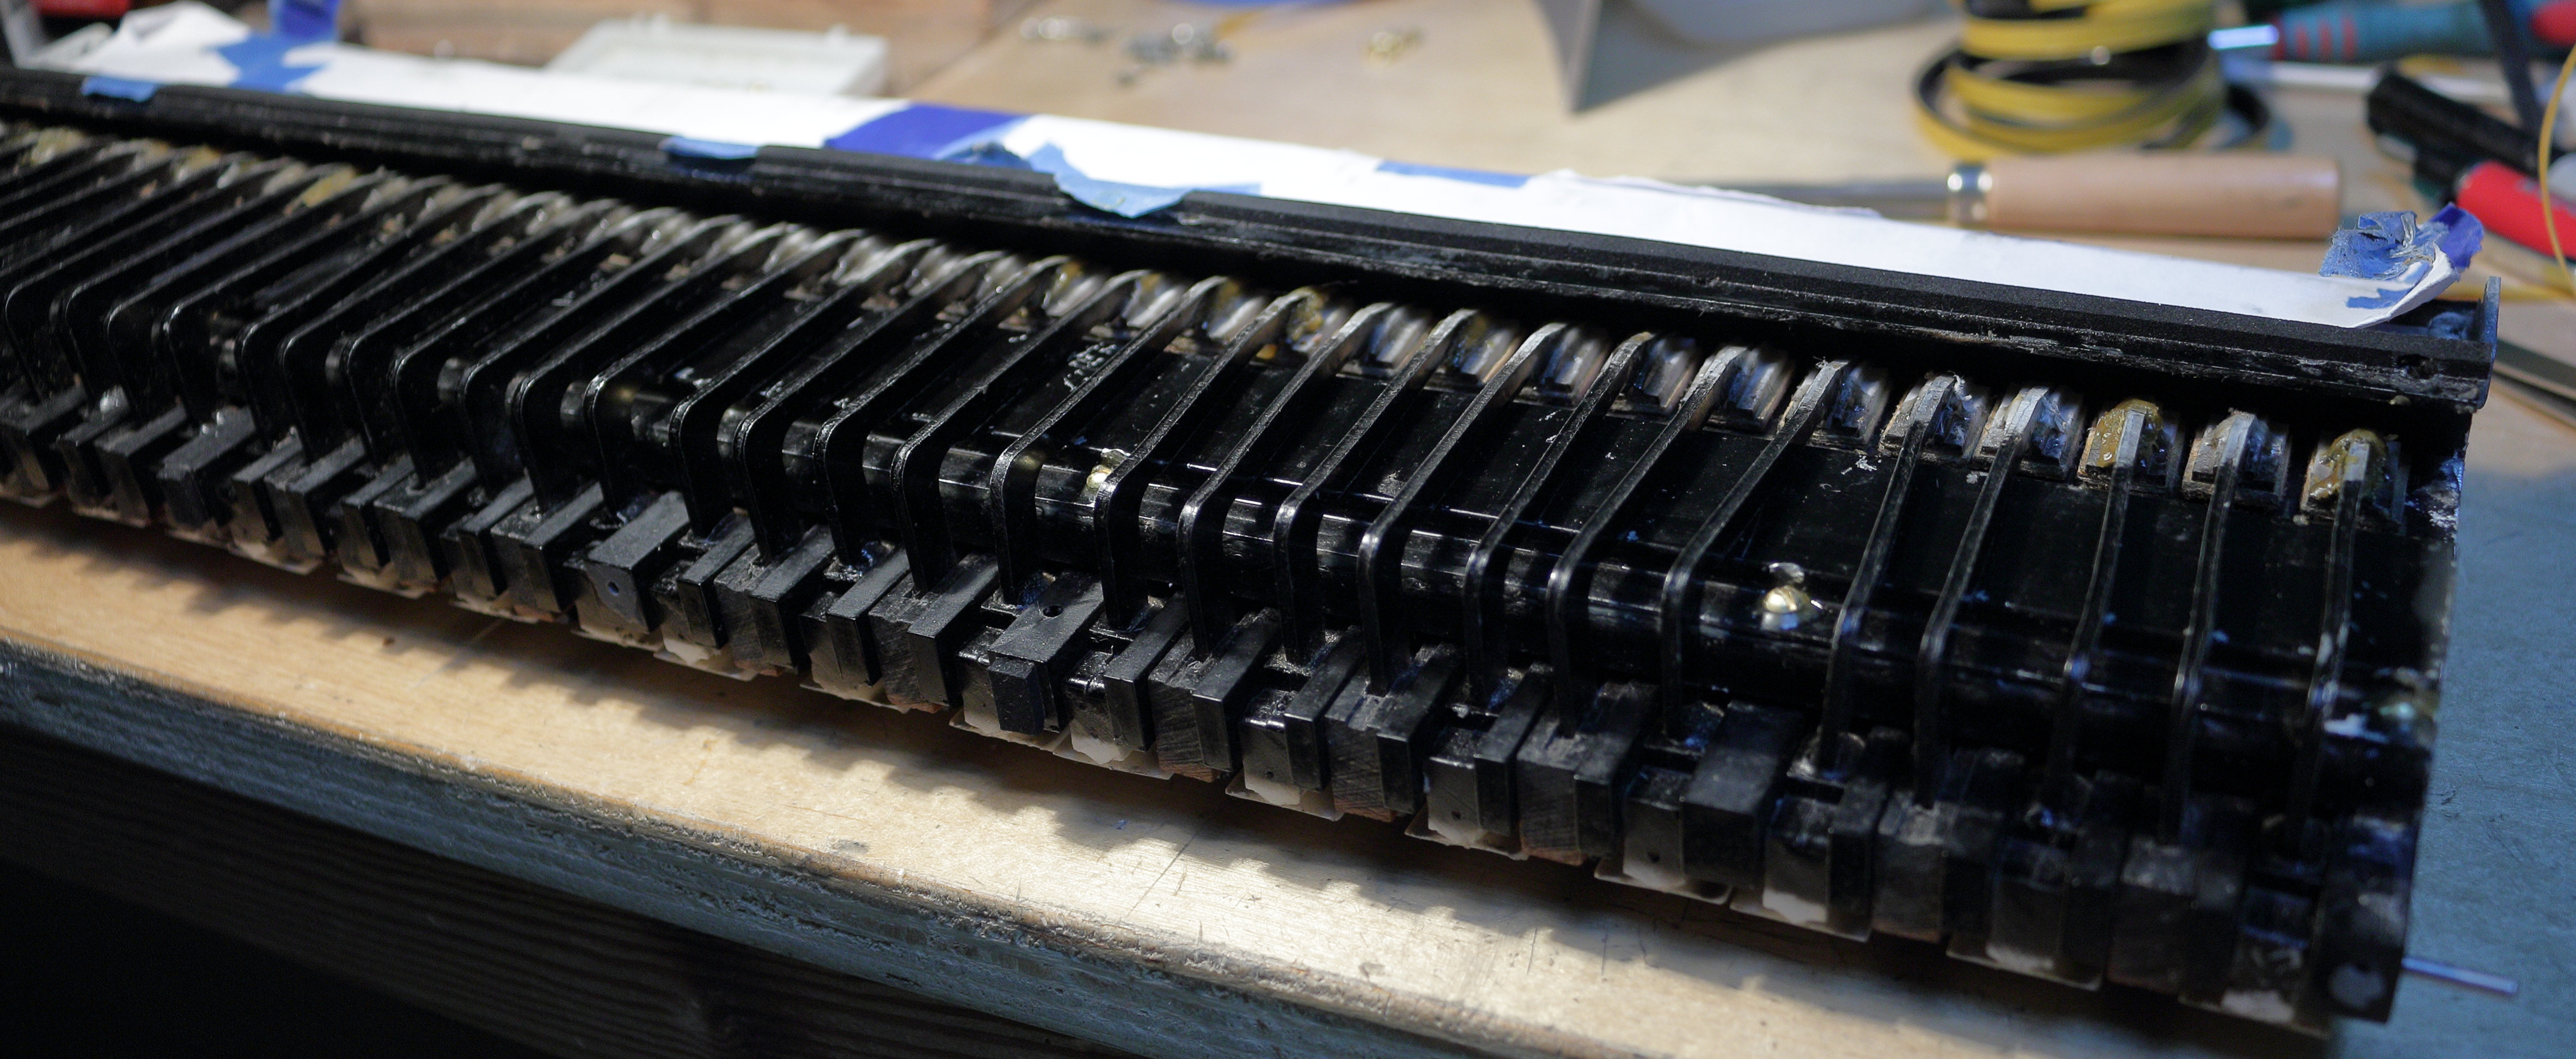
Keys back on; was easy to thread the rod through since I had loosened it up beforehand. I used some tri-flow teflon lube in the keys just for fun. I found that it was important to have the key springs slot back in to the worn grooves; if they were skewed it could mess with the key spring force. Many of the pads had either come off during disassembly or reassembly, so I seated and glued them with some wax:
…and had to stop because I need to get some more screws. I’ve gone to the hardware store every day for a week, I swear. Getting close to being able to test it out!
November 13, 2018 at 5:13 am #10451 Melodica-MeParticipant
Looking good clep, if you are having issues with the screws being to loose in the wood, I usually just get a round tooth pick, dip the tip in glue, push the tooth pick in the hole let set for a bit, break off in place and screw in slowly. Sometimes it takes two or more tooth picks. also white glue is not good for this application, a resorcinol glue works best in areas affected by moisture. sometimes you need to drill out and do a plug then pre drill before you screw in.
Melodica-MeNovember 13, 2018 at 5:22 am #10452ParticipantThanks! — yeah, that’s exactly the kind of work I’ve been doing. The holes in question were drilled, filled with titebond wood glue / fine sawdust mix, later filled with more glue, and then had toothpicks in them, etc. There seem to be some kind of nebulous voids down in there because I still couldn’t get a tight fit: everything seems to just push in deeper after it sets. But it’s tight enough to work now, and all sealed up with wax. I’ll just make sure not to leave it in a hot car. 🙂
Since the outside line of screws that go through the airway go through two layers, the first metal and the deeper layer wood, I considered switching to bolts and tapping threaded holes rather than bothering with the screws and the glue and all that. Didn’t end up doing that, but I think it would work since it’s the same metal stock that I tapped on the “spine”. Maybe on the next one.
Thanks for the resorcinol tip — I’ll look in to that for the future!
November 13, 2018 at 5:36 am #10453Melodica-MeParticipantIn the Clavietta the screw that holds the air chamber cover goes through the reed plate and lets air escape so you need to wax the ends as well. I tap and screw in brass inserts to avoid the wear of the screw going in and out but even those are subject to striping if over tightened. Many of the pro 36 have the wood rot issue along with wood fungus that has been caused by not removing the moisture after play. Even if you dry out the wood is soft and non repairable. I have 4 pro 36 of which 2 have this issue, they were purchased for parts (reeds). I am looking forward to hear your after completed.
Melodica-MeNovember 13, 2018 at 5:39 am #10454ParticipantYeah I’m really curious to hear how this thing sounds… the ofther Prof 36 i have sounds great but is leaky… my main interest is in how much air it takes to play after it has been re-sealed. If it’s not so bad, then I will go to the trouble of re-sealing the other one and tuning them both.
November 16, 2018 at 6:04 am #10460ParticipantUpdates:
Got it all sealed up and reassembled! It’s nice to hear it play for the first time. The reeds seem to be in great shape and still pretty well tuned (well, compared to some older melodicas I have played.)
Lots of leaky pads, though. Probably going to need to just replace a few rather than keep messing with the existing pads. After an hour or so of tweaking, it got much better, and is now better sealed than my other HM Prof 36, so that’s progress! But there are a few stubborn pads that no amount of tweaking seems to make right; I think it will be easier to just pop off the pad, clean out all the glue, wax, etc, put a new pad surface on it, and let it settle in properly.
Lessons: the metal arms that lead from the keys to the pads have very little clearance over the bypass airway cowling thing. Yet another reason I wish I hadn’t removed that part: the wax I used to seal it shut raised it up slightly and so one of the arms was hitting it and thus not able to seat entirely. I filed away some of the arm and it’s fine now. Took a while to figure that out, as it was just barely contacting! There is a clearance of about the thickness of one sheet of paper on most of the arms… yikes… very close. 🙂
Despite the extreme care I took, there was a leak in the wood veneer as well. Easily fixed with some wax, but surprised me.
I was pleasantly surprised at how easy it is to get the rod in and out now; just takes a few seconds. Given how hard it was to remove, this is great news, because I have to get it out and in many times when working on the keys.
The 3/8″-16 cap I mentioned earlier for use on the spit valve turns out to not seal well after all, so I stuffed a little foam rubber in there and it seems to be working now.
Even without the seal being perfect, I think I can tell already that the wisdom is true: these really do seem to take more air per reed. Kinda disappointing, but maybe once I get it fully sealed it will be a little better. Must be why they don’t use these reeds any more, which is a shame, since they sound really nice.
I’m happy to report that dry ice is a useful way to leak test these things; using the metal plate I made for the purpose, I put some chips in a small bottle and it worked great:
November 16, 2018 at 3:05 pm #10462 Alan BrintonParticipant
Nice work, Clep. I have two in playing condition, though not from my efforts to seal them up. One is very well sealed and still takes more air than I can muster for much of a playing session. But I know there are many other players who don’t suffer from my pneumatic limitations.
Some of us have found caps from medicinal ointment tubes that work pretty well as an end cap the Pro 36. Finding one is a trial and error process. I just went around the house and checked every cap on anything that looked like a possibility and found a couple — can’t remember from what.
November 17, 2018 at 2:41 pm #10468 DarenKeymaster
Nice work Clep, thanks for sharing all of this!
November 22, 2018 at 3:40 am #10533ParticipantYou bet!
Well, ended up replacing ~13 pads and the leaks grew less and less… had to add a little more wax here and there as well. It’s better than my other HM Prof at this point, but still a bit leaky. I suspect a full replacement of all pads would be the next thing to try and I’m starting to run out of energy for the project. But I suspect I’ll get that done at some point.
One update: the dry ice testing doesn’t work so well for small leaks, as it turns out. After the first 8 or 10 pads, the remaining leaks were too small to notice with the dry ice, and I found them only through bubbling. Disappointing, but the dry ice was still handy as far as it went.
The melodica is playable now, but still takes a lot of air (and I suppose it always will; the leaking isn’t substantial at this point, it’s just not helping with the overall air required to play these reeds.)
November 22, 2018 at 5:19 am #10534Melodica-MeParticipantClep, I do the soap and water mixture to find leaks. with an eye dropper, simply pour a little soap and water mixtures around the pad and then blow in to the melodica without pressing a key. If there is a leak you will see a bubble there. Once you see a leak you can repair that pad one or mark with a grease pencil or blue tape and move on to the next one. After doing this several time I have found that doing only one at a time is best because if you do several at a time the water mixture and bubbles can disapear and you will not know if there is a leak. You can do this at anyplace there is a possiblility of air leaking it works every time.
Melodica-MeNovember 22, 2018 at 5:22 am #10535ParticipantThanks MM — I’ve been doing basically that since the dry ice stopped being useful. Now I just need the patience to go over it for the 20th time. 🙂
-
AuthorPosts


- You must be logged in to reply to this topic.